In this lesson I will be showing you how to make a quick study of an nose using oils. This is a great way to learn more about painting fleshtones and understand the forms that make up noses.
MATERIALS:
Painting paper, panel or canvas
Brushes Mineral spirits
Oils Colours
– Titanium White
– Ivory Black
Burnt Umber
– Cadmium Red
– Cadmium Yellow

Begin by using some diluted burnt umber to loosely sketch in the shadows and dominant lines within the nose. You should end up with something a bit like a wire frame that incorporates the bridge, tip and nostrils. You can make corrections to this wash drawing by wiping back with mineral spirits.
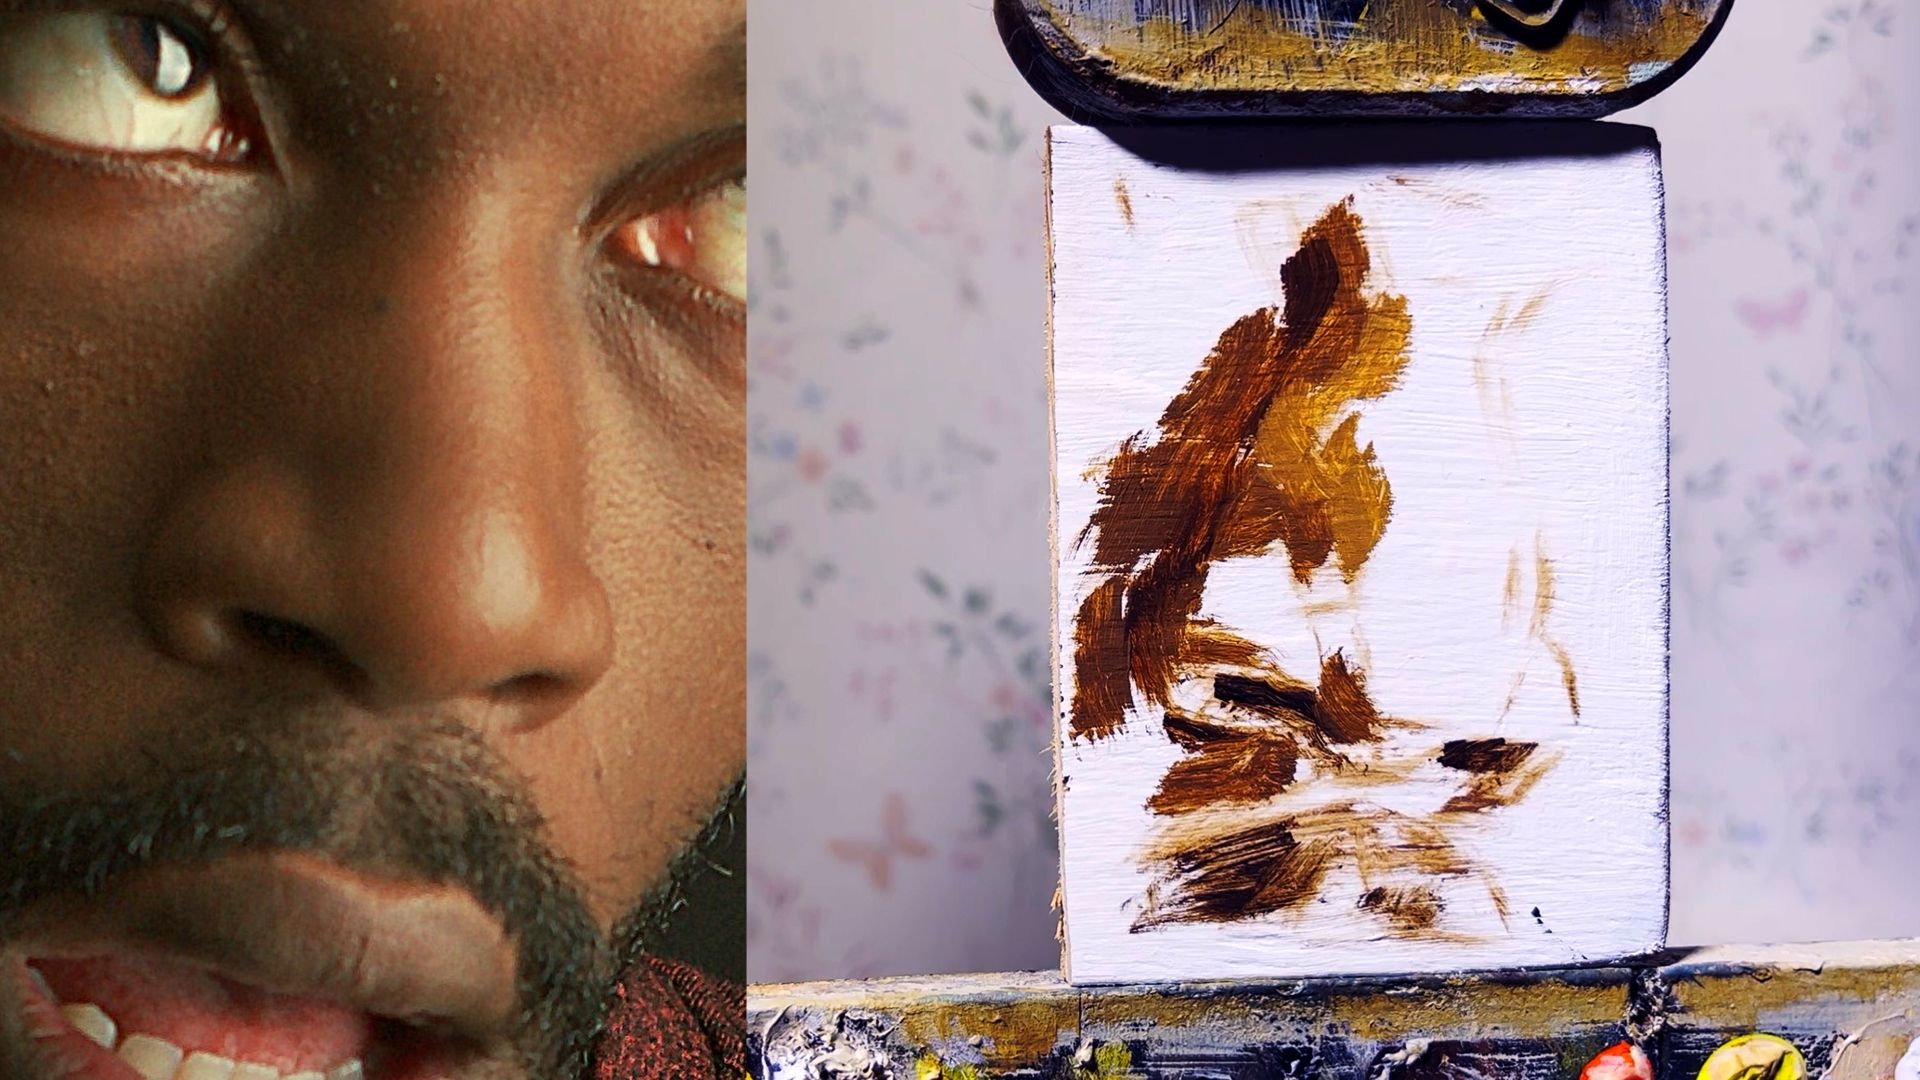
Then you can mix up a few different darker colours to black in the shadows or darker parts of the sketch. Once you’ve added these masses the overall projecting form of the nose should begin to take shape.

Finally, you can then blend these patches together somewhat and add a highlight to the tip and bridge of the nose. We will leave it to dry at this point before rendering it next time.

Begin by adding a thin layer of your medium all over the surface of the painting. This will make it easier to blend as it’s a bit like working wet into wet when you’re doing watercolour. Then you can begin to use pure black to deepen the shadows where necessary and blend out to enhance the roundness of the forms.

Once the darker tones a re laid in you can add the highlights, these are often a slightly different tint to the rest of the skin tone. In this case they are quite a bit cooler. So you can make the highlights lighter, but also a different colour where necessary.

Finally, you can then blend these colours together to make the surface more smooth and round. You can also add in smaller details at this stage. When you’re happy, you can leave it dry before varnishing it.