Part 1: Getting Started
In this lesson I will be showing you how to use Procreate on an iPad to make a portrait sketch.
Tools:
- iPad + Apple
- Pencil with
- Procreate
or
- an equivalent tablet + stylus and drawing app
Process
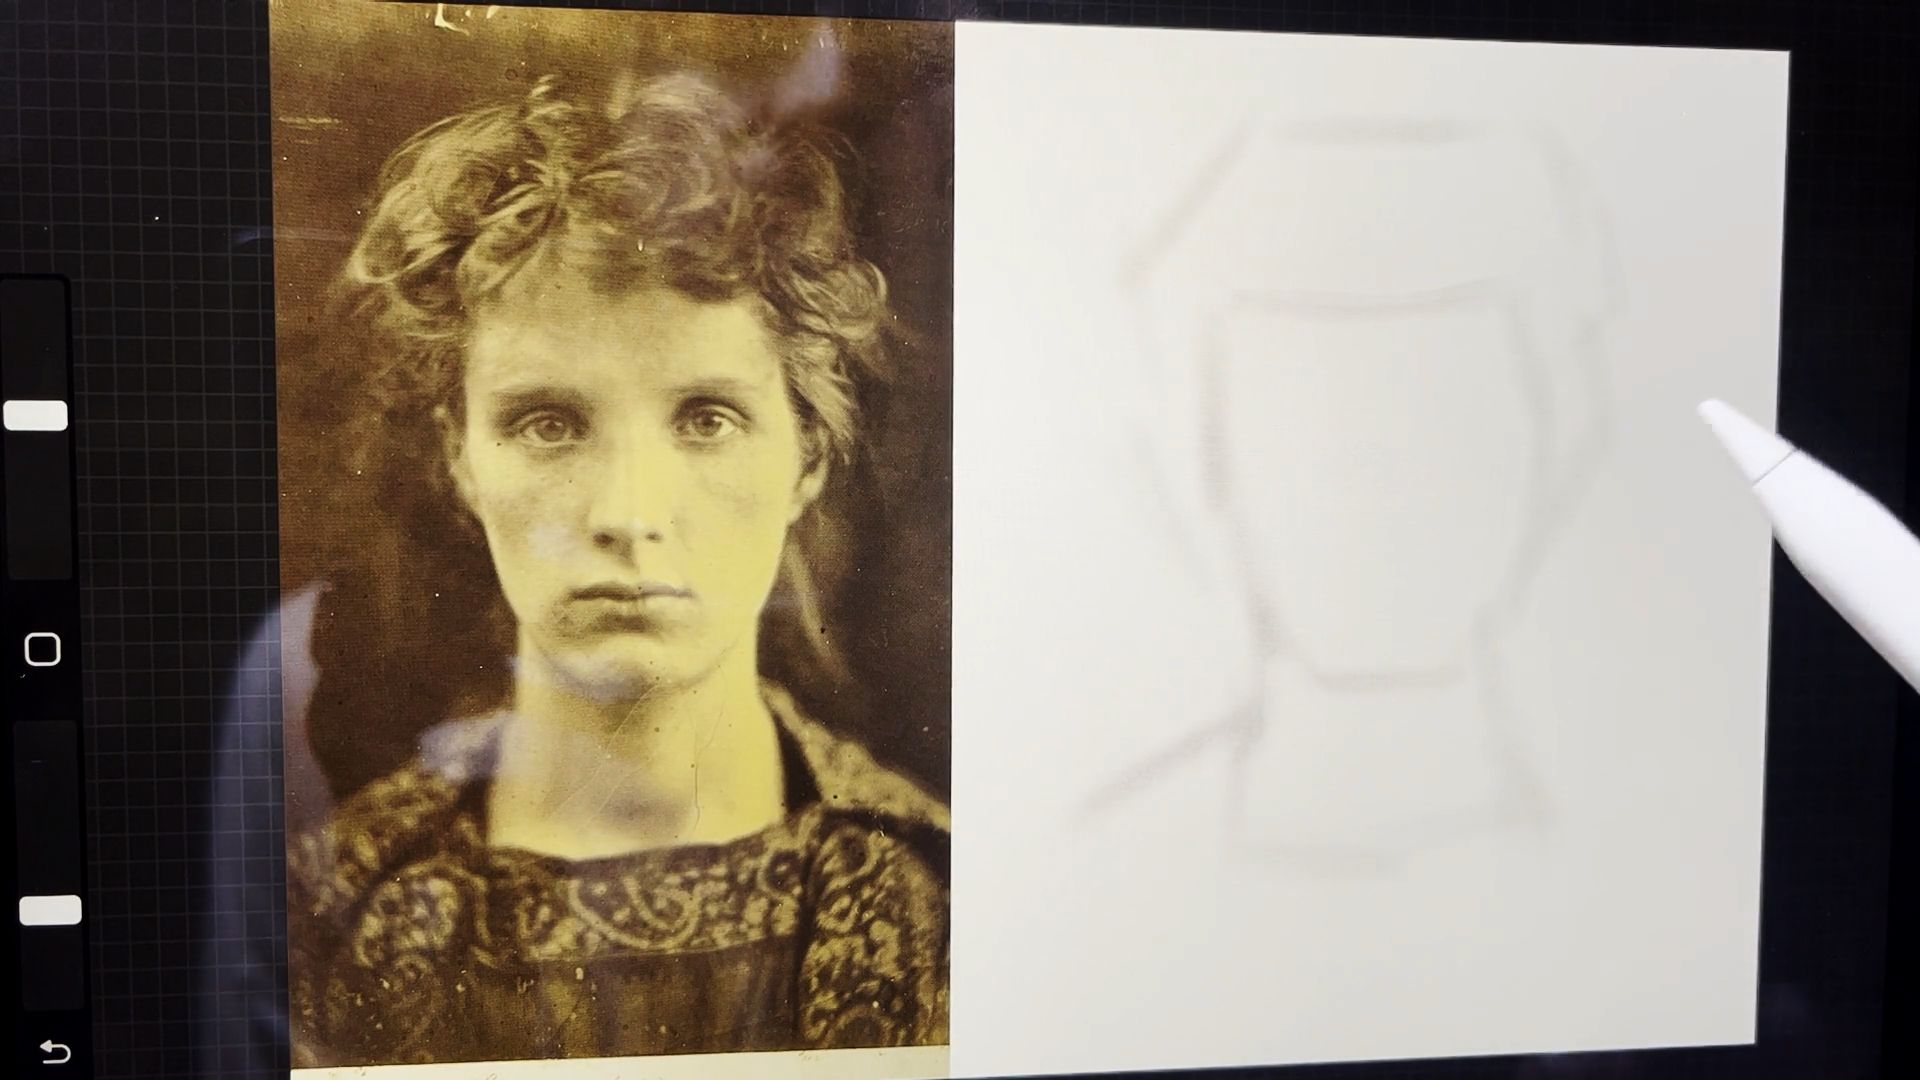
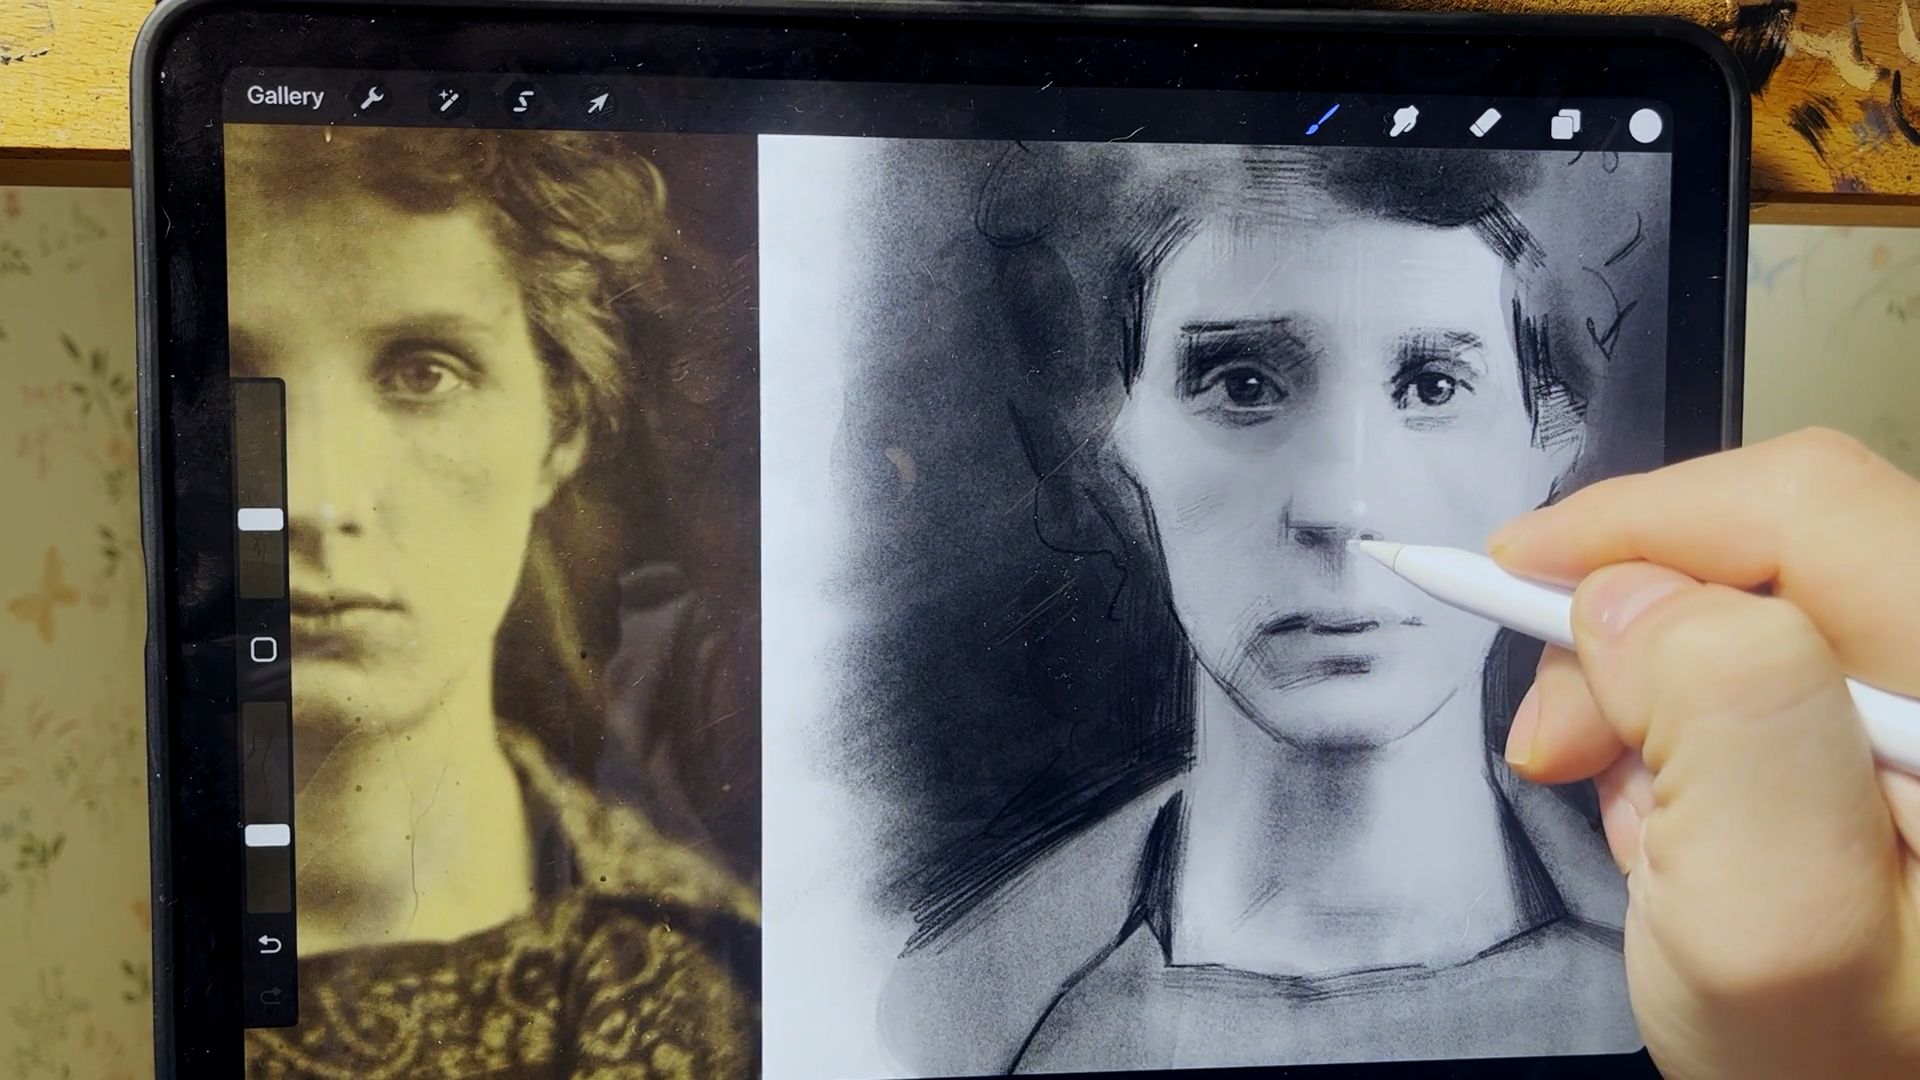
I begin by copying in my reference on one side of my canvas. Then I use a soft charcoal type brush that is low opacity to loosely sketch in the envelope of the head using big simple lines. These can be adjusted with an eraser brush until you happy with the overall size and placement.
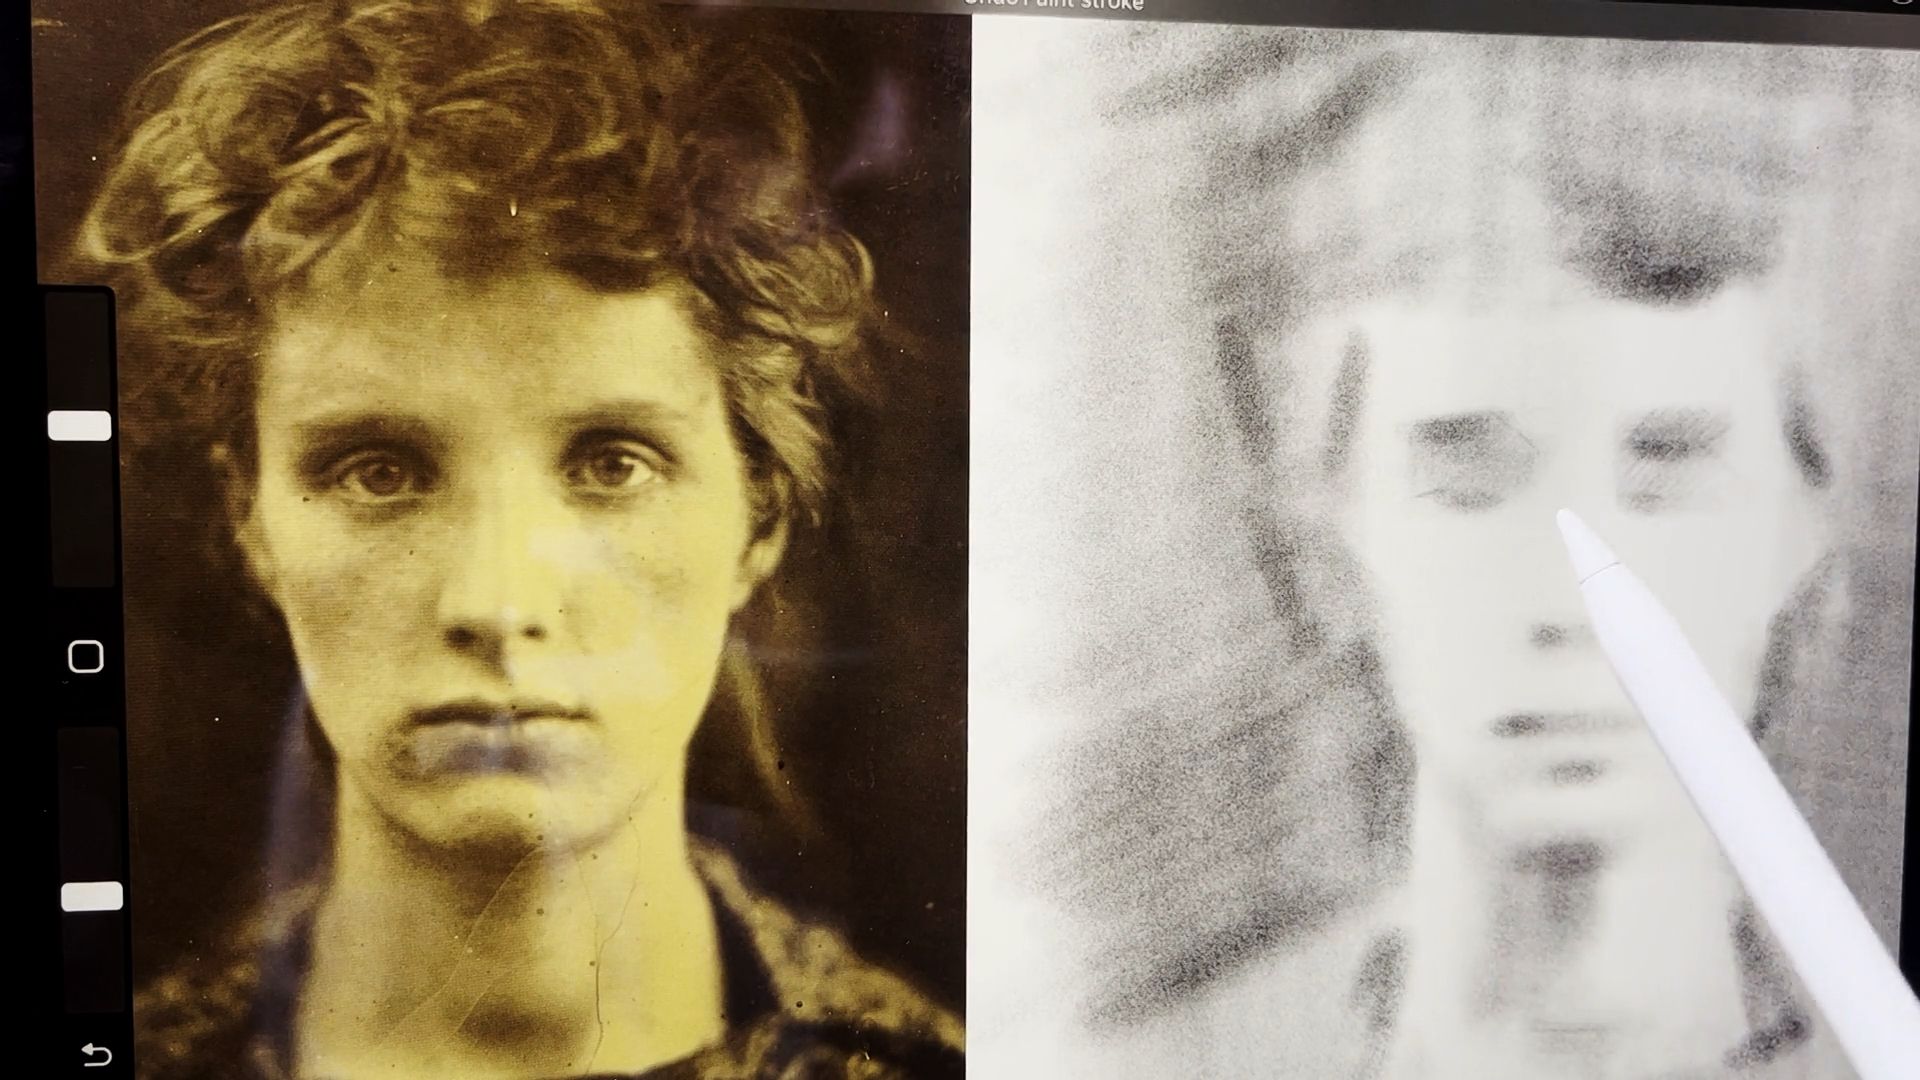
Once you have these big shapes sketched in you can make your brush bigger and lay in some large areas of dark mass where the drawing will be dark (background, shadows, clothing etc.)
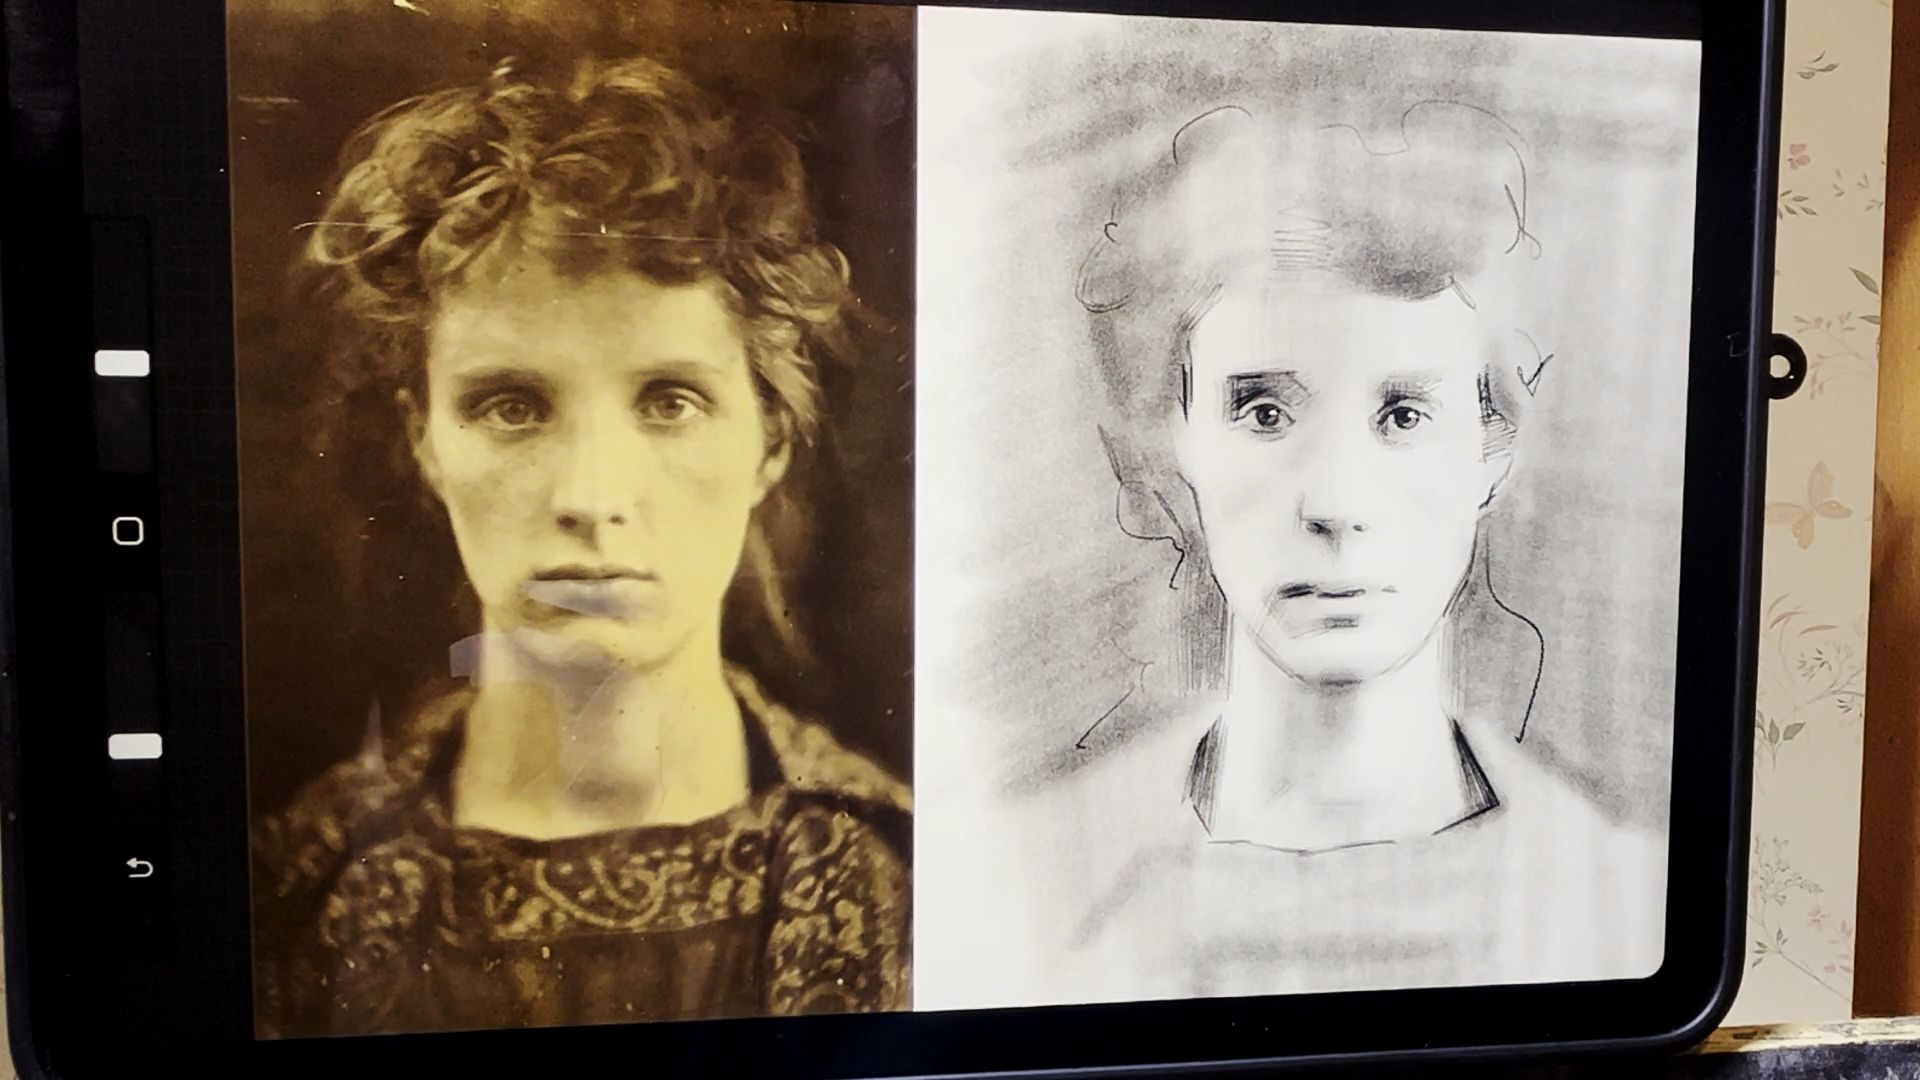
Then you are in a good position to refine all the shapes. You can do this by using a smaller darker pencil type brush to articulate the edges of the shadows shapes (and an equivalently small eraser to cut back into darker tones).
VIDEO
Part 2: Layering Tones
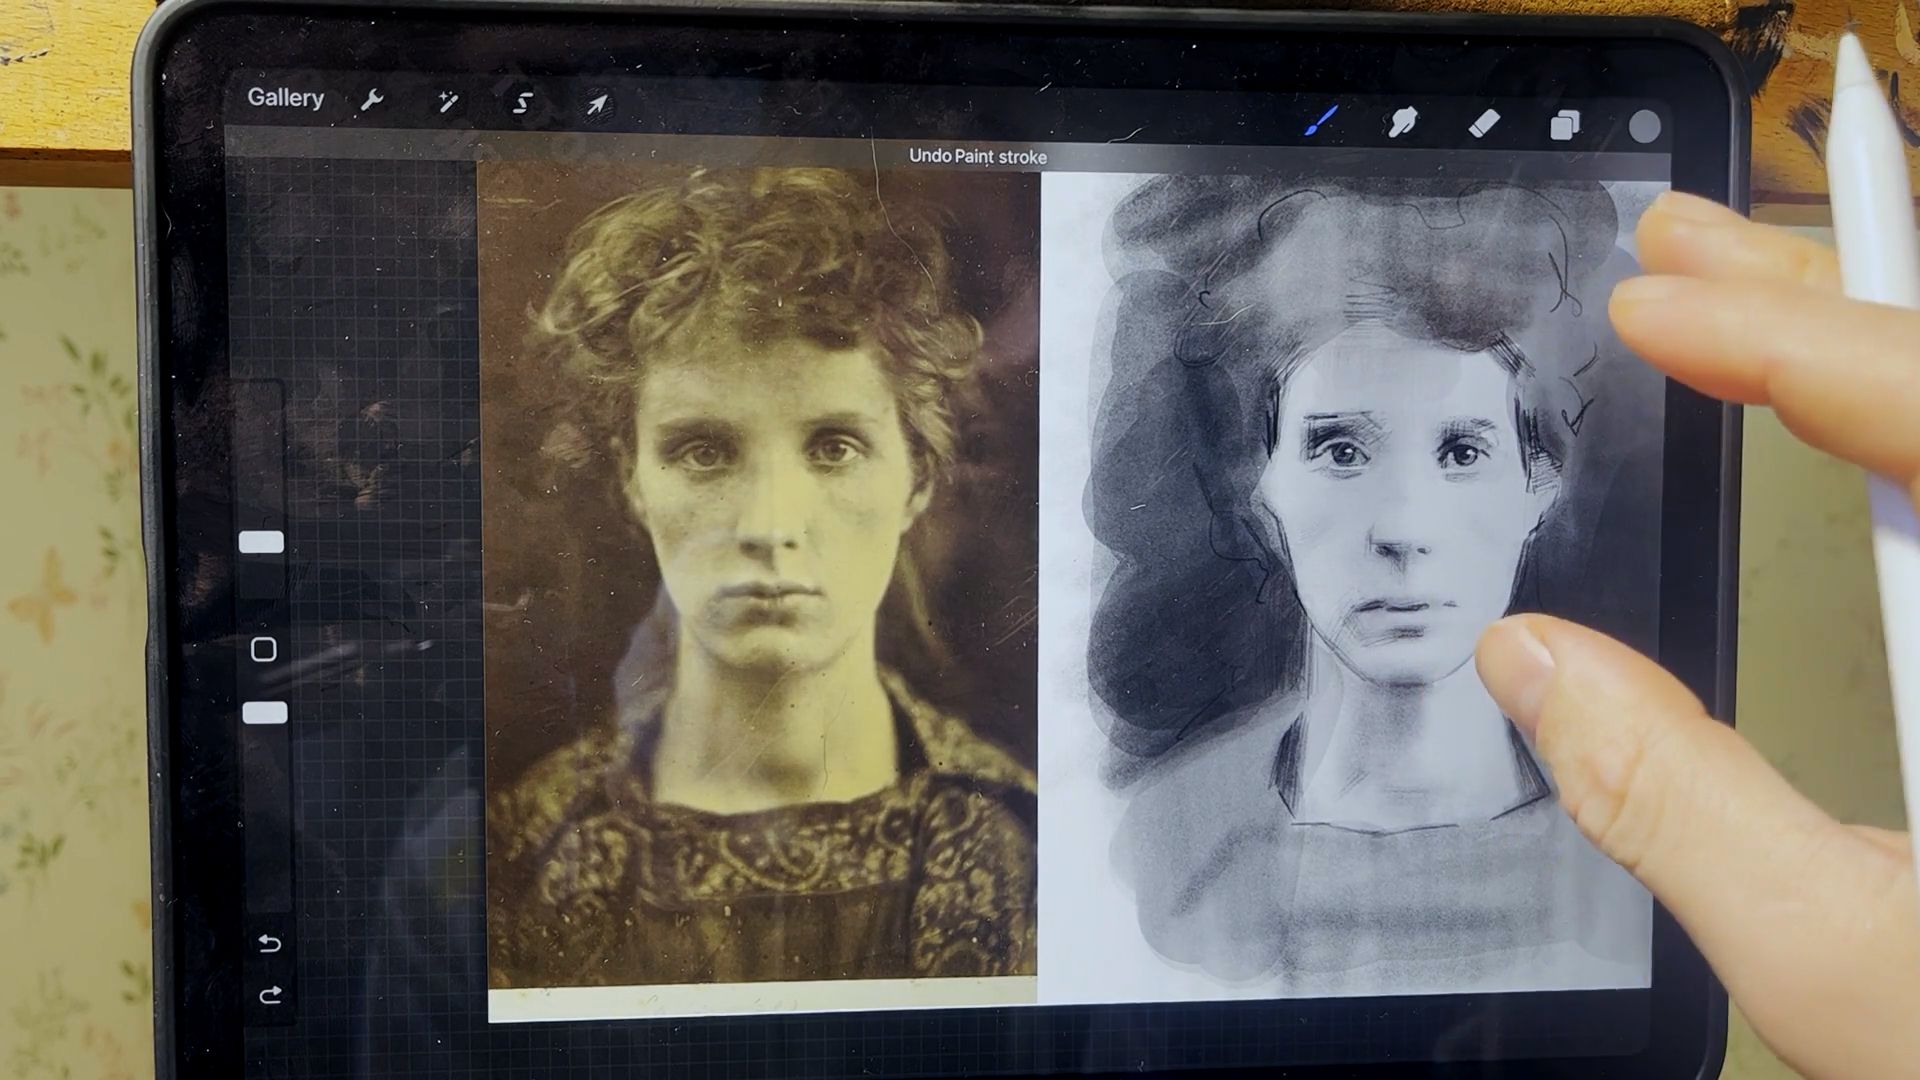
I start this session by using a large, transparent airbrush type brush to darken large areas of the shadows and background quickly. I can then smudge these tones and swap the layer style to ‘Multiply’ so that I don’t lose any of the detail in the previous layers
Then I put a tone over the entire image to knock all the white tones back slightly (this needs to be a multiple layer too). After merging this layer I can then start to use white to add highlights (similar to chalk and charcoal in a traditional drawing).
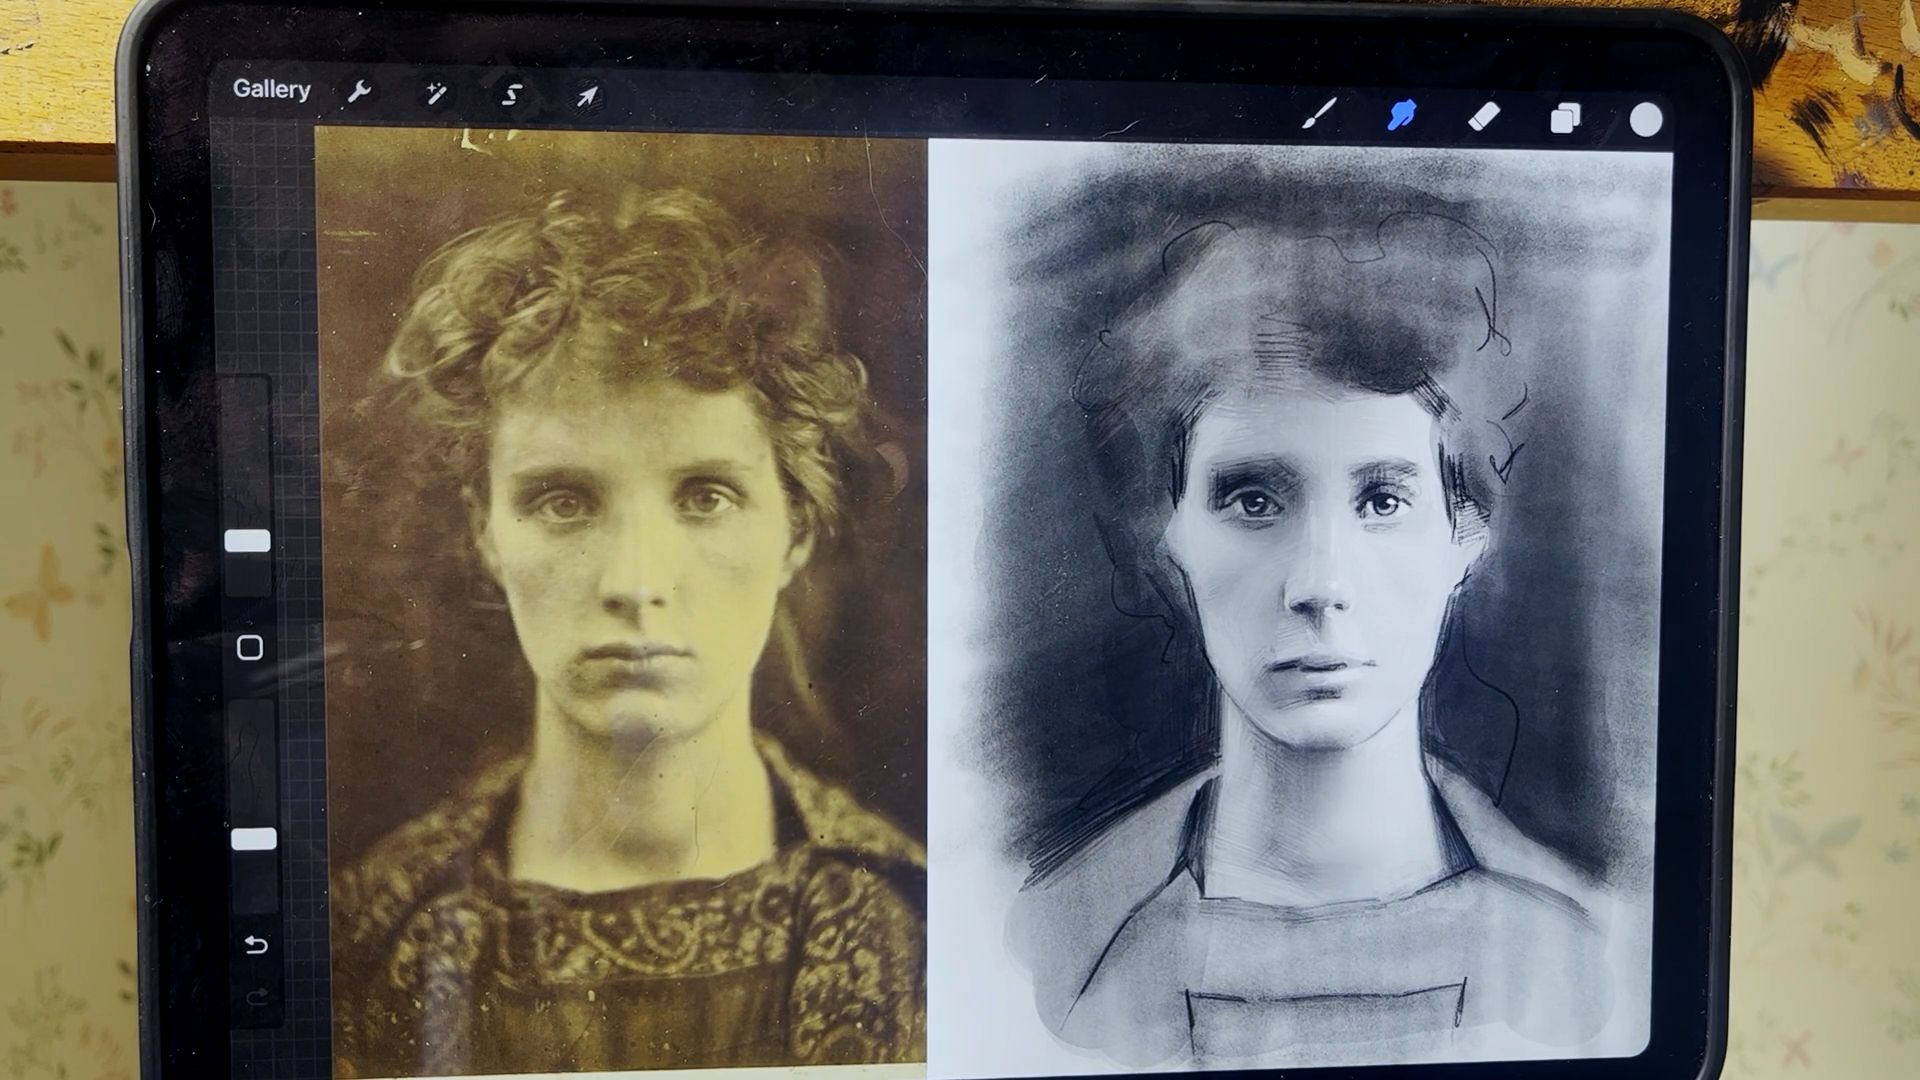
Finally, you can use a darker pencil brush to keep turning forms (you can swap between dark and light pencil to add lighter or darker tones).
VIDEO