

You've set your phone against a stack of books, balanced a mirror beside your desk, and sharpened a pencil that suddenly feels far too blunt. The page is still empty because the face in front of you doesn't look like a simple collection of shapes. It shifts with every expression, and one small error in the eye line can make the whole portrait feel unfamiliar.
Learning how to draw a self portrait is less about producing a perfect copy and more about making reliable observations, testing decisions, and showing how you think as an artist. That matters particularly for Level 2 and Level 3 students preparing creative portfolios, because tutors and admissions teams want to see development, experimentation and personal judgement, not only a polished final image.
Table of Contents
- Why Self-Portraiture Matters for Creative Students
- Setting Up Your Mirror or Camera Reference
- Constructing Your Self-Portrait with Light Lines
- Shaping Identity Through Pose, Lighting and Viewpoint
- Finishing Your Drawing for Portfolio Submission
- Adapting Self-Portrait Drawing for Online and SEND Learners
- Frequently Asked Questions About Self-Portrait Drawing
- Should I use a mirror or a photograph?
- Why does my portrait look like a different person?
- Should I aim for photorealism?
- How do I show development in my portfolio?
- What can I do if I don't have a good mirror?
- How can I make the portrait feel personal?
- Is self-portrait drawing useful for university applications?
Why Self-Portraiture Matters for Creative Students
A student once brought a self-portrait to a tutorial that looked technically careful but emotionally empty. The features were neatly copied, yet the pose, clothing and background said nothing about the person who had made it. We changed the viewpoint, introduced a meaningful object and allowed the expression to become less neutral. The drawing became more convincing without becoming more photorealistic.
That distinction explains why self-portraiture remains important in UK creative education. The Royal Academy of Arts' self-portrait course treats the genre through 10 famous self-portrait highlights, presenting it as a foundation for understanding artistic identity and practice. British teaching resources recommend self-portraiture for Art and Design at GCSE, GCE and Diploma level, as well as for adult workshops and courses.
More than facial likeness
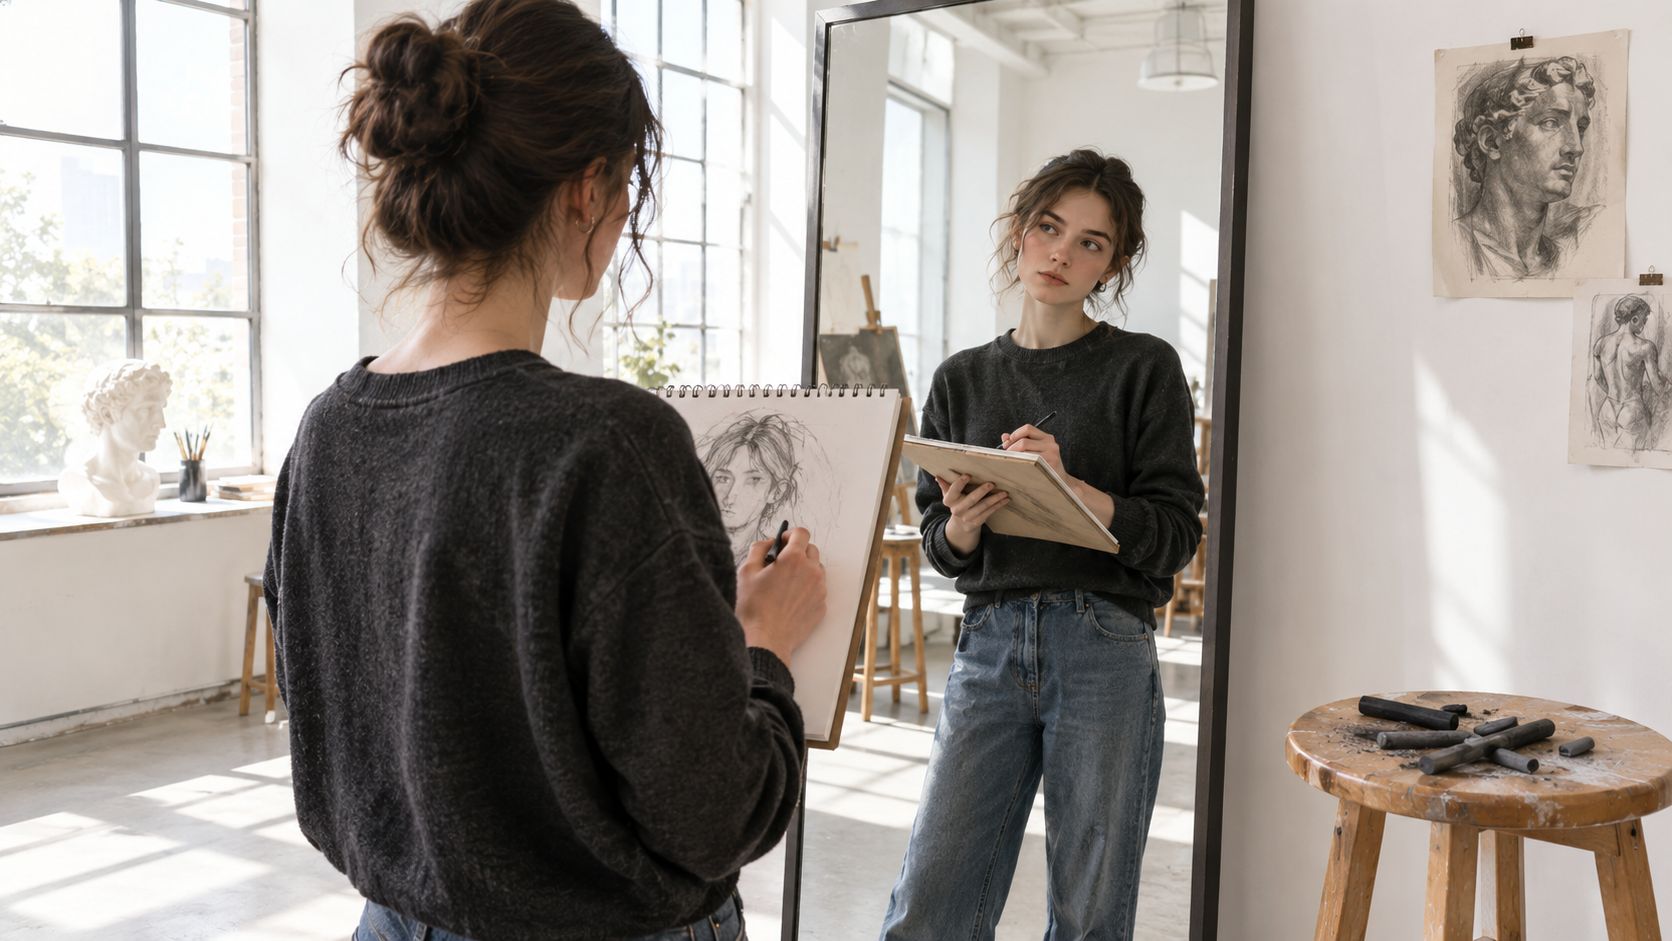
A face can communicate identity through pose, expression, clothing and objects. National portrait institutions use these elements to help learners read portraits, and that approach gives your own drawing greater purpose. A hoodie, a musical instrument, a favourite book or a carefully chosen background can tell the viewer something that accurate lips alone can't.
The historical reach of the genre is also clear from the Channel 4-funded Self Portrait UK campaign, which ran from summer 2002 until February 2003. It involved thousands of participants, from 88-year-olds to schoolchildren, and the resulting work was exhibited at the National Portrait Gallery before touring to Cardiff, Glasgow, Manchester and Belfast in 2003/04.
For a Level 2 or Level 3 portfolio, the strongest self-portrait usually demonstrates visual literacy, critical thinking and process. Keep the failed sketches, changes of pose and notes about your choices. They can reveal more artistic potential than a single overworked face.
Setting Up Your Mirror or Camera Reference
Your reference setup controls the quality of every decision that follows. You don't need a full-length mirror or a dedicated studio. A small mirror, a phone and a stable surface can give you a useful starting point if you control the variables.
Choose the reference you can repeat
A mirror gives immediate feedback, but it can be awkward when you need to look down at the page. A self-timer photo lets you hold a consistent pose and compare the drawing with the same image. For home study, a phone on a pile of books or an inexpensive tripod is often more practical than moving furniture to fit a large mirror.
Try these decisions before you draw:
- Mirror placement: Keep the mirror at roughly eye level and far enough away for your head and shoulders to sit comfortably within view.
- Camera setup: Use a self-timer so your hands and expression settle before the photograph is taken. Take several poses rather than relying on the first image.
- Lighting direction: Place a window or soft lamp to one side. Even light makes observation easier, while a single light source can create stronger planes and shadows.
- Composition framing: Leave a little space around the head and shoulders. Cropping too tightly can make the drawing feel accidental unless that is a deliberate choice.
Work with limited space
If your room is narrow, turn your chair rather than forcing the reference directly in front of you. An angled mirror creates a three-quarter view, which is often more informative than a flat frontal pose. A second mirror can introduce distortion, and drawing from a phone or printed photograph gives you a fixed reference when concentration or movement makes mirror work difficult.
UK museum guidance recommends spending most of your time observing, lightly placing the pose and stepping back to check whether the whole drawing sits correctly on the paper before refining details. That advice is especially useful online, where you may be working without a tutor physically beside you. Photograph your setup and first marks so you can discuss what worked during feedback.
Constructing Your Self-Portrait with Light Lines
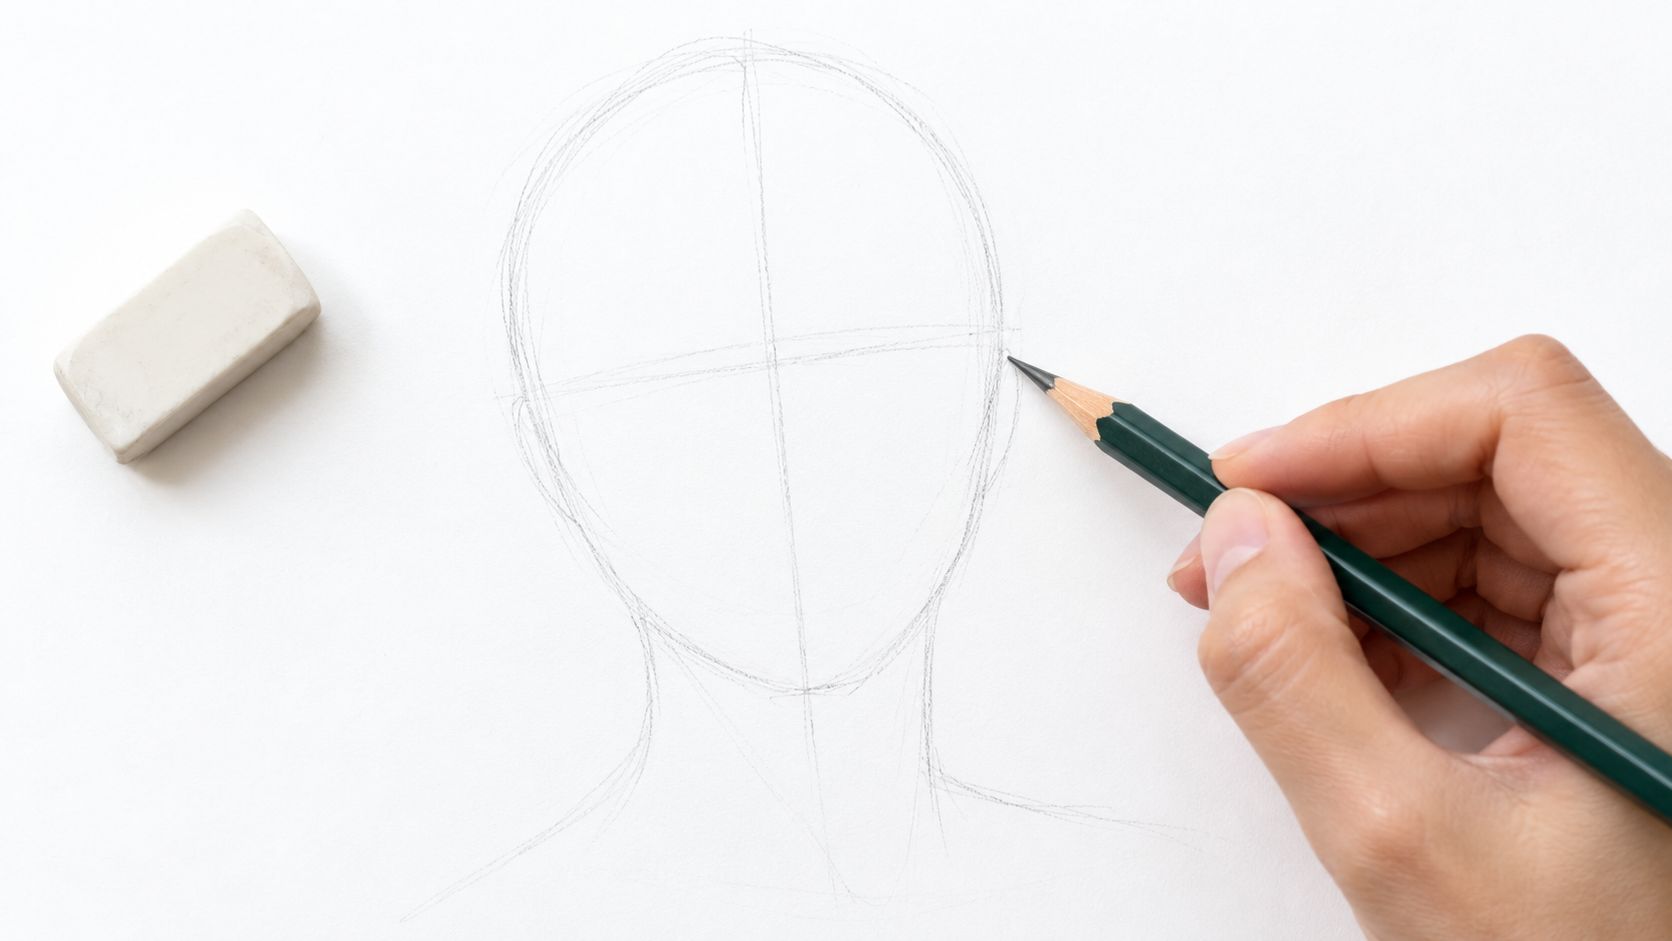
Begin with a soft pencil and a light touch. The first marks shouldn't describe eyelashes or individual hairs. They should establish the size, tilt and position of the head on the page.
Start by indicating the outer shape with a loose oval or angular contour. Add a central line that follows the direction of the face, then place a horizontal line across the eye area. These aren't rigid rules. They're adjustable guides that help you compare the relationship between features rather than drawing each feature in isolation.
Build from large shapes
Observe the reference, make a small adjustment, then look back at the reference. Repeat that cycle before adding detail. Mark the position of the brow, base of the nose and mouth as simple shapes, and check their spacing against the head shape.
The Liverpool Museums life-drawing guidance stresses observation, light placement and stepping back to verify the drawing as a whole. If the portrait looks wrong from a distance, adding detail won't solve the structural problem. It usually makes the correction harder because you become attached to inaccurate marks.
Practical rule: If you can see the construction lines clearly from across the room, your early marks are probably too dark.
Don't erase every guide as soon as you place it. Keep enough of the framework visible to compare the final features with the original structure. You can soften unnecessary lines later with a putty eraser, but you can't use erasing to replace careful observation.
For more practice with proportion, line control and visual checking, use this guide to get better at drawing.
The video below provides a further visual demonstration of the construction approach:
Once the framework is stable, refine the contour gradually. Look for the particular shape of your jaw, the angle of your nose and the way your eyelids sit. These irregularities carry more identity than a generic symbol for an eye or mouth.
Shaping Identity Through Pose, Lighting and Viewpoint
A technically accurate face can still produce a weak self-portrait if every creative decision remains neutral. Pose, light and viewpoint determine what the viewer understands about you before they inspect individual features.
The National Portrait Gallery self-portrait guide encourages artists to decide what to include or leave out and to experiment with different poses. That choice turns the drawing into an interpretation. A straight-on head with relaxed shoulders may suggest openness, while a turned body, lowered chin or direct gaze can create tension.
Use light to describe character
UAL recommends experimenting with a single-light setup for dramatic shadow, high and low camera angles, and a two-mirror arrangement for distortion. These methods aren't useful because they make a portrait look more complicated. They're useful because they alter the viewer's access to the face.
A low viewpoint can give the sitter greater presence. A high angle may make the figure appear more exposed. Side lighting can divide the face into clear planes, but it also creates a trade-off: dramatic shadows may communicate mood while hiding information you need for accurate construction.
Don't treat symmetry as the main measure of success. The National Portrait Gallery's schools resources frame self-portraiture as an identity exercise rather than pure likeness. Expression, omission and composition can therefore matter more than making both sides of the face match.
If your shadows become difficult to read, study how a cast shadow works before darkening the entire face. Keep the lightest areas clean and build the darker forms in layers.
For students developing a broader visual language, a creative character design overview can help connect facial choices with costume, silhouette and narrative. Your self-portrait doesn't need to become a fictional character, but character-design thinking can encourage you to ask what the whole image communicates.
Make the decision visible
Write a short note beside your study explaining why you selected the pose, viewpoint or lighting arrangement. This turns an instinctive experiment into evidence of critical thinking. A portfolio reviewer can then see the connection between the visual decision and the intended identity.
Finishing Your Drawing for Portfolio Submission
A strong self-portrait can still weaken an application if the portfolio shows only the final image. Admissions teams usually need evidence of how you developed the work, changed your decisions and handled visual problems.
For UK applications, a digital portfolio may include research, development work, sketchbook pages, finished pieces and brief reflective text. The University of Edinburgh portfolio preparation guide gives one strict example: one PDF containing up to 20 pages and a maximum file size of 50MB. Check the course requirements before exporting, particularly if you are working from home with limited equipment and need to photograph pages individually.
Present the process, not just the result
Photograph the drawing in even light. Keep the camera parallel to the paper, check focus and crop away distracting background. If you work at a kitchen table or on a small desk, pin the sheet flat or photograph it in stages rather than accepting a skewed, shadowed record.
Select construction studies, alternative references, tonal tests and a short reflection. Show the decisions that led to the finished portrait, but remove near-identical pages. A compact sequence often communicates development more clearly than a crowded upload.
Birmingham City University states that applicants may have 28 days after an invitation to submit a digital portfolio review, so organise files before a deadline arrives. The guide to making an online art portfolio offers practical help with image order, file naming and presentation.
University portfolio requirements at a glance
| Institution | Page/Image Limit | File Format | Additional Requirements |
|---|---|---|---|
| University of Edinburgh | Up to 20 pages | 1 PDF, maximum 50MB | Research, development work, sketchbook pages, finished pieces and short reflective text |
| Bath Spa University | Around 15 to 20 images | Digital portfolio format specified by the course | Curated creative work presented selectively |
| Dundee | Up to 15 pages | Digital portfolio format specified by the course | Contents page and evidence of research, development and sketchbooks |
The Bath Spa and Dundee figures come from their respective portfolio advice and Fine Art portfolio criteria. The difference in limits affects your editing: a larger allowance can accommodate more process evidence, while a shorter submission demands sharper selection and clearer sequencing.
Dundee assesses research, development and sketchbooks, creativity and originality, practical competence, presentation and selection, and subject engagement. Your final drawing shows what you made. The surrounding studies show thinking, editing and persistence.
Adapting Self-Portrait Drawing for Online and SEND Learners
Standard tutorials often assume a quiet studio, stable lighting and a mirror that stays in exactly the right place. Many learners work at a kitchen table, share a room, manage visual fatigue or need to change position regularly. A useful self-portrait method must adapt to the learner rather than treating the environment as a failure.
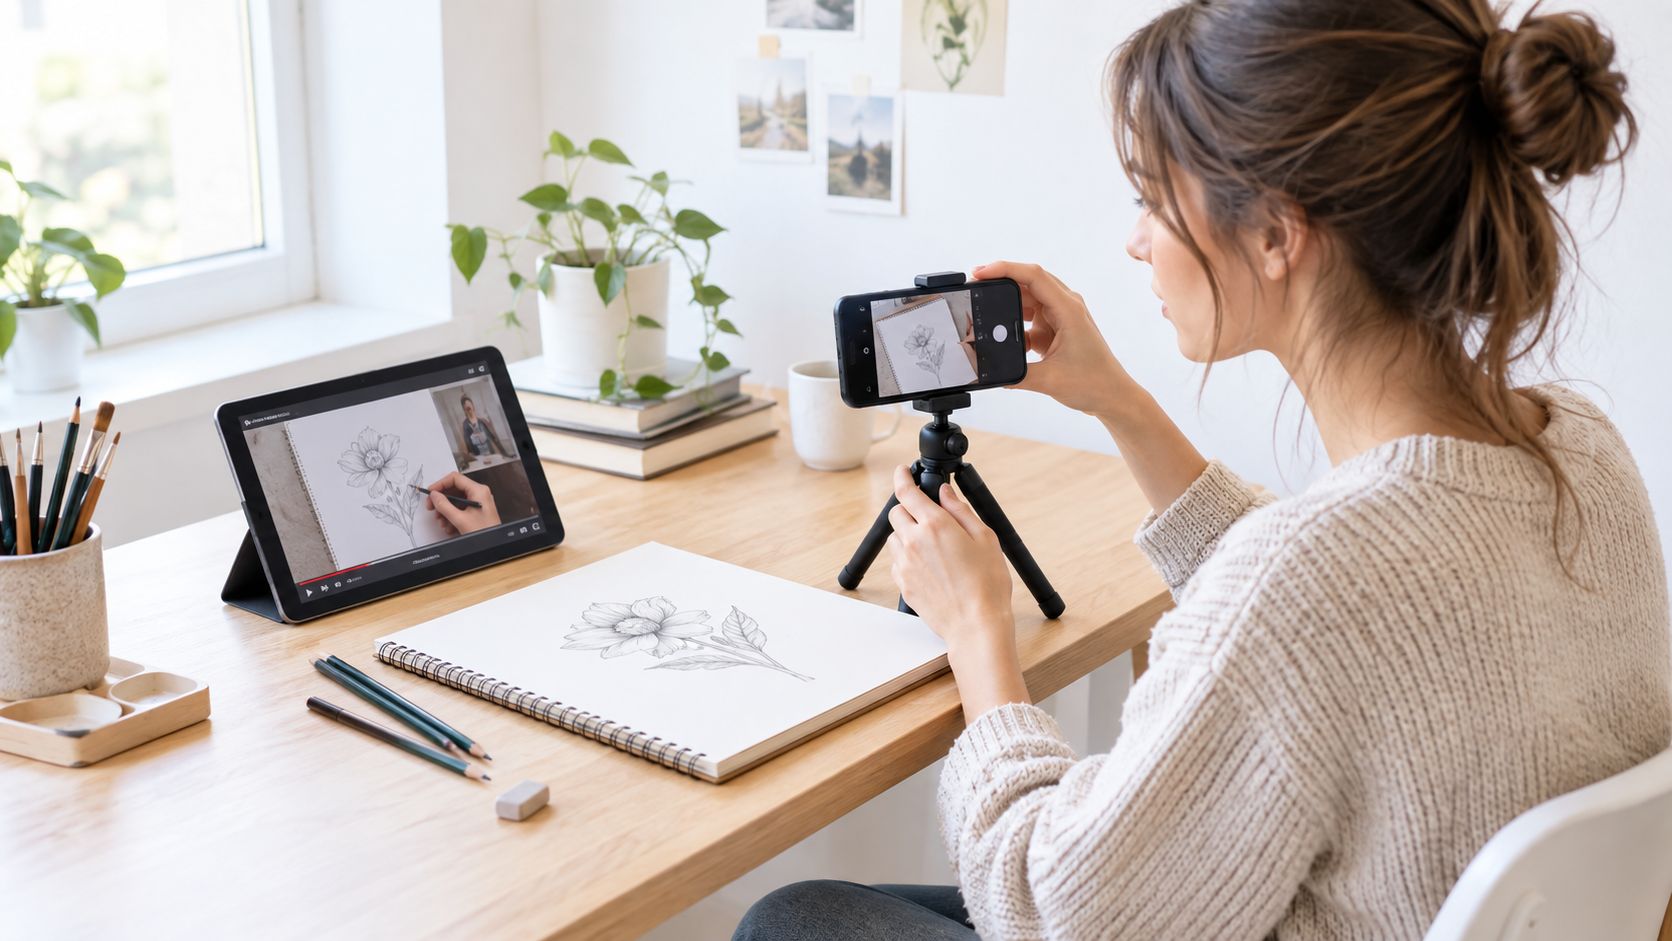
Use the reference that creates the least strain. A self-timer photograph can remove the need to alternate constantly between mirror and paper. An angled mirror can provide a different viewpoint in a small room, while a phone or printed image gives you a fixed surface to revisit.
Reduce the number of variables
If uneven lighting makes tonal judgement difficult, take a second reference photograph near a window and compare the shadow shapes rather than trying to correct the room while drawing. If looking at a screen is tiring, print the image or enlarge only the area you're studying. If holding a pencil for a long session causes discomfort, work in shorter blocks and photograph each stage for later comparison.
Two mirrors can create intentional distortion, but they can also make proportion harder to judge. Use that method when the distortion is part of your idea, not because it seems more advanced.
BBC Teach demonstrates mirror-based self-portrait drawing for school audiences, while UAL and the Courtauld encourage camera references, alternative viewpoints and tonal observation. These options support a broader question: how can you make a meaningful portrait with the equipment and energy available today?
For SEND learners, agree practical adjustments in advance. Larger paper, a softer pencil, a high-contrast reference, verbal prompts or a more flexible submission sequence can help you focus on observation and expression. The strongest adaptation preserves the artistic decision while removing an unnecessary physical or sensory barrier.
Frequently Asked Questions About Self-Portrait Drawing
Should I use a mirror or a photograph?
Use the reference that lets you observe consistently. A mirror gives you a live relationship with your expression, but you may lose the pose when you look down to draw. A self-timer photograph is easier to pause, enlarge and compare, particularly in a home-study setting. You can also combine them, using the mirror to establish the pose and the photograph to check details.
Why does my portrait look like a different person?
The problem is usually structural rather than a lack of detail. Check the head tilt, central facial line, eye level and spacing between the main features. Step away from the page and compare the whole drawing with the reference before changing the eyes or mouth. A small shift in the jaw or feature alignment can alter the entire likeness.
Should I aim for photorealism?
Not unless photorealism supports your intention. A convincing self-portrait can be expressive, abstract, distorted or highly graphic. At Level 2 and Level 3, assessors need to see purposeful choices, so explain why you've used a particular medium, viewpoint, colour scheme or mark-making style.
How do I show development in my portfolio?
Include the decisions that changed the image. Useful evidence might include small pose sketches, lighting tests, proportional studies, material experiments and a short reflection on what you kept or rejected. Select pages that show progression rather than uploading every attempt. Dundee's portfolio criteria place value on research, development, sketchbooks, creativity, practical competence, presentation and subject engagement, so your process should support the final work rather than sit beside it without explanation.
What can I do if I don't have a good mirror?
Use a phone on a self-timer, a printed photograph or two angled mirrors. Keep the camera stable and repeat the pose so your reference doesn't shift between sessions. If your space is limited, crop to the head and shoulders and use the background as part of the composition. Uneven lighting can also become a deliberate feature if you record where the light comes from and build the tonal structure carefully.
How can I make the portrait feel personal?
Choose one element that carries meaning, such as clothing, an object, a gesture or a particular crop. Decide what the viewer should notice first. Then support that decision through pose, contrast, colour and line. Personal work doesn't require an unusual subject. It requires a clear reason for the choices you make.
Is self-portrait drawing useful for university applications?
Yes, when it demonstrates more than facial copying. A self-portrait can show observation, proportion, material control, composition, reflection and a developing visual identity. Present the finished drawing with selected studies and annotations so the viewer can follow your decisions from first marks to final image.
A structured online course can add tutor feedback, accessible pacing and portfolio guidance when independent practice leaves you unsure what to improve. The Online College of Art & Design (OCAD) offers flexible, tutor-led pathways from entry level through Level 3, including art and design qualifications, foundation diplomas and dedicated SEND routes. Visit The Online College of Art & Design (OCAD) to explore courses that can help you develop self-portrait work into a supported, university-ready portfolio.