

You've set up a hand or a plant in front of you, started drawing what you think you can see, and then looked down to find a strange, stretched shape on the page. That moment is frustrating, but it's also useful. It shows the difference between drawing from a remembered symbol and responding to the actual edges, angles and spaces in front of you.
Blind contour drawing turns that problem into the exercise. You keep your eyes on the subject rather than the paper, and you move the pencil continuously as your gaze travels around the form. The finished image may look awkward, but the practice develops observation, eye-hand coordination and patience. UK art education has used the method as a purposeful observational exercise, not as a drawing game. University of the Arts London research records its place in art-school teaching and its connection with costume-design education.
The important question isn't whether the result looks realistic. Ask instead: Did my eyes stay with the subject? Did my hand follow at a deliberate pace? Did I keep the line moving? Those questions will help you use the exercise in a Level 2 or Level 3 sketchbook, adapt it for your access needs, and develop it into stronger portfolio evidence. For broader sketchbook habits, you can also explore this guide to why every artist should keep a sketchbook.
Table of Contents
- Why Blind Contour Drawing Belongs in Your Sketchbook
- How the Exercise Actually Trains Your Eye
- Running a First Session That Actually Works
- Comparing the Main Variations and When to Use Them
- Building a Portfolio Page Around the Exercise
- Making the Exercise Work for Disabled and Neurodivergent Learners
- What to Try Next and How to Track Progress
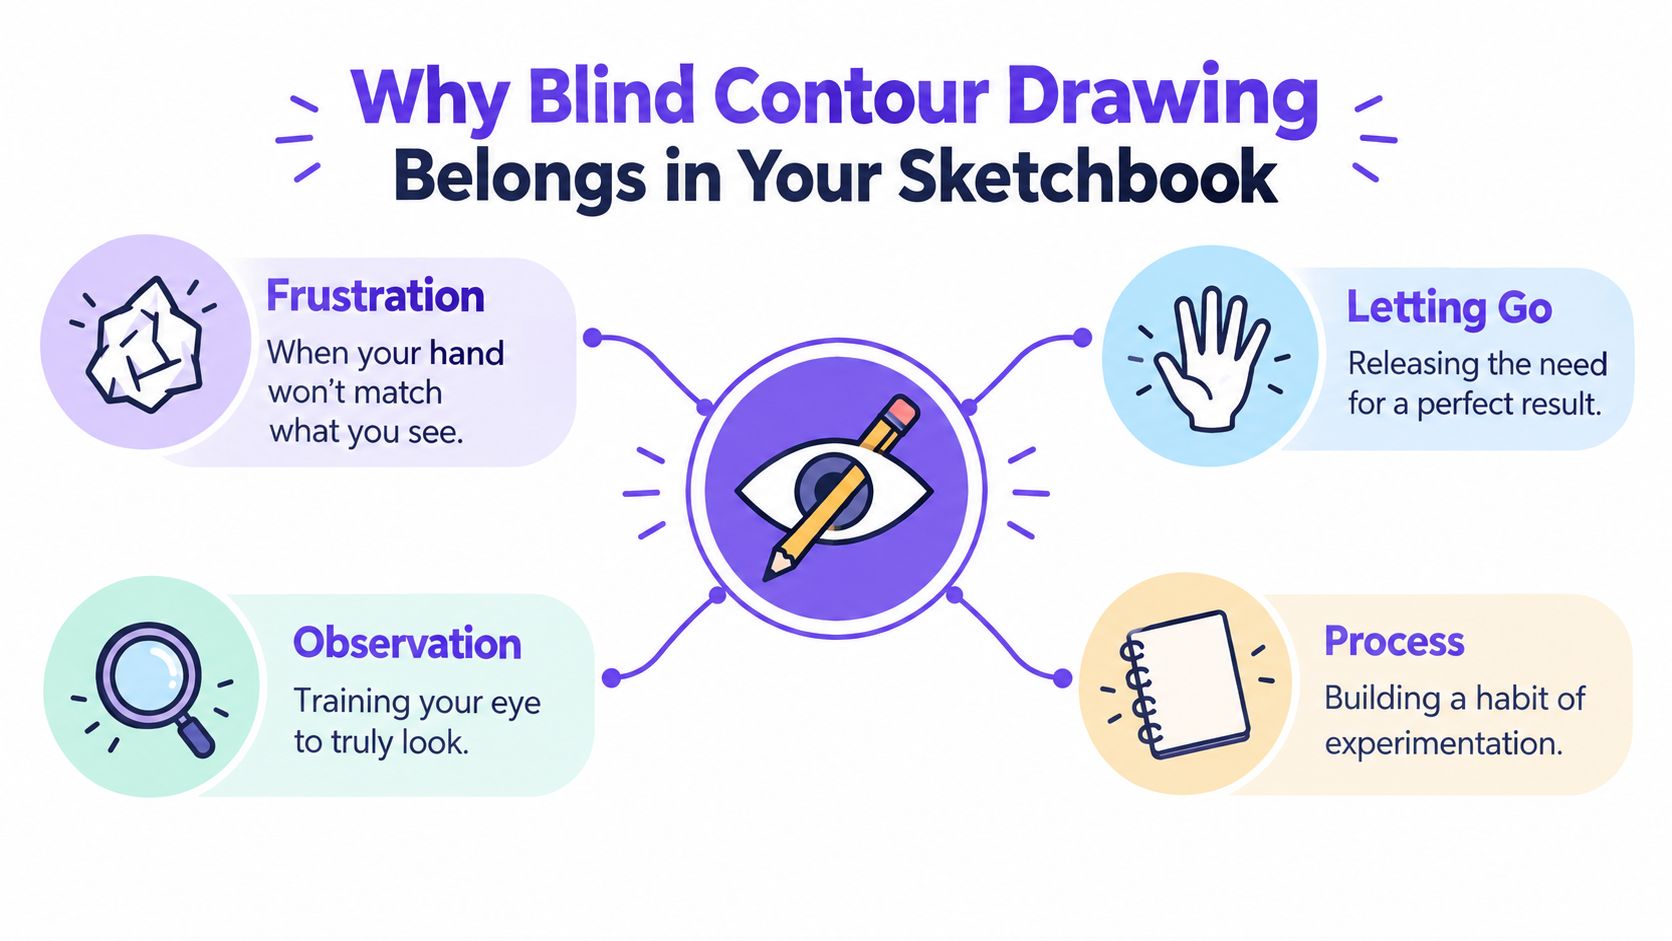
Why Blind Contour Drawing Belongs in Your Sketchbook
A blind contour drawing belongs in your sketchbook because it records how you looked, not just what you produced. The exercise removes your usual opportunity to correct proportions as you work. That can feel like losing control, but it gives you a clearer view of your attention, pace and assumptions.
Start with observation, not resemblance
Choose a moderately complex object, such as a plant, shoe, folded sleeve or your non-drawing hand. Place it where you can see its outline comfortably. Begin at a clear point, such as the tip of a finger or the top of a leaf, then let your eyes travel slowly along the edge.
Your pencil should mirror the movement of your eyes. If the edge bends slightly, your hand should respond to that change. If the subject contains a notch, overlap or uneven surface, allow the line to register it instead of replacing it with a neat symbol.
Practical rule: Treat the page as a record of attention, not a test paper.
The no-looking rule matters because checking the drawing encourages you to draw what you expect. A hand becomes a generic hand shape. A leaf becomes a simple pointed oval. Blind contour drawing interrupts that shortcut and makes you stay with the particular subject in front of you.
Keep the imperfect page
Don't tear out the drawing because it looks tangled. Label the subject, date the study and add one sentence about what disrupted your attention. A note such as “I rushed around the thumb” gives the page more educational value than a polished drawing with no explanation.
That makes the exercise useful for progression work. You can compare an early attempt with a later study, identify where your pace changed, and show that your sketchbook contains decisions, experiments and reflection. The awkward line is not a failed final piece. It's evidence of a process you can analyse.
How the Exercise Actually Trains Your Eye
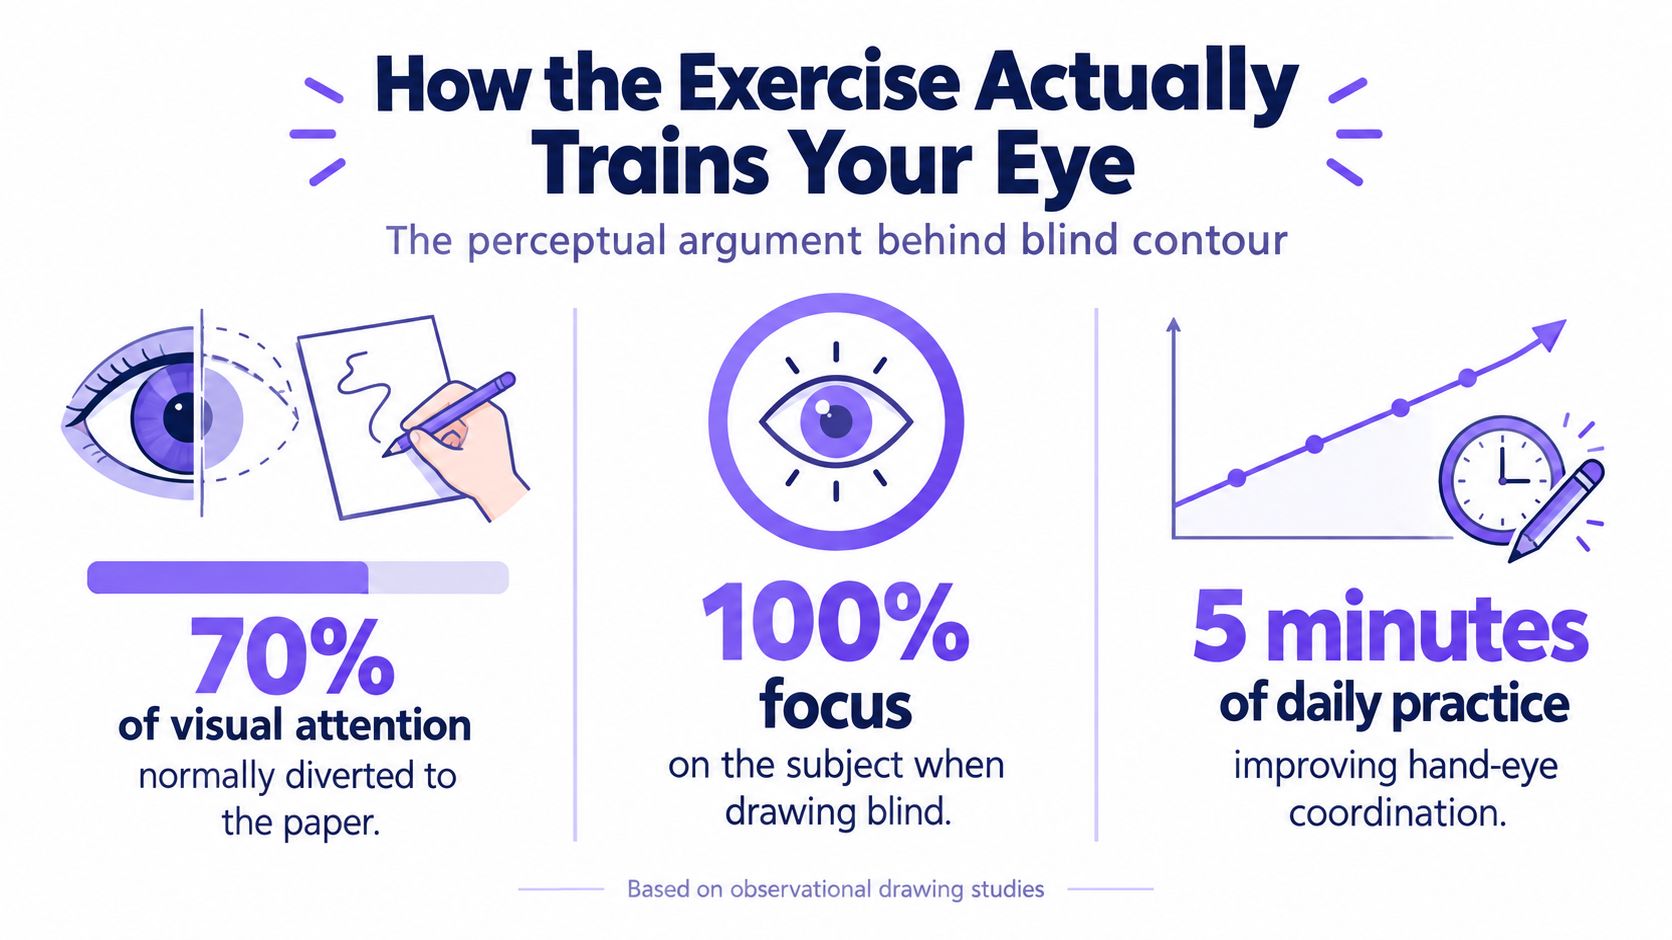
The exercise works by separating two actions that usually compete for attention. Your eyes inspect the subject, while your hand records information without receiving constant visual confirmation from the page. That separation makes the connection between seeing and marking easier to notice.
UK research involving seven second-year students at Camberwell College of Arts examined this demand through eye tracking and drawing tasks. In conventional tracing conditions, the reported shape error was 0.2%, scale error was 1.2%, and rotation error was 0.1%. Those figures came from the study's tracing condition, not from a claim that every learner will achieve the same result. The UK eye-tracking study is useful because it shows how different the task becomes when the paper can't be checked.
What the research means at the desk
Across 21 blind experiments, 16 copies were larger than the source and 5 were smaller. Even experienced art students made severe errors during 100% blind drawing, where their eyes remained on the original throughout. The small sample shouldn't be generalised to all UK learners, but it highlights a valuable teaching point: blind contour drawing exposes the consequences of separating visual attention from the drawing surface.
You can use that information to adjust your behaviour before starting:
- Watch the pace: If your hand moves faster than your eyes, you'll skip turns, gaps and small changes in direction.
- Protect correspondence: If your eyes move too far ahead, your pencil loses its position on the page.
- Notice scale drift: A line that feels accurate locally can still create a larger or smaller overall copy.
- Resist symbolic shortcuts: Draw the edge you see, not the object you think you know.
The historical context also matters. The University of the Arts London thesis identifies 1941 as the year Kimon Nicolaïdes introduced the method and 1979 as the year Betty Edwards popularised it. It describes the exercise as widely used by art teachers, which connects blind contour drawing to established studio pedagogy rather than treating it as an internet novelty.
The purpose is therefore broader than accurate copying. The exercise develops sustained observation, eye-hand coordination and a reduced dependence on familiar symbols. UK guidance also distinguishes blind continuous-line drawing from ordinary contour drawing, because ordinary contour drawing allows the artist to look at the page.
Running a First Session That Actually Works
A successful first session needs a clear protocol. Without one, students often choose a subject that's too complicated, draw too quickly, check the page repeatedly, or judge the result before they understand what the exercise asked them to do.
Use one pencil and a sheet of paper. A pen can work later, but a pencil may feel less intimidating during your first attempt. Sit at a comfortable distance from the subject and position the paper so your arm can move without strain.
Set up the subject and the rule
Choose a single object with a readable edge and some variation. A plant, shoe, hand or doll works well. The CCEA's UK drawing-techniques guidance describes the process as following the subject's edge with the eye while synchronising the pencil with the point being observed.
Use this sequence:
- Place the pencil: Put it at the point on the page that corresponds to where you'll begin.
- Begin looking: Move your eyes slowly along the subject's contour.
- Keep contact: Move the pencil continuously and don't lift it to correct or restart.
- Match the speed: Let the hand follow the eye. Neither should race ahead.
- Finish before checking: Look at the page only after the contour is complete.
The timing matters. Drawing too quickly causes omissions. Drawing too slowly breaks the relationship between your gaze and your mark. Your tutor can assess sustained looking, continuous implement contact, deliberate pace and your willingness to retain errors. Resemblance is a weaker measure for this particular exercise.
Use three passes
A short session can build from low pressure to greater complexity. The durations below are a practical structure, not a validated success benchmark.
| Pass | Duration | Subject | Focus |
|---|---|---|---|
| Warm-up | Short | A simple object | Settle your gaze and hand |
| Main contour | Longer | A hand or plant | Maintain uninterrupted observation |
| Reflection | After drawing | The completed page | Identify where pace or complexity disrupted synchronisation |
For the final pass, write three notes: where did my eyes slow down, where did my hand rush, and which edge or overlap did I simplify? Add a small arrow to the relevant area of the drawing. That turns an unexplained result into a useful diagnostic page.
You can extend this approach through a Level 2 learning-to-see drawing task, especially if you need to connect observation exercises with coursework language.
Comparing the Main Variations and When to Use Them
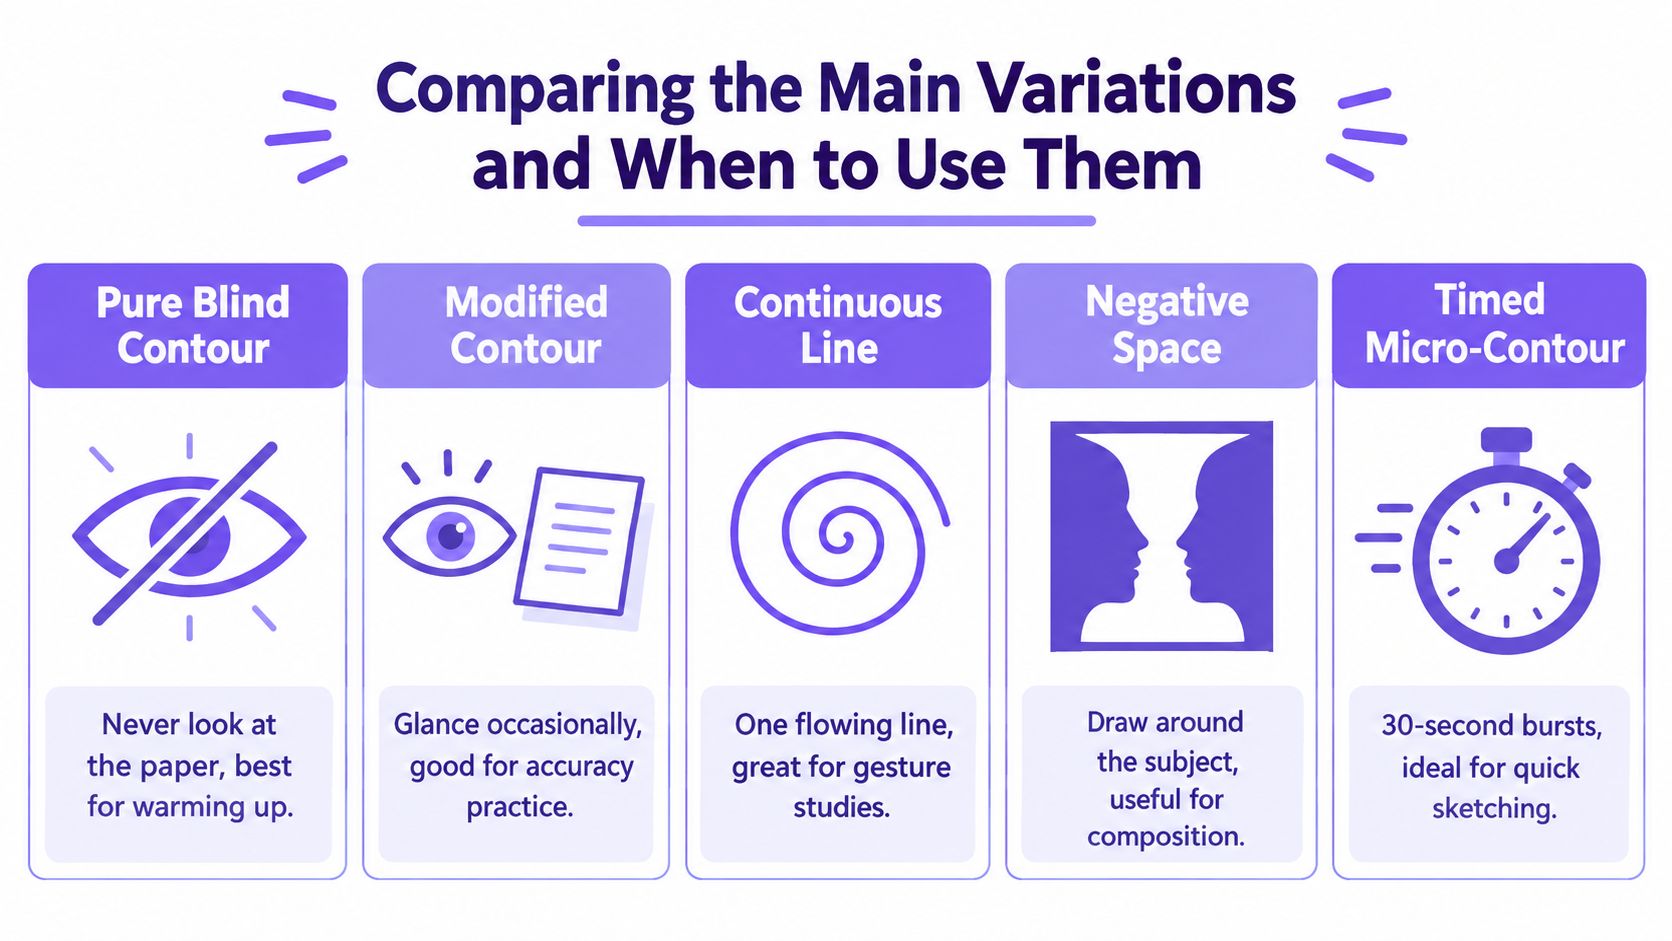
Not every contour exercise has the same purpose. The key difference is how much visual access you give yourself and whether the line must remain continuous.
Match the version to the learning goal
Pure blind contour keeps your eyes on the subject for the whole drawing. Use it when you want to challenge sustained observation and expose the difference between seeing and assuming. Don't judge it by likeness.
Modified contour allows occasional glances at the page. This is useful when you're moving towards proportion and placement, but it no longer tests uninterrupted visual attention. Record when you looked down so the method remains clear.
Continuous-line drawing keeps the pencil moving in one unbroken line, but it may allow you to look at the paper. It supports studies of gesture, connection and flow. It isn't automatically blind contour drawing.
Negative-space drawing focuses on the shapes around or between the subject. It can help with composition and edge judgement, particularly when the object's outline feels too familiar. The main learning target is the surrounding shape, not direct copying of the object.
Timed micro-contours divide the task into brief bursts. They suit quick observation, concentration practice and learners who find a long uninterrupted attempt tiring. You can use a very simple subject and reflect after each burst.
Choose the variation before you start. Otherwise, you won't know whether a difficulty came from the subject, the rule or your pacing.
A modified version isn't a lesser exercise. It answers a different question. If your aim is to build a portfolio page showing observation and development, placing a pure blind contour beside a modified contour can demonstrate how your working method changes. Label both clearly, including whether you looked at the page and whether you lifted the pencil.
Building a Portfolio Page Around the Exercise
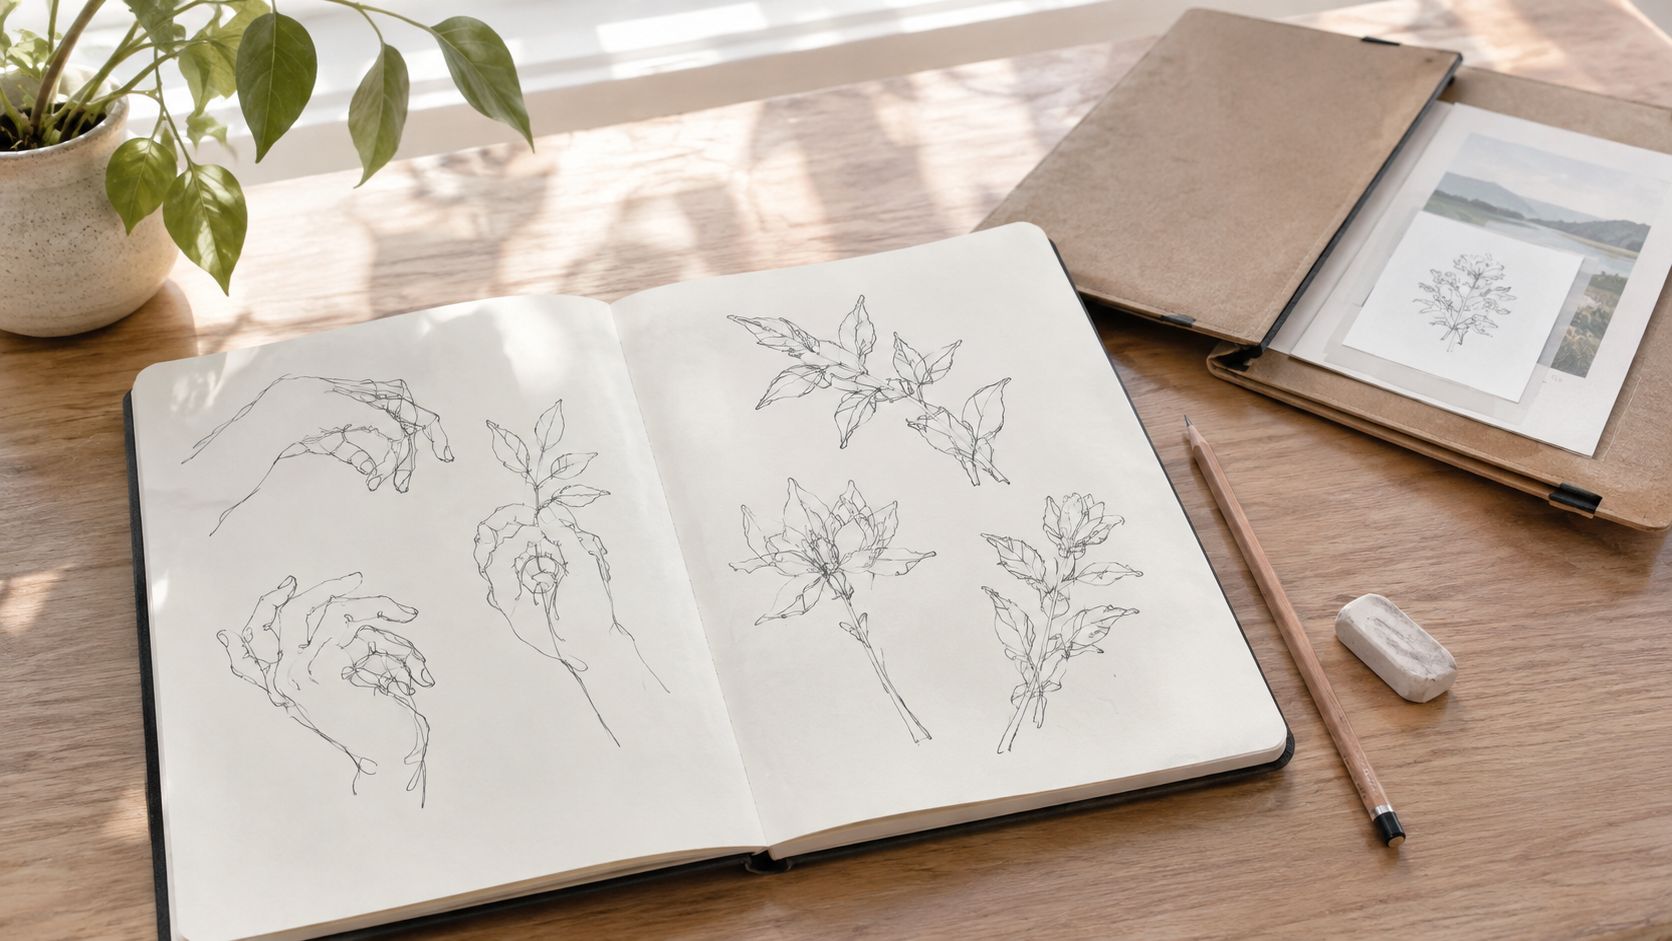
A blind contour drawing becomes stronger portfolio evidence when you present it as part of a decision-making sequence. A single tangled image may show that you attempted the exercise, but a page can show what you noticed, changed and developed afterwards.
Build the page as a process record
Put the observed subject beside or above the drawing if you can. Then add the materials, date, chosen variation and a short reflection on the no-looking rule. A follow-up study might use the same hand or plant with modified contour, measured observation, shading, collage or colour.
This arrangement connects the exercise to the evidence requested by UK creative courses. Loughborough University's portfolio guidance asks applicants to show research, drawing, experimentation with media and techniques, personal responses, and development from original sources and direct observation. Your blind contour can serve as the first stage in that chain.
For GCSE, AS and A level art and design, government examination guidance describes assessment as a portfolio worth 60% and an exam-board-set task worth 40%. The government examination guidance describes the portfolio as sustained practical development, while the set task is completed under supervised conditions within a fixed period. A blind contour page can support the portfolio component when it forms part of an intentional investigation, but it can't replace a wider range of development and resolved work.
Select rather than fill
University applications usually benefit from a curated body of work, not every exercise you have made. Anglia Ruskin University recommends approximately 15 to 20 pieces or projects, with no more than 30, and encourages direct observational drawing, research, development and thought processes. Its portfolio guidance also recommends good-quality scans or photographs in an accessible digital format such as a PDF.
Use a blind contour page when it demonstrates one of these points:
- Observation: You worked from a real subject rather than copying a photograph.
- Experimentation: You tested a rule, material or variation.
- Development: You transformed an uncontrolled line into a later study.
- Reflection: You can explain what the exercise revealed about your choices.
Don't include a page just because it looks unusual. Include it because it helps an admissions tutor understand how you work.
Making the Exercise Work for Disabled and Neurodivergent Learners
The phrase “never look at the paper” shouldn't become a barrier to participation. The core learning purpose is observational attention and eye-hand coordination, while the strict rule is one method for reaching that purpose. Learners with visual fatigue, tremor, motor-control limitations, dyslexia, autism-related sensory needs or difficulty sustaining gaze may need a different route.
The available activity guidance often explains the basic task without offering enough practical SEND adaptations. UK arts participation data reported that 90.6% of adults engaged with the arts in 2024/25, but that figure doesn't establish that every activity is accessible or equally usable for disabled participants. The inclusive learning discussion is useful as a starting point for recognising this gap.
Adapt the tool, surface and timing
Try one change at a time so you know what helped:
- Reduce visual strain: Use larger forms, strong contrast and a comfortable viewing distance.
- Support motor control: Choose a chunky pencil, pencil grip, larger paper or a tablet stylus.
- Lower sensory pressure: Offer a quiet space, predictable instructions and a familiar tactile object.
- Shorten the demand: Use timed micro-contours rather than one long attempt.
- Change the viewing barrier: A paper plate or card can hide the drawing surface while allowing a more comfortable posture, an adaptation described by the University of Brighton visual-learning guidance.
- Use prompts: Audio cues can remind the learner to slow down, notice an edge or pause safely.
- Allow controlled access: A planned glance at the page may be more useful than forcing distress or fatigue.
A tutor should explain what changes when an adaptation is introduced. If a learner glances at the page, assess the resulting work as modified contour rather than pure blind contour. That isn't failure. It's accurate assessment language.
The UDL practical guide offers a helpful framework for planning more than one route into a learning activity. In practice, assess sustained attention, deliberate pacing, reflection and engagement with the subject. Don't treat an unconventional line as evidence that the learner has missed the point.
Protect choice and dignity
Some learners may prefer seated observation, a tactile subject or a simplified object. Others may need permission to stop before fatigue affects control. Ask what support is useful, explain the purpose of each rule, and agree how the work will be labelled in the sketchbook.
An adaptation changes the exercise's purpose only when it removes the element you intended to investigate. If your focus is visual attention, allowing a brief page check may preserve the wider learning objective while changing the technical category. Make that distinction explicit rather than presenting access support as a compromise.
What to Try Next and How to Track Progress
Use the next four weeks as a progression, not a demand for perfect drawings. Begin with simple objects and short observations, then introduce a hand or plant, followed by a modified contour and a developed study. Keep each page so you can compare your decisions rather than relying on memory.
Write the same short reflection after each attempt:
- Subject: What did I observe?
- Pace: Where did my hand move too quickly or slowly?
- Attention: When did I lose contact with the edge?
- Next move: What will I change in the following study?
A useful next step may be to turn a blind contour into a controlled line drawing, a larger composition, a tonal study or a mixed-media response. You can also use this guide to getting better at drawing to place the exercise within a wider practice routine.
By the end of the sequence, your sketchbook should show more than a collection of unusual outlines. It should show process, experimentation and sustained development. Those terms matter in coursework and university applications because they explain how one observation leads to another decision.
The Online College of Art & Design (OCAD) offers flexible, tutor-led art and design study from entry level through Level 3, including portfolio-centred coursework, online studio resources and SEND-specific foundation pathways. If you want structured feedback while developing observation work for progression, visit The Online College of Art & Design (OCAD) and explore the available courses.