

You've opened a new sketchbook, sharpened a pencil and suddenly found something else to do. The first page feels too clean for an ordinary drawing, especially if you're comparing it with carefully edited sketchbooks online.
Learning how to start a sketchbook begins with changing its job. It isn't a display case for finished art. It's a working record of what you notice, test and change, useful whether you're drawing for pleasure or developing evidence for a creative qualification and university portfolio.
Table of Contents
- Choose the Right Sketchbook for Your Medium
- How to Fill Your First Spread
- Build a 15-Minute Routine You Will Keep
- Get Past the Blank Page and Perfectionism
- Turn Your Sketchbook into Evidence of Growth
- Date Your First Page Today
Choose the Right Sketchbook for Your Medium
Sketchbook types and the paper they suit
| Sketchbook type | Best for |
|---|---|
| A5 or A6 hardback, cartridge paper, 90–120gsm | Pencil and ink studies on the move |
| Spiral-bound sketchpad, 110–140gsm | Fast observational drawing and flat-lying pages |
| Mixed media book, 150–200gsm | Watercolour, gouache and ink wash with less buckling than lightweight drawing paper |
| Loose-leaf or ring-bound journal, with sheets selected for each task | Collage, printed photographs and pages added later |
| Digital tablet sketchbook, no paper required | Sketching when paper or storage space is limited |
What will you use: pencil, pen or paint? Answer that before choosing a cover. Paper weight matters more than page count when the alternative is a thick book whose sheets can't handle your materials.
For predominantly pencil work, I would start with 100gsm cartridge paper. If you're planning wet media, move towards 200gsm, ideally paper labelled for mixed media or watercolour. These are practical buying recommendations, not guarantees: sizing, surface texture and the amount of water you use also affect performance.
Thin paper can show marks through from the reverse, while absorbent sheets may let ink bleed. Even heavier mixed media paper can buckle under a soaking wash. For repeated wet layers, dedicated watercolour paper is a better choice than expecting a general-purpose sketchbook to behave like it.
Choose a format you'll carry
An A5 book fits a bag and gives you room for a drawing beside its notes. An A6 book is easier to carry but less comfortable for broad arm movements. A large A3 pad offers space for expressive drawing, yet it's less useful for spontaneous work if you leave it at home.
Spiral binding lets pages lie flat, although the wire can catch inside a bag. A hardback supports drawing without a table but may resist opening fully. Loose-leaf formats accommodate bulky collage; keep sheets dated so their order remains understandable.
Buying rule: Choose the book you'll carry, not the one that looks best on the shelf.
Start with one book, an HB pencil, an eraser and a pen you already own. Test ink on a back page before committing to a spread. A second attractive book won't solve uncertainty about what to draw.
How to Fill Your First Spread
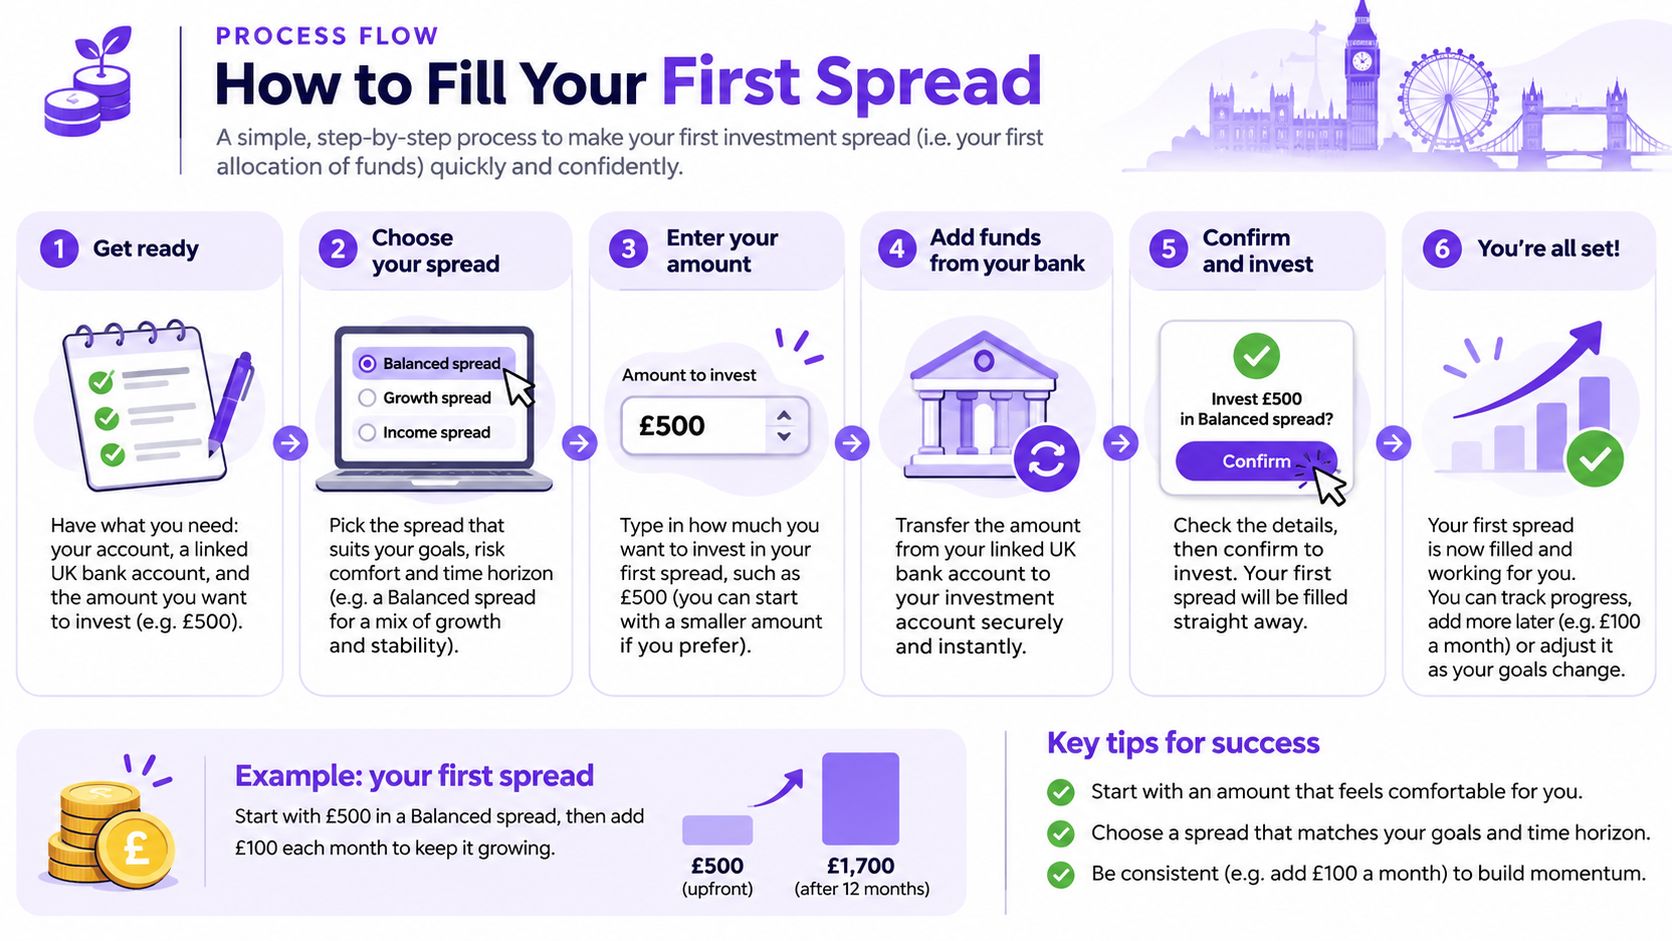
Put a houseplant on the table and set one question for the whole spread: how does it change when you draw its outline, its shadows, then the gaps between the leaves? An ordinary subject earns its place because you can return to it without arranging a special session, and a recorded investigation like this reads as early portfolio evidence rather than decoration.
A first spread that works as a process record needs questions and comparisons on the page. This sequence keeps each decision visible.
Date the page and identify the subject. Note where you are working and whether the object is directly in front of you. Dates let you compare decisions weeks later without relying on memory.
Draw fast from life. Spend one to two minutes on each attempt and leave the eraser alone. Start with the overall shape of a chair or shoe before touching any detail. Wrong lines stay on the page; they show where you revised your judgement.
Change the view. Draw larger, move closer, crop the object or look down at it from above. Try continuous contour in one study and short directional marks in another.
Compare two materials or processes side by side. An HB pencil and a fineliner give a clear contrast. A dry ink line beside a diluted ink wash shows two different ways of building tone. Label every test, because an unlabelled comparison means nothing later.
Write 50–100 words on what changed and why. Replace vague praise with a decision: the heavier outline flattened the leaf, while broken marks described its curled edge more convincingly.
Pick the next experiment from the page itself. If the overlapping leaves confused you, investigate negative space next instead of grabbing an unrelated prompt from a list.
Keep observation separate from borrowed imagery
The most common slip is copying attractive internet images without recording any observation of your own. Mark each study as first-hand recording or secondary research, and name the source of anything borrowed. That habit matters more than it looks: reviewers can only credit what they can attribute.
Reducing your own study to a clean outline is a legitimate line exercise in this category. TattoosAI's guide to prepare a drawing for stenciling shows how a complex drawing gets simplified into workable outlines, which is the same judgement you make when refining a sketchbook study. Keep the original beside the simplified version so the decisions stay visible.
For wider context, Arts Council England's visual arts profile reports that 35.6% of adults in England participated in visual arts in 2016/17. Starting an investigation of your own requires no specialist facilities.
Build the spread across the week rather than in a single sitting: three to five observational studies, a couple of material comparisons and a short written reflection. The result is a dated, labelled record of your decisions, which is the same format assessors later read as evidence of development. A healthy first spread holds varied marks, legible notes and at least one attempt you would not show a friend.
Build a 15-Minute Routine You Will Keep
Minimum routine: time split within each 15-minute session
| Session block | Minutes | What goes on the page |
|---|---|---|
| Contour or proportion measurement | 2 | Quick lines checking edges, angles and ratios |
| Observational drawing | 8 | One subject drawn from life in several small attempts |
| Annotation or material test | 5 | Notes on what changed and one next action |
| Total session | 15 | One dated entry, four times a week |
Use this as a minimum viable routine, tied to an existing cue such as finishing breakfast or sitting down before study. Leave the book and pencil together where that cue happens. Preparation should mean opening the book, not searching the house for equipment.
Four sessions a week leave breathing room around work, study and caring responsibilities. A daily promise can become an all-or-nothing test: miss a day and the whole plan feels broken. For more ways to attach drawing to an existing schedule, use our guide to making art a daily habit when you're busy without turning daily attendance into a requirement.
Record the date, duration, subject, medium and one next action in the margin. During the closing block, add a small material test and a short reflection, even if the reflection is only a sentence. Save the fuller written evaluation for when you can compare the accumulated work.
A useful session ends with a next action, not a verdict on whether you're talented.
Review the month, not your mood
After four weeks, review the 16 planned entries, including any gaps. Use at least 12 completed sessions and four documented experiments as a practical success target. These are working targets, not national benchmarks or promises of improvement.
The Government's 2021/22 Participation Survey found that 73% of adults who physically engaged with the arts did so at least weekly. That describes participation, not proof that a particular drawing schedule produces better work.
Judge your own month through observable changes:
- Proportion: Are the relationships between parts more convincing?
- Marks: Can you choose between soft shading, broken lines and firm contours deliberately?
- Annotations: Do your notes explain a decision rather than merely describe the activity?
- Revision: Can you identify what you changed after a test?
If a session slips, use a five-minute version rather than abandoning it. Draw the main shape, record the interruption and leave a next action. Don't compensate with a marathon session that makes returning feel expensive.
Get Past the Blank Page and Perfectionism
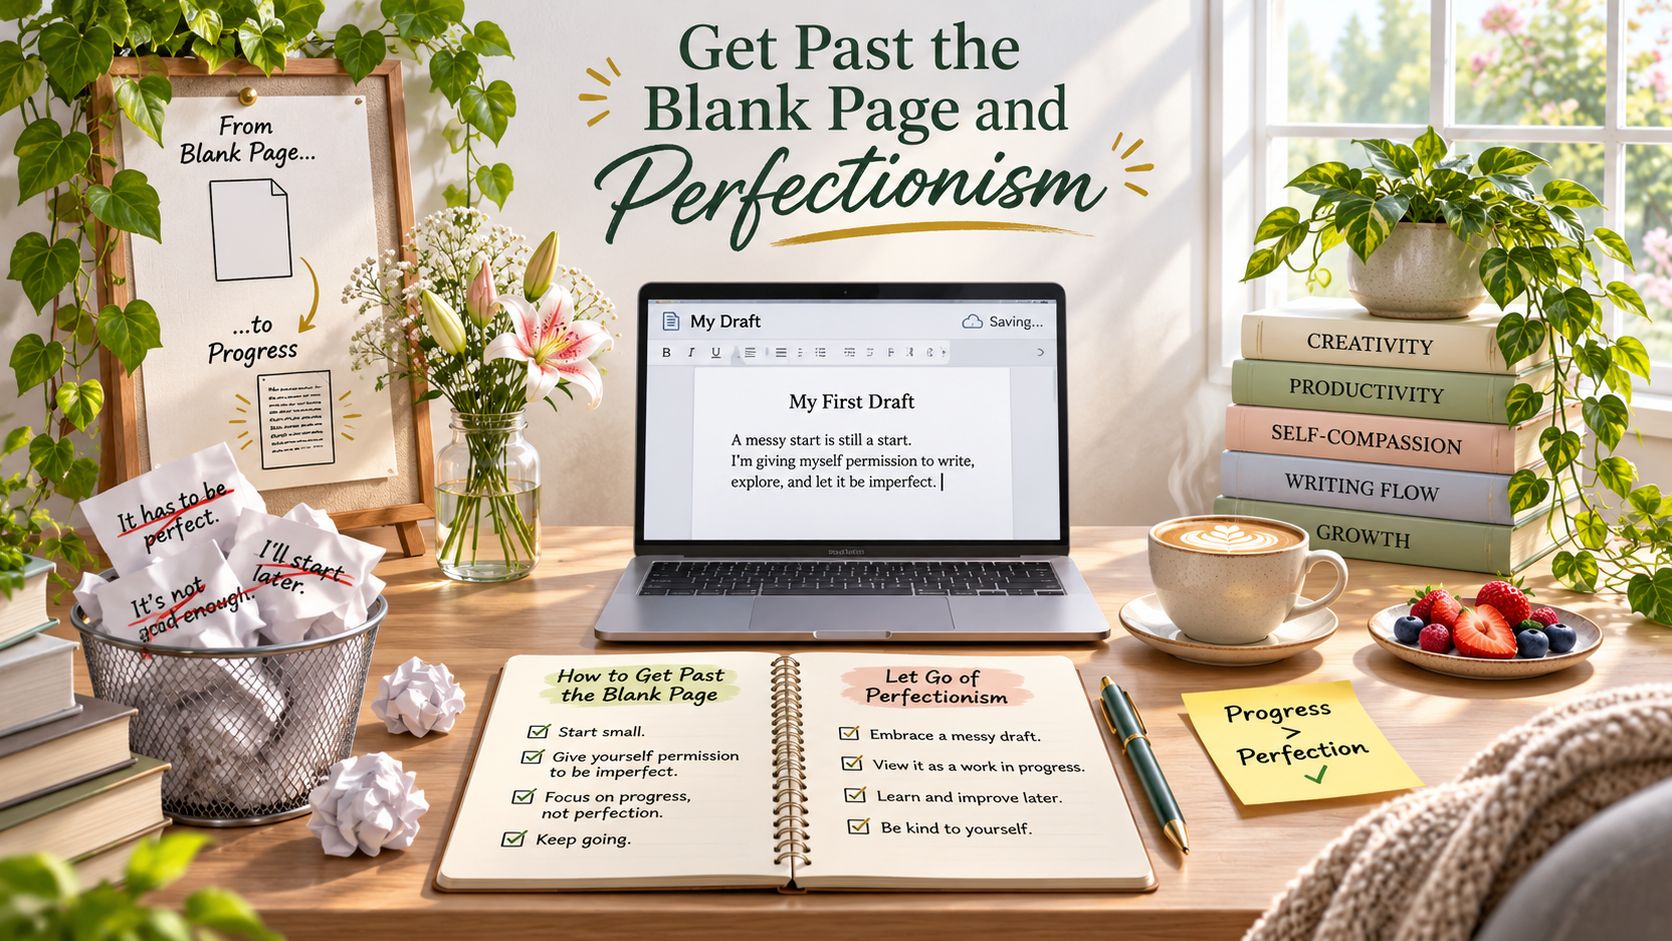
Treating the first page as a performance is what makes it intimidating. A sketchbook records your process, so a weak page still does its job when it shows what you tried and what you noticed.
Common blocks, why they happen and what to try
| Block | Why it happens | What to try |
|---|---|---|
| Blank first page | The page feels like a finished piece must start here | Date the page and draw a five-minute object from the room |
| Fear of ruining it | Early pages get treated as assessed artwork | Work in pencil and label the spread as a test |
| Too little time | Sessions are expected to last an hour | Use a five-minute drawing or a written observation |
| Feeling not artistic | Comparison with other people's finished work | Record one observation and one question, no drawing needed |
A sketchbook can hold notes, collage, failed studies and photographs. Its usefulness depends on what you discover, not whether every opening deserves to be framed.
If a blank page feels intimidating, choose a mug, shoe or plant already in the room. Give yourself permission to investigate only its silhouette. Write "test" at the top of the page and the task becomes specific. Confidence tends to follow action rather than arrive before it.
Let the purpose match your circumstances
Relaxation is a valid aim. Some sessions exist only to unwind, and you don't have to convert every quiet drawing into portfolio preparation. Should the work ever be assessed, dated and labelled test pages still record how your thinking developed.
If you're stuck choosing a subject, use these creative-block exercises to reduce the decision. Pick a limited task, such as recording the darkest shape you can see, rather than asking yourself to produce something original on demand.
Access matters as much as motivation. Disabled or neurodivergent readers may prefer loose sheets, a larger drawing tool, reduced visual clutter or a voice note describing an observation. Tracing can help investigate an edge or shape; label the method, particularly when work may later be assessed.
Permission to adapt: Change the format before deciding that sketchbook practice isn't for you.
A voice note can preserve an idea when drawing isn't manageable, though assessed submissions must meet the relevant course requirements. Shorter sessions and a comfortable working position are sensible adaptations, not lesser versions of practice.
If cost is the obstacle, fold and staple printer paper into a booklet. Use it for dry materials and attach heavier scraps for paint tests. Finish each entry by asking: What did I notice that I didn't expect?
Turn Your Sketchbook into Evidence of Growth
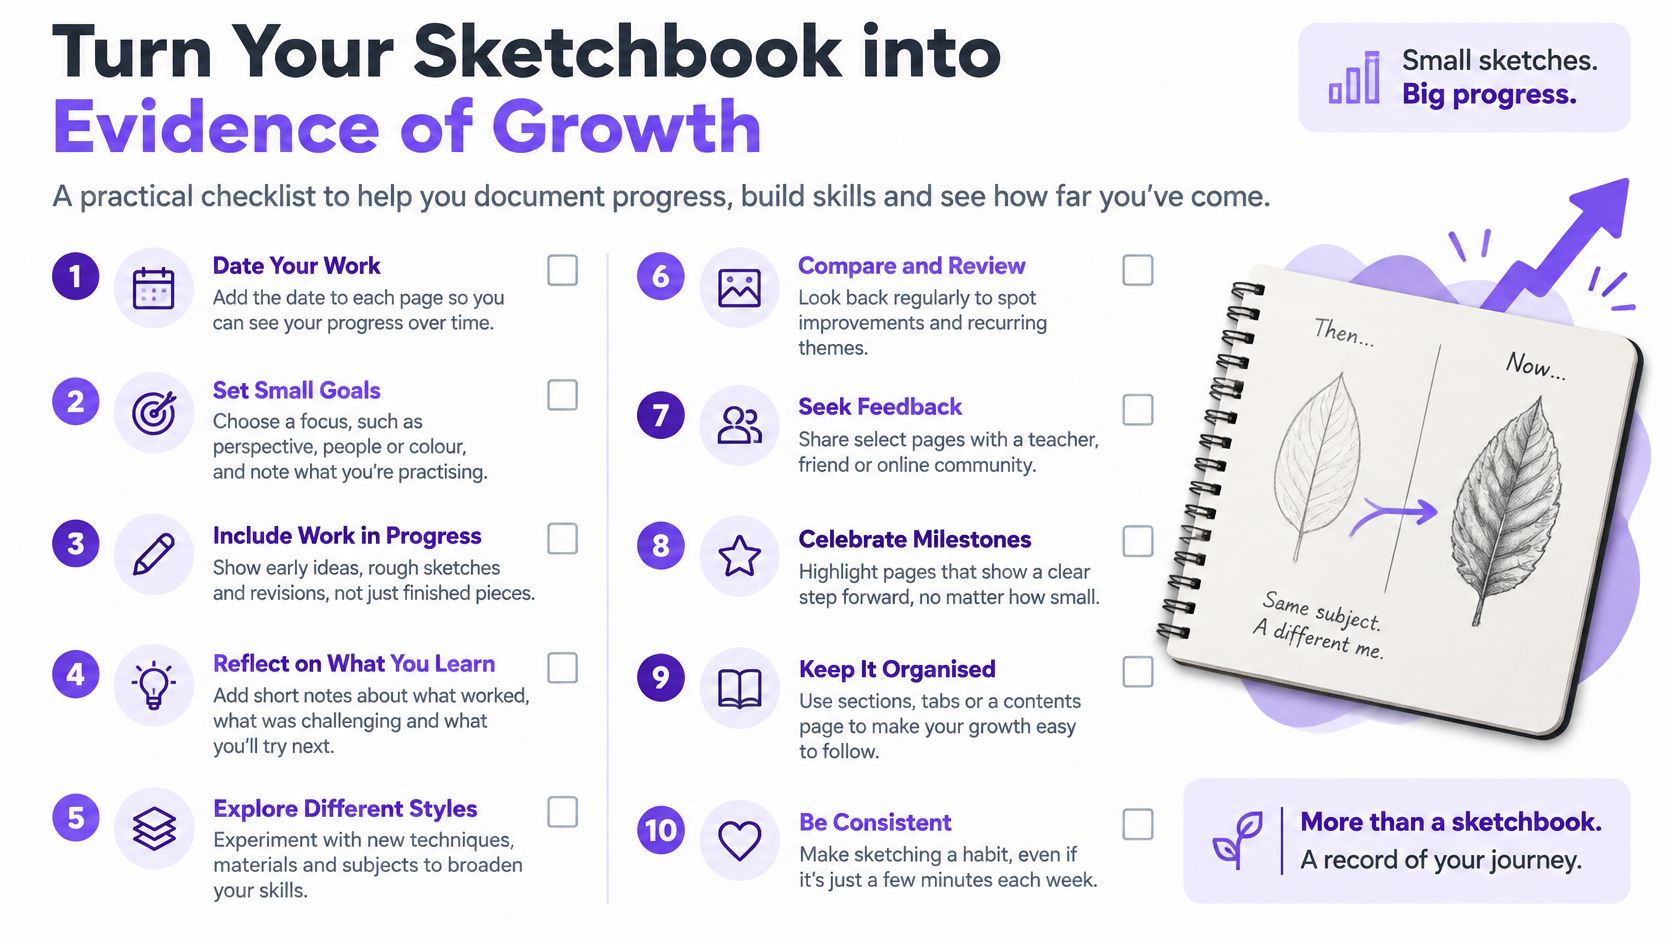
A useful sketchbook lets another person follow your thinking. Assessors look for evidence of skills and techniques, creative interests, practical use of media, awareness of contemporary practice and individuality. Attractive presentation helps readers understand that evidence, but it can't replace it.
Apply a simple test to a completed spread: can you identify an observation, a source, an experiment and a decision? Not every page needs all four. A project sequence, though, should explain how they connect.
What should Level 2 and Level 3 students include?
Keep exploratory drawings, unsuccessful tests, visual research and revisions when they explain development. Don't tear out a failed wash if the next page shows how you changed the water-to-paint balance. The failed page is the evidence.
Use small margin labels such as Research, Experiment, Reflection and Outcome to make material easy to find. When a weakness keeps recurring, pick one technical focus and work it across several pages. Our advice on getting better at drawing can help you choose that focus rather than adding unrelated exercises.
For assessment, follow your own qualification's current requirements. Recording, critical evaluation, experimentation and a coherent personal response all matter, but your course specification is the document that counts.
How much writing belongs in a sketchbook?
Write enough to explain why you acted and what you learned. A concise note identifying the useful feature of an artist's composition is stronger than a copied biography.
Connect research to action: identify the source, analyse a relevant feature, test it and explain your decision. That habit also gives you specific project material to discuss in an application, consistent with UCAS's art and design personal statement advice.
Will the same sketchbook suit every university?
No. UCAS's creative arts guidance makes clear that portfolio and admissions expectations depend on the course. Check each university's current requirements for selected digital pages, project sequences and interview discussion.
For fine art, prioritise sustained visual investigation; for photography, image-making decisions and sequencing; for design, problem-solving and iteration. A Level 2 sketchbook can establish these habits before later study. At OCAD, students develop their own media portfolio for assessment, with feedback and guidance from OCAD tutors.
Date Your First Page Today
Make this week's decision small: one book, one cue, one spread. Choose a format suited to your main material, put it somewhere accessible and give the opening investigation a familiar subject. You don't need a personal style before you begin.
Use the observation, testing and reflection cycle to make a record you can return to. Leave enough context in the margin to understand the work later, including what you want to investigate next and a question you haven't answered.
Your first page needs to make the next page easier, not impress a future admissions tutor.
At the end of the month, choose what to carry forward. Perhaps the smaller book travelled better, pencil held your attention longer than ink, or drawing the same object revealed more than changing subjects constantly. Let those findings shape the next investigation.
If you want tutor guidance as you build a media portfolio, ask OCAD about the application process. You can start an application by clicking Apply now and completing the short form.
Today, get the book you've chosen, date its first page and write an observation beneath your first attempt.
Build on those first pages with flexible, tutor-led creative study and feedback as you develop your own media portfolio for assessment. Visit The Online College of Art & Design (OCAD) to explore a suitable study route, then use the Apply now button to start the short application form.