

You've been taking photographs for a while, but your folder still feels like a collection of disconnected experiments. You might be wondering whether university is realistic, whether your phone is good enough, or whether you need to buy a DSLR before anyone will take your work seriously. You don't. A well-designed online photography course for beginners starts with observation, practice, feedback and purposeful project-making, not an expensive camera.
For Level 2 and Level 3 creative students, the important question is less “Which camera should I buy?” and more “Can I show how I think, develop ideas and respond to feedback?” This guide follows that journey, from the first online lesson to a portfolio that can support progression towards a photography degree.
Table of Contents
- What a Beginner Online Photography Course Actually Covers
- Inside the First Month of Study
- Equipment, Exposure, and the Smartphone Reality
- Self-Paced Study Versus Scheduled Live Tuition
- How Tutor Feedback and Portfolio Development Actually Work
- Progression Routes From Beginner to Level 3 and Beyond
- Building a Portfolio That Gets You Into a Photography Degree
- Accessibility, SEND Support and Designing Your Study Week
What a Beginner Online Photography Course Actually Covers
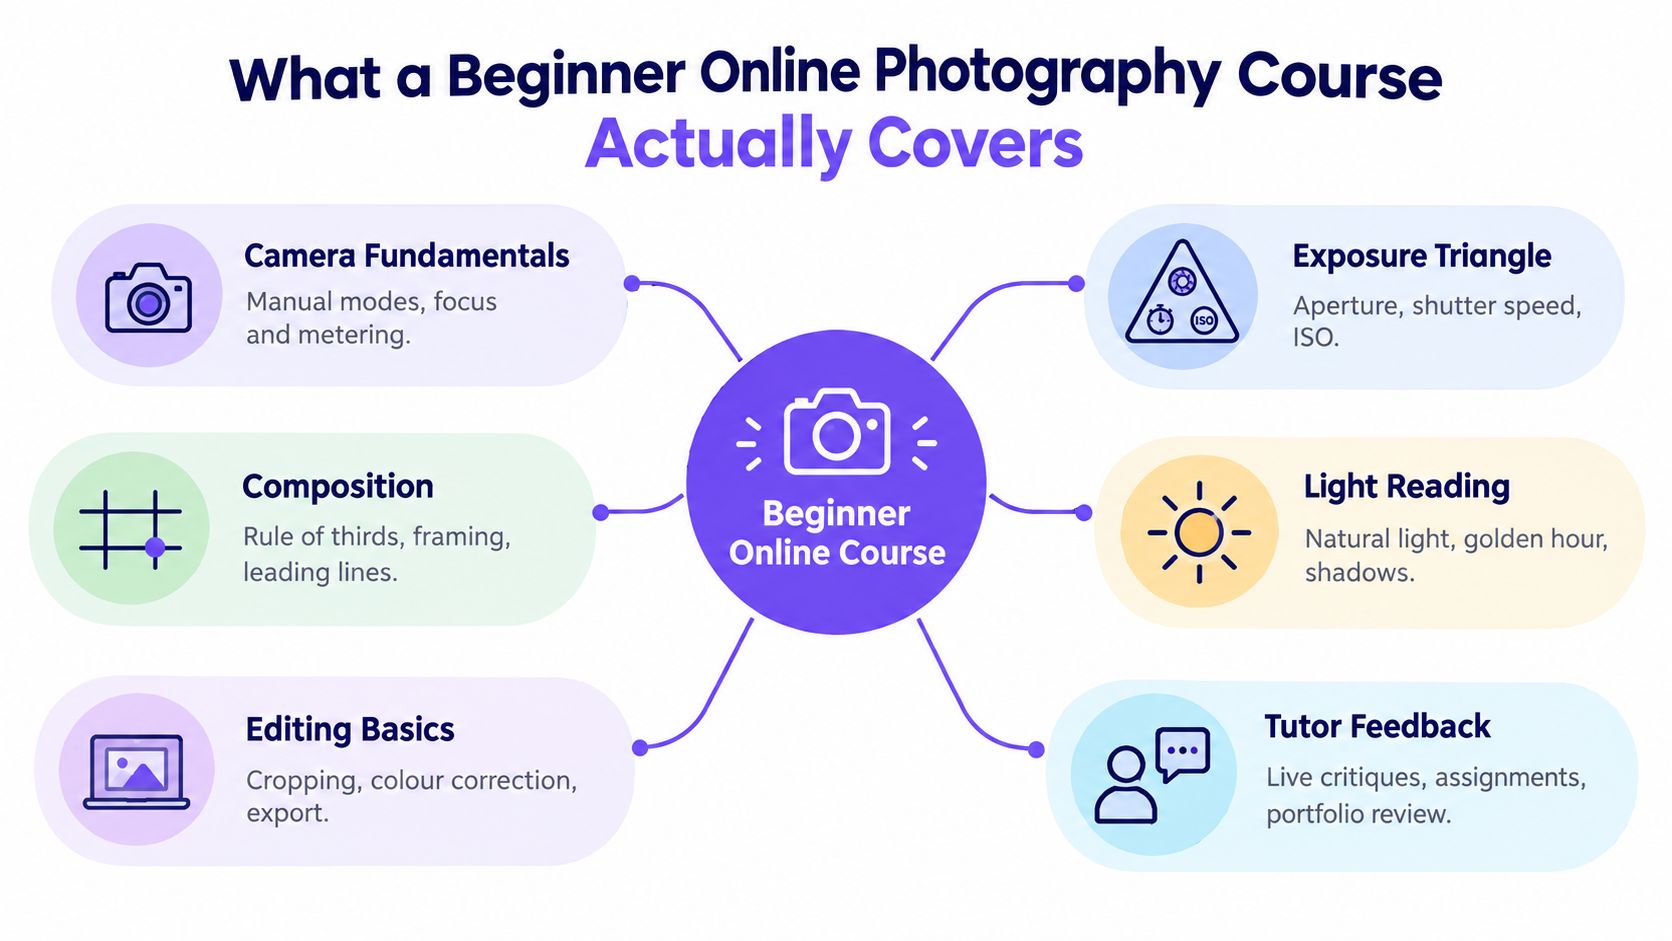
A credible beginner course is more than a series of camera demonstrations. It usually combines an online studio, tutor guidance, practical assignments and a gradual movement from isolated photographs towards connected projects. A course such as an OCAD Level 2 Photography Certificate might begin with orientation, then introduce camera handling, exposure, composition, lighting, editing and portfolio curation.
The order matters. You need to understand how a camera records light, but you also need to decide why one viewpoint communicates more effectively than another. Composition, visual sequencing and the ability to explain your choices are what turn technical practice into creative work.
A typical learning sequence
You might encounter the following progression:
- Camera fundamentals: Learn focus, metering, file types and the controls available on your device.
- Exposure: Explore aperture, shutter speed and ISO, then practise choosing settings for a specific visual effect.
- Composition and light: Work with framing, visual balance, natural light, shadows and colour.
- Projects: Respond to briefs such as portraiture, place, objects, identity or narrative.
- Editing and output: Crop, correct colour, organise files and export versions for different uses.
- Portfolio development: Select work, retain development evidence and explain your intentions.
You can learn individual techniques from YouTube, but random tutorials rarely tell you what to practise next or whether your decision worked. Structured tuition adds a brief, a deadline or checkpoint, feedback and a chance to revise. That loop helps you notice patterns, such as repeatedly placing your subject in weak light or editing every image with the same heavy contrast.
Practical rule: Keep your first attempt, tutor comments, revised version and short reflection together. The development often says more about your readiness for further study than one polished photograph.
Photography also has a practical professional side. Once you begin presenting work to clients, galleries or small businesses, you'll need clear project records and administrative habits as well as images. A resource such as AurenWell for freelance photographers can help you understand why professional photography involves organised documentation, not only creative decisions.
Inside the First Month of Study
On your first login, you might open an online studio rather than walk into a classroom. The screen could show a unit title, a short video tutorial, an assignment brief and a submission area. That simple layout gives your week a shape: watch, try, upload, discuss and improve.
Weeks one and two
Your first exercise may involve photographing the same subject from several viewpoints. You could use a mug, a plant or a family object. The purpose isn't to produce a gallery-ready image immediately. It's to see how distance, height, direction of light and background alter the meaning of an ordinary subject.
A tutor might ask you to submit a small group of images with filenames that identify the project. You may then receive written notes or a short recorded response discussing focus, exposure and the strength of your chosen viewpoint. If one photograph works better, the tutor can explain why instead of just marking it correct.
Weeks three and four
The next assignment may introduce a theme, such as “traces of home” or “a local route”. You'll make a set of photographs rather than one image, then arrange them so the viewer can follow a visual idea. Sequencing begins here. A technically sharp photograph can still weaken a project if it interrupts the rhythm or introduces an unrelated subject.
A first feedback conversation may take place through Microsoft Teams, either individually or in a small group. You could discuss what you intended, show contact sheets and identify which images deserve a second attempt. The conversation also gives you a place to ask practical questions about exporting files, uploading work or using unfamiliar software.
A beginner shouldn't be left alone with a folder of files and a vague instruction to “be creative”. Clear demonstrations and specific feedback make online study feel manageable.
By the end of the first month, you should have more than a collection of photographs. You should have evidence of decisions, experiments, feedback and changes. That evidence becomes useful later when you build a portfolio for Level 3 or university.
Equipment, Exposure, and the Smartphone Reality
You can start with the camera you already own. A smartphone gives you a way to practise observation, framing, light, timing and editing before you decide whether dedicated equipment would improve your work.
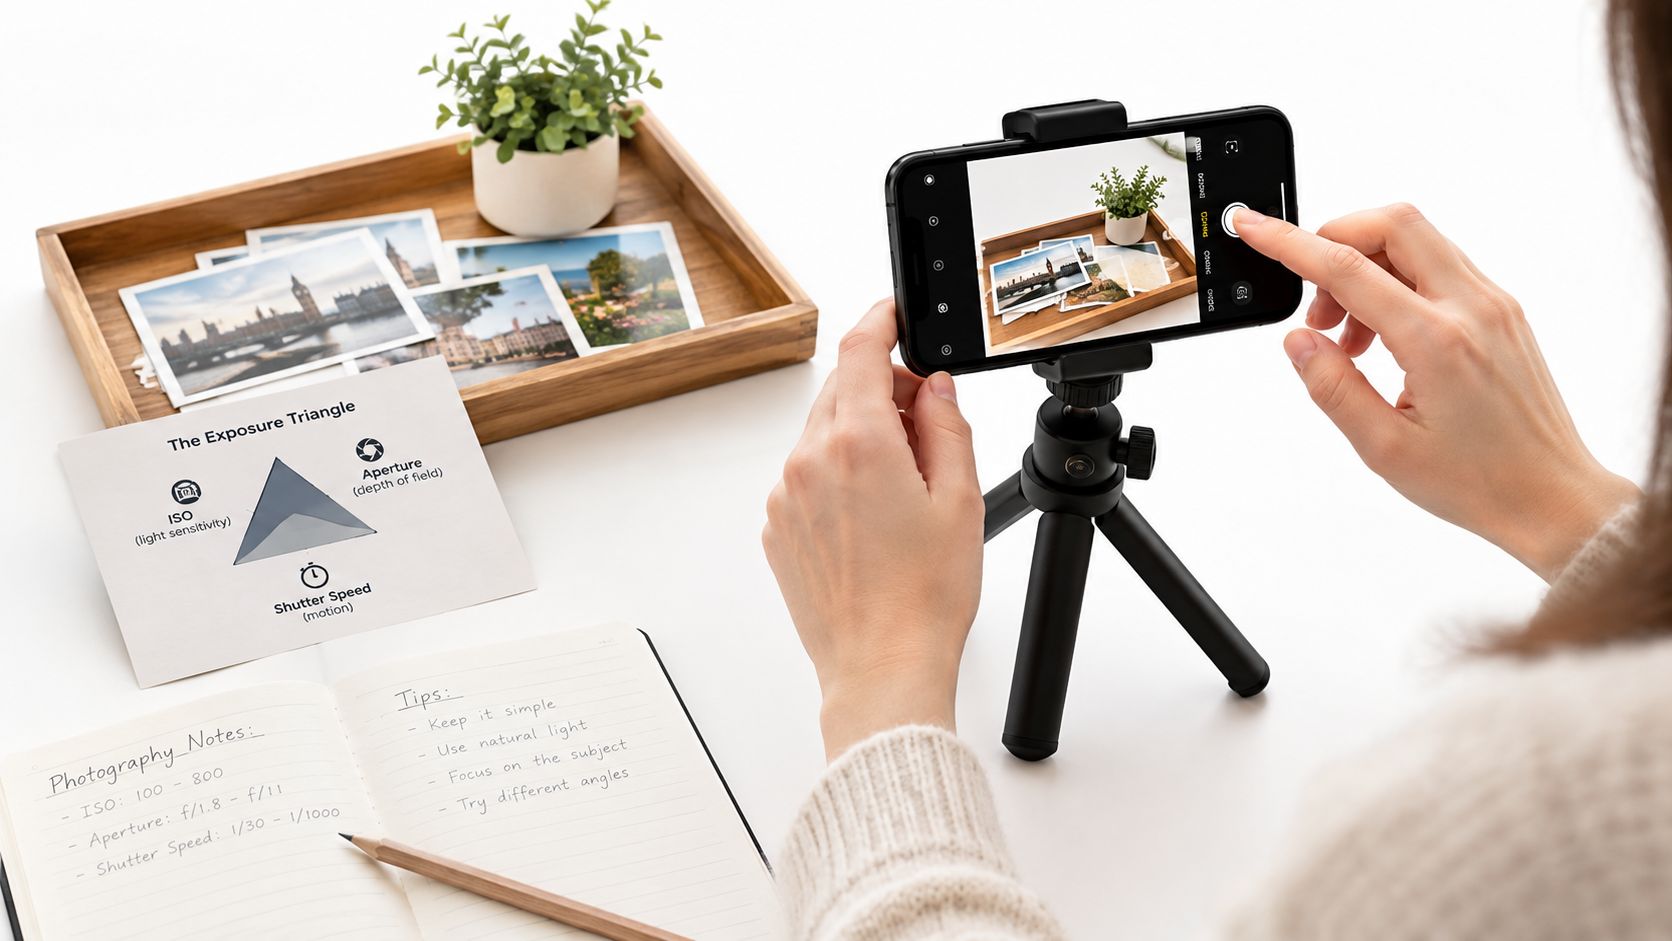
Begin with exposure in plain language. Aperture controls how much light enters through the lens and affects how much of the scene appears sharp. Shutter speed controls how long the camera records light and can freeze movement or create blur. ISO changes the sensor's sensitivity to light, although higher settings can introduce visible noise. On a phone, much of this may happen automatically, so your task is to recognise what the device is deciding for you.
What your phone is changing
Modern smartphones may use subject recognition, background editing, computational sharpening and other AI-assisted features. These tools can brighten shadows, combine exposures or alter a background without making the change obvious at first glance.
That doesn't make the photograph invalid. It does mean you should ask whether the enhancement supports your intention. If the phone smooths a face until expression disappears, or replaces a messy background that was important to your story, automation has changed the message rather than just improving quality.
Try the same assignment in two ways. First, use the phone's automatic mode. Then reduce the automated adjustments where your device allows it, alter the viewpoint and edit the image deliberately. Compare the results and record what changed. A useful phone exercise is shooting panoramas with your iPhone, because it encourages you to think about movement, continuity and the edges of a frame.
Your phone is a starting tool, not a permanent limit. A camera upgrade should solve a specific creative problem, not reassure you that you belong in photography.
Later, you might borrow a DSLR, buy a second-hand mirrorless camera, try a prime lens or add a basic light. By then, you'll know whether you need better control of depth of field, faster focusing, low-light performance or flash direction. That makes a future purchase more useful than buying equipment before you understand your own practice.
Self-Paced Study Versus Scheduled Live Tuition
Flexible study suits people who need to fit photography around work, caring responsibilities or other subjects. Scheduled sessions suit learners who benefit from routine, conversation and a fixed moment to show progress. Many effective online courses combine both rather than treating them as competing systems.
UK adult-learning data supports the value of flexible delivery. The Learning and Work Institute found that 52% of UK adults had recently participated in learning or were currently learning in 2024, while independent learning rose from 12% in 2012 to 34% in 2024 and learning online rose from 47% in 2019 to 63% in 2024 (Learning and Work Institute). Among full-time workers, participation increased from 38% in 2019 to 65% in 2024, which shows why a course needs to work around real schedules.
| Factor | Self-paced units | Scheduled live tuition |
|---|---|---|
| Timing | You choose when to watch demonstrations and complete assignments. | You attend a planned one-to-one or group session. |
| Accountability | Progress depends on your own reminders and planning. | A tutor or group gives you a regular checkpoint. |
| Practical support | You can replay instructions while working through a task. | You can ask questions and receive immediate clarification. |
| Best fit | Full-time workers, carers and learners with changing routines. | SEND learners, home-educated students and beginners who need regular contact. |
| Potential difficulty | It's easy to postpone a shoot or submission. | A fixed session may be difficult if your availability changes. |
A Microsoft Teams model can combine an online studio of units and assignments with live tuition. If you're deciding between formats, studying photography remotely can help you think through the practical advantages of learning away from a campus.
The strongest choice is the one that matches your actual week. A flexible course should still provide deadlines, tutor responses and clear milestones. A live course should still make materials available for review, especially if you need more time to process technical instructions.
How Tutor Feedback and Portfolio Development Actually Work
A portfolio project usually develops through several versions. You begin with a brief, make a first shoot, submit a selection and discuss what happened. Your tutor might point out that the concept is strong but the lighting changes so much between images that the series loses coherence.
You then reshoot or extend the project. Perhaps you move the subject closer to a window, remove distracting objects from the frame or repeat the same visual treatment across the sequence. During an editing walkthrough, you might compare a restrained colour correction with an over-processed version and explain which better serves the idea.
The capture-to-output chain
A useful assignment asks you to identify the intended destination before exporting:
- Web: Prepare a manageable JPEG with suitable pixel dimensions and compression.
- Tutor review: Keep enough detail for the tutor to assess focus, texture and editing decisions.
- Print or archive: Preserve a high-quality original and record the settings used for the derivative file.
The UK National Archives recommends a minimum capture resolution of 600 pixels per inch for photographs, compared with 300 pixels per inch for ordinary documents (The National Archives digitisation guidance). A 6 × 4-inch photograph scanned at 600 PPI produces approximately 3,600 × 2,400 pixels, or 8.64 megapixels, while the same scan at 300 PPI produces approximately 1,800 × 1,200 pixels, or 2.16 megapixels. The figures illustrate why output decisions matter, although PPI isn't the same thing as a camera sensor's resolution.
Submission habit: Keep the untouched original, an edited master and a web-ready JPEG in one clearly named project folder.
Your tutor can then identify where a problem occurred. Was the exposure weak at capture, did the crop remove important context, did colour shift during editing, or did compression damage the export? The final portfolio should show selected images alongside contact sheets, notes, drafts and a short reflection. That material demonstrates a process you can repeat, not a lucky result.
Progression Routes From Beginner to Level 3 and Beyond
A beginner course can be the first step in a longer route rather than a standalone hobby. Some learners begin with a Level 1 pathway to build confidence and study habits. Others enter a Level 2 Certificate in Photography, an iGCSE Art and Design course or another GCSE-equivalent route.
From there, progression may lead to A Level study, a Level 3 Diploma in Photography, a Level 3 Foundation Diploma in Art, Design and Media or a specialist foundation route such as photography, fine art, fashion, graphic design or film and animation. A SEND-adapted Level 2 or Level 3 pathway can provide a more suitable pace and support structure for learners who need adjustments.
A practical route map
- Level 1 entry: Build confidence with basic visual exercises, camera handling and first portfolio pieces.
- Level 2 study: Complete structured projects, learn technical foundations and respond to critique.
- Level 3 development: Work with greater independence, develop a specialism and produce more sustained projects.
- Higher education: Apply with a portfolio that shows creative thinking, practical ability and development.
The National Careers Service identifies university and college courses, apprenticeships and work experience as routes into photography. It also describes a Photographer Level 4 Higher Apprenticeship that typically takes about 18 months, combining workplace training with off-the-job study (National Careers Service information in the UK Government productivity release).
Creative practice also has an economic context. The same government release reports £54 per hour in output for the film, television, radio and photography subsector, and a 4.6% increase in output per job in the year to 2024. Those figures don't promise a career outcome, but they help explain why a serious foundation course should include communication, editing, file management and portfolio presentation alongside camera technique.
Building a Portfolio That Gets You Into a Photography Degree
University admissions teams usually want to see how you develop ideas, not only a folder of attractive photographs. Treat every substantial project as a small investigation. Begin with a question, gather visual research, test approaches, make images, edit the series and write about what changed.
The University for the Creative Arts asks BA Photography applicants for 12 to 20 examples of current work showing level and range. It recommends sketchbooks, drawings or other design work, photographic projects, written work and commentary explaining ideas, motivations and choices (UCA BA Photography portfolio advice). The work doesn't need to be completely finalised at application stage, because development matters.
What to retain as you work
- A coherent theme: Build a focused body of work instead of collecting unrelated favourites.
- Evidence of thinking: Keep contact sheets, research, annotations and project notes.
- Range with purpose: Show portrait, scenic, still life or experimental work when each example supports your development.
- Editing stages: Save before-and-after versions so your decisions remain visible.
- Reflection: Explain your intention, influences, problems and next steps.
The University of East London asks applicants to show visual thinking, technical skills, idea development, edited image series, research, planning, lighting, composition, exposure and post-production (UEL undergraduate portfolio requirements). Manchester Metropolitan University suggests around 20 images plus sketchbook work, organised by project with research, development, completed pieces and short annotations (Manchester Metropolitan University BA Photography portfolio guidance).
Entry requirements vary. Birmingham City University lists 112 to 72 UCAS Tariff points for its BA Photography course and also requires a good portfolio, with creative potential considered alongside qualifications and personal circumstances (Birmingham City University BA Photography). Check each university before you format your submission.
You must submit your own work and identify AI-generated elements. If AI has assisted an image, explain how and connect it to the original where possible. For further practical organisation, making an online art portfolio can help you plan labels, project order and presentation.
Accessibility, SEND Support and Designing Your Study Week
Accessibility isn't merely a caption added after a course has been built. It affects how you handle a camera, transfer files, watch demonstrations, edit images, join live sessions and submit work. UK government research reports that around 15% of people cannot complete foundational digital tasks and a further 6% are completely offline, while disabled adults may face inaccessible design, unsuitable devices, lower confidence and limited support (UK Government digital inclusion research).
A practical accessible week might include a short captioned screen recording, a transcript, a keyboard-friendly worksheet and an alternative submission route. A learner could photograph with a familiar phone, use voice control where appropriate, submit a contact sheet as a PDF or receive feedback in a format compatible with their assistive technology.
Questions to ask before enrolment
- Can I work with my current device? Ask whether the assignments require specialist software or whether equivalent phone-based tasks are available.
- How are live sessions supported? Check for captions, recordings, transcripts, accessible chat and flexible attendance.
- What can be adjusted? Discuss pacing, deadlines, file formats, tutor communication and reasonable adjustments.
- How is technical help provided? Find out who can help with importing photographs, naming files, backing up originals and uploading work.
- How will feedback reach me? Request a format that works with your screen reader, voice control or other assistive technology.
A flexible timetable can help people balancing study with care, health needs or changing energy levels, but flexibility only works when the course also provides structure. Weekly goals might include one demonstration, one short practical task, one upload and one feedback conversation. This separates photographic judgement from software navigation and makes progress visible.
For a clearer view of practical adjustments, read about accessible online photography education. The Online College of Art & Design (OCAD) offers tutor-led online study, portfolio-centred coursework, Level 2 and Level 3 photography pathways, SEND-specific options and one-to-one or group tuition through Microsoft Teams for Education. Visit The Online College of Art & Design (OCAD) to explore a beginner route that can fit your equipment, support needs and university ambitions.