Introduction
In this lesson we will be devloping details in the sky and in the mountains.
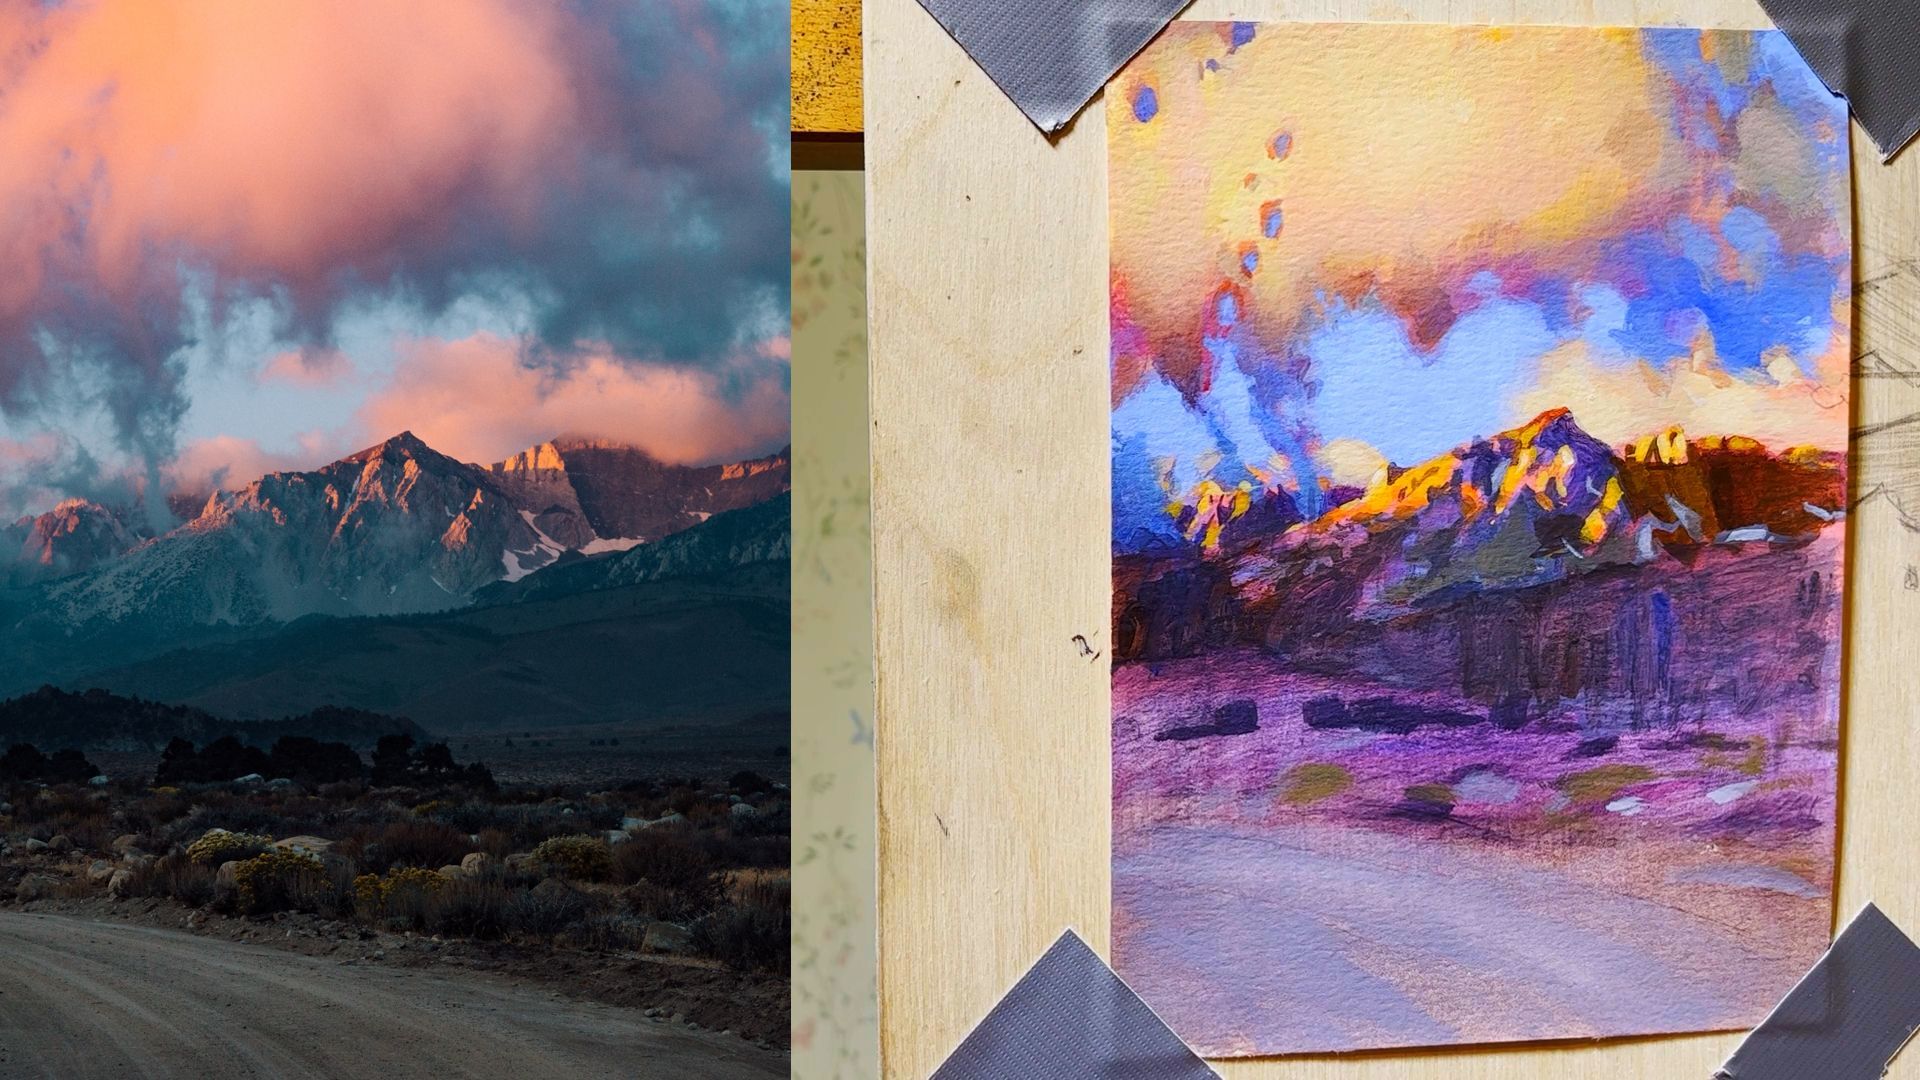
Reference image link (from Unsplash)
Materials
- Canvas, Panel or paper for acrylic painting
- Pencil
- Eraser
- Fixative
- Range of brushes
- Water
- Acrylic paints:
- White
- Ultramarine Blue
- Cobalt Blue
- Cadmium Yellow
- Cadmium Red
- Alizarin crimson
- Burnt Umber
(Or similar equivalents)
Refining the Sky
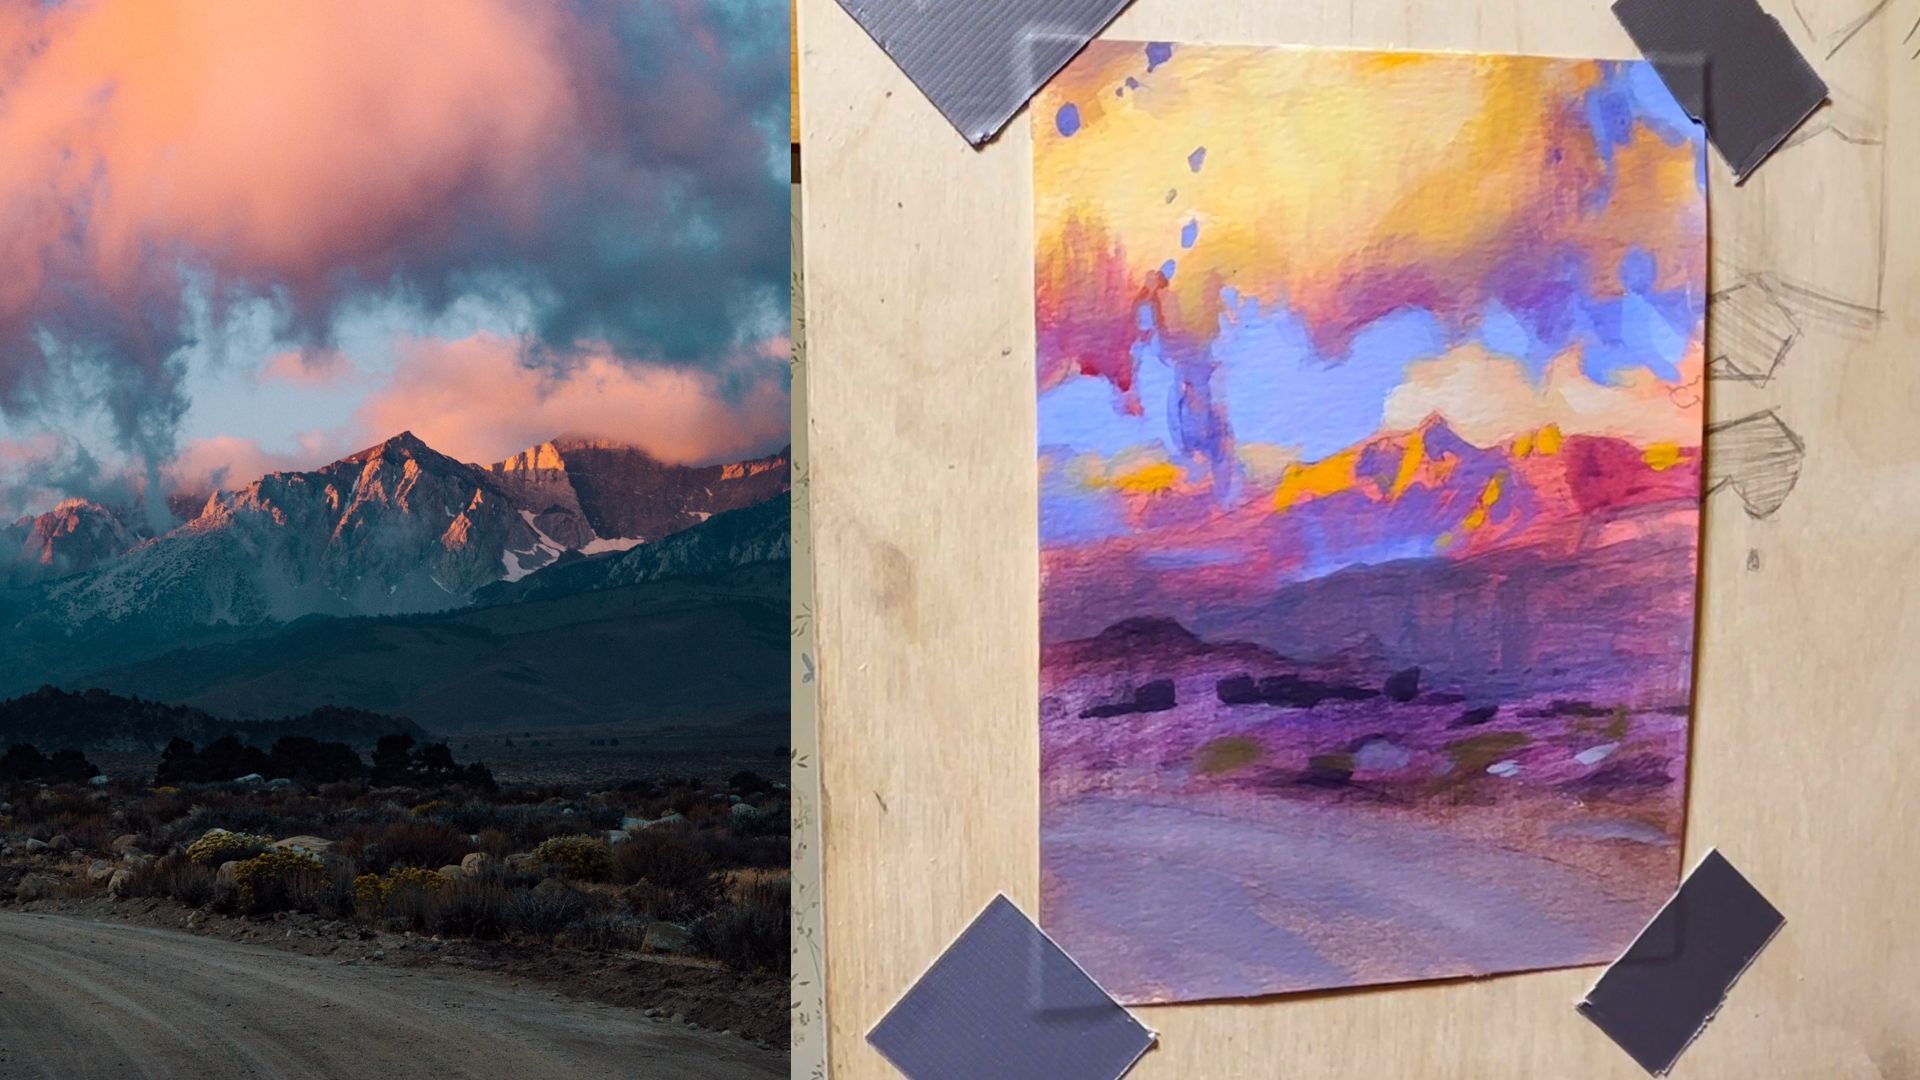
You can begin to develop the sky by adding in any smaller holes in the clouds and making the edges more detailed. Then you can work your way into the inside of the cloud forms, going generally lighter as you move into the centre.
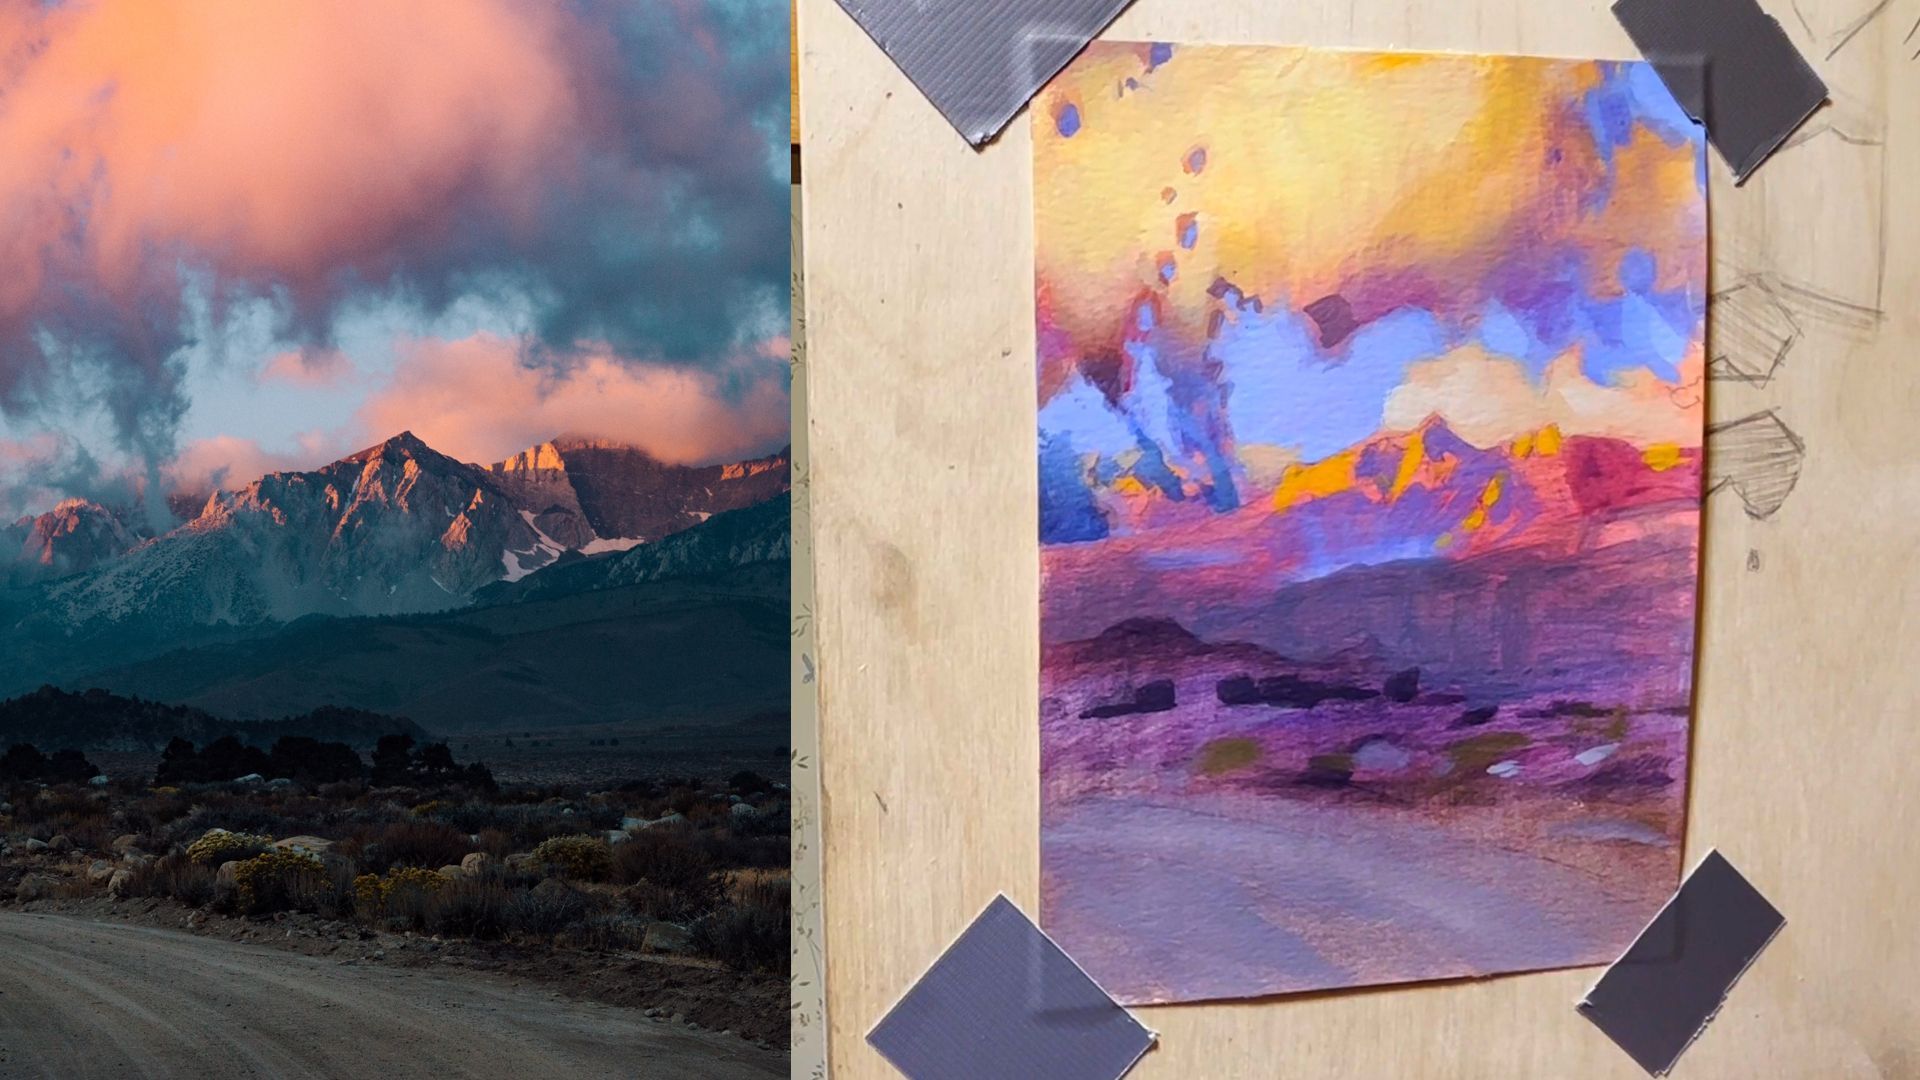
You can also brighten up (and increase the saturation of) the blue parts of the sky. I did this with cobalt blue and white. Finally lay in the more distant clouds that intersect the horizon.
Once the forms and details have been added you can add some more hue variations – in the lighter parts of the sky this will mean laying in both lighter pinks and lighter yellow.
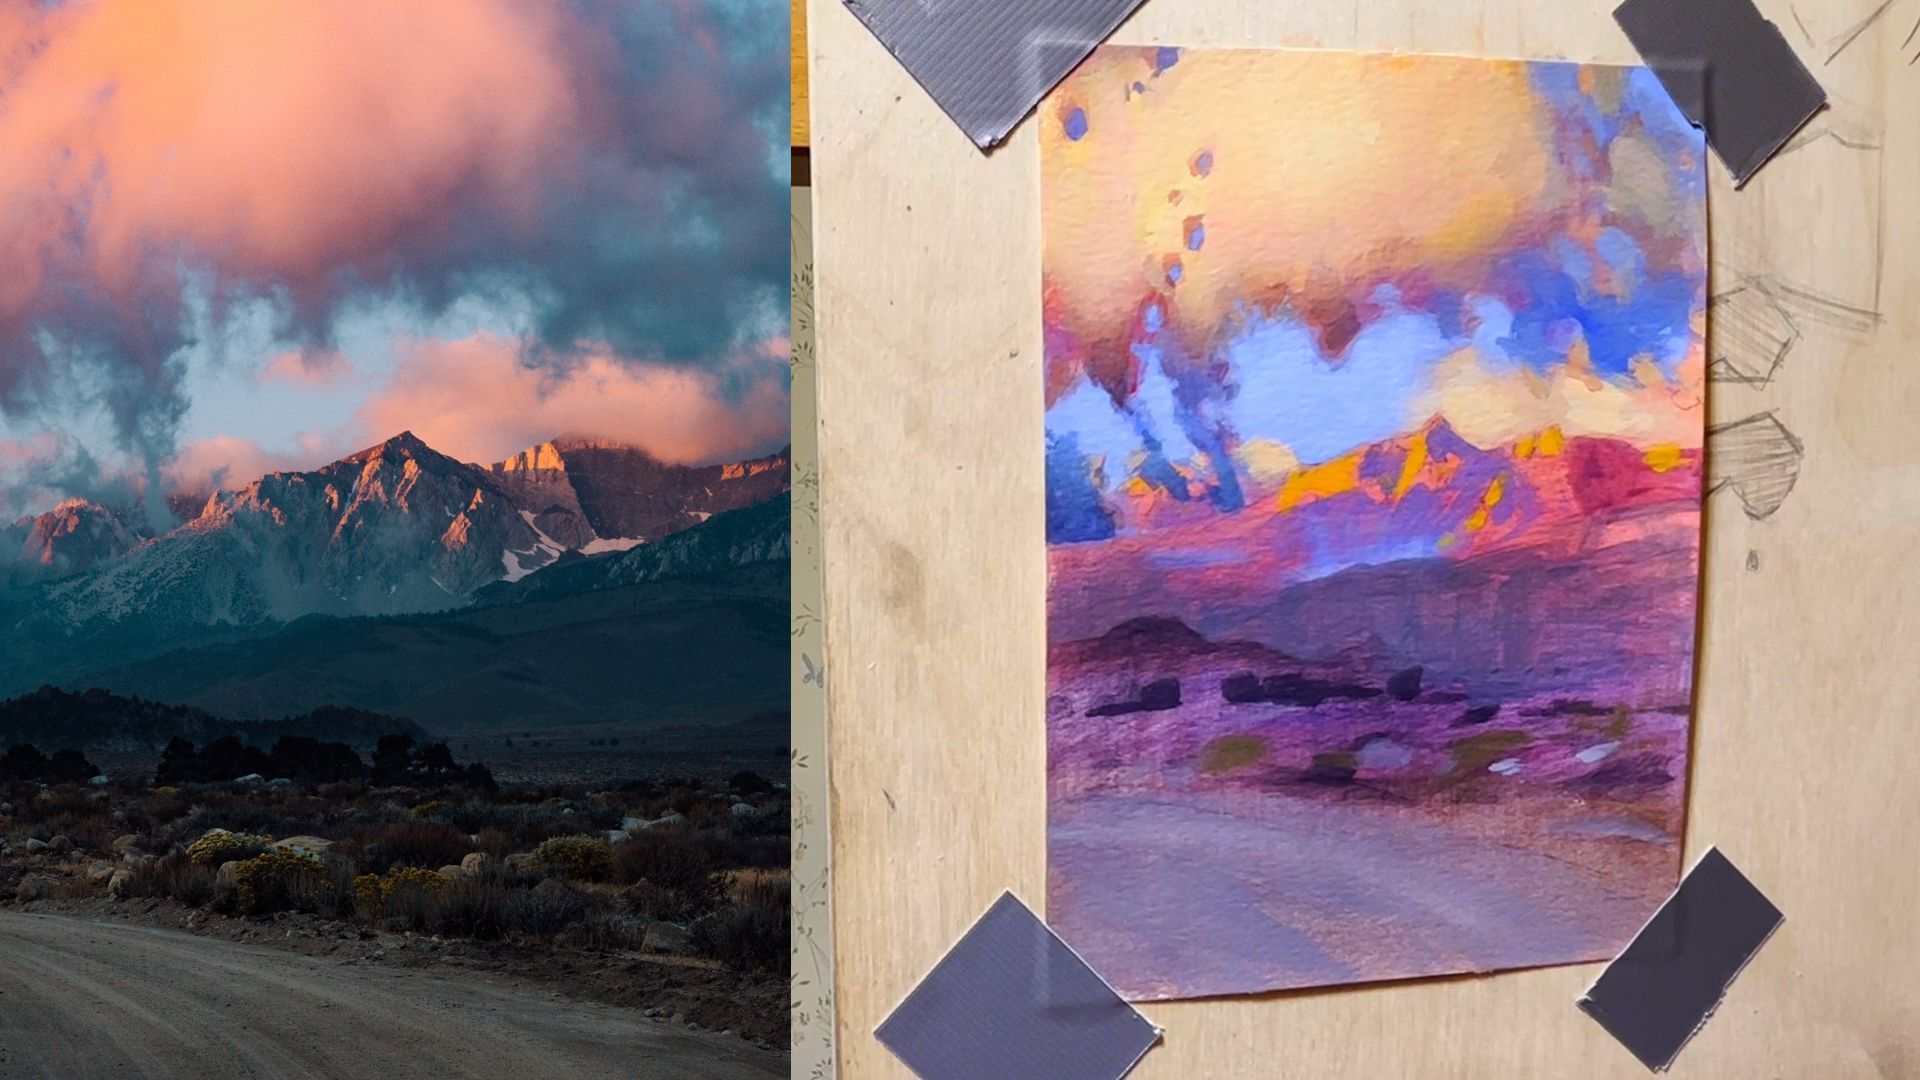
Refining the Mountains
Begin by washing in a gradation of colour according to the dominate hue in each section of the painting. So in this case I went for gold at the top for the cloud, transitioning into pink for the mountains and then blue and grey lower down the image (in the foreground). You can keep the layers quite transparent by using a lot of water to create very washy passes.

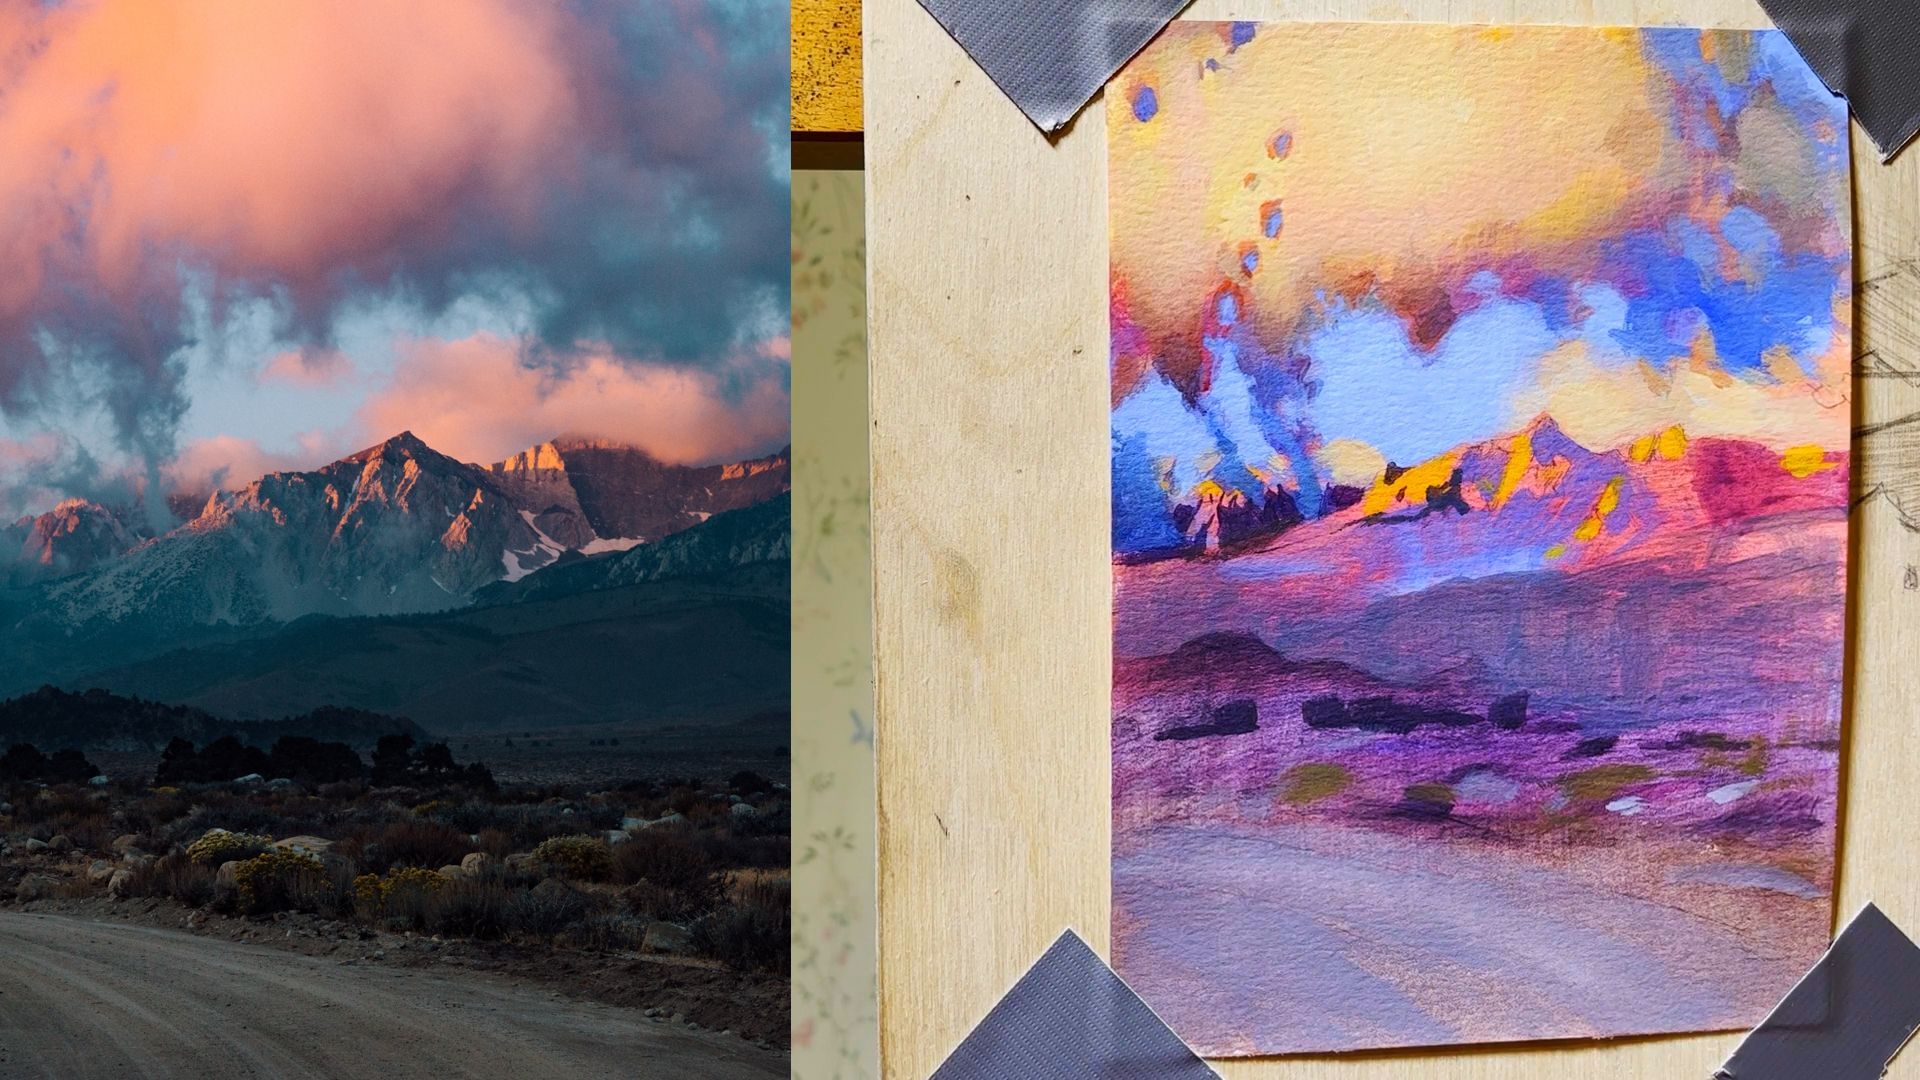
Once these gradients are established you can start to build more specific hue and tonal variations throughout the image. You can use the still visible pencil sketch to help you figure out what is a cloud, sky or mountain etc.
Keep adding these variations down the entire painting – ideally getting the darker notes establish for the trees and shrubs in shadow. The colours don’t need to be perfectly accurate – we’re just going for a bright and engaging image, so follow what feels best to you!
For more detailed guidance, you can watch these complete lessons on our YouTube!
Refining the Sky
Refining the Mountains