In this series I will be showing you how to layer an oils painting over a pencil sketch. This approach gives you an opportunity to ensure that your drawing is solid before handling brushes. So it’s an ideal exercise to learn painting techniques in oils.
Materials:
- 6 x 8 inch Oil painting paper
- Faber Castell 2B Pencil
- Faber Castell Kneadable
- Eraser
- Brushes
- Fixative
- Burnt Umber Acrylic Paint
- Mineral Spirits
- Oil Paints
– Titanium White
– Ivory Black
– Burnt Umber
– Raw Umber
– Yellow Ochre
– Cadmium Red
– Cadmium Yellow
Sketching in Pencil

Begin by figuring out where the head will be placed in the canvas. The reference image is quite large so you have a lot of different options for compositions. I opted for a close in on the face as I like the blurry, glowing lights that make up the background.

Once the head its blocked in you can lay in the vertical placements of all the major facial features (hairline, eye-line, brow, base of the nose, mouth and chin). You can also begin to cut into the block of the head with some simple straight lines.

When you’re happy with the rough placements you can begin to develop each feature in more detail (try to stay fairly loose and light though).

Finally, you can add some darker shadows and accents to imbue the drawing with a bit more definition. In the next session we will be correcting and refining the drawing before laying the first oil pass over it.
Adding a Ground Colour and Blocking in Colours

You need to begin by applying a coat of fixative to seal in the pencil drawing before you paint over it. Otherwise it will smudge and mix into the paint layers above.

Once the fixative has dried you can apply a thin wash of diluted burnt umber acrylic paint. You don’t have to paint it evenly everywhere – feel free to leave a rough vignette around the main focal point of the image.

Once the acrylic is completely dry you begin to block in the main colours using your oils. I recommend a medium to large sized brush for this part.

After the background elements have been blocked in and you have warmed up a bit you can start to layer colours into the face. I suggest that you start with the darker colout before adding in the lighter tones.

The final addition for this stage is the highlight that runs down the lefthand side of the face (as wee look at it). Once you have added in this.
Glazing in Black and Adding Highlights

Begin by laying in a glaze using just black mixed with your medium. The glaze functions like a wash in watercolours and allows you to add more passes to areas where you want the tones to be darker.

The glaze will ensure that you don’t lose any of the details you developed in previous sessions while still enhancing forms and shadows.

When the dark glaze is finished you can use thick white paint to put in the bright lights that are dotted around the scene. There are also some reflections on the road and in the metalwork of the bridge.
Rendering Smaller Forms

As in the previous section, you should begin by laying in a glaze using just black mixed with your medium. Doing a black wash over the darks each time you start a new session is a great way to build up a depth in your shadow tones.

Then you can start to isolate smaller features (such as the nose) and render them with a smaller brush. Make sure that you keep their colour and form working in the context of the overall piece.

You can also reinforce light edges and secondary lights in the face. Once again, pay close attention to the overall lighting structure in the image.

Finally, this is a good time to lay in the blacks again as they can get lost in each pass. This will ensure that the painting remains punchy.
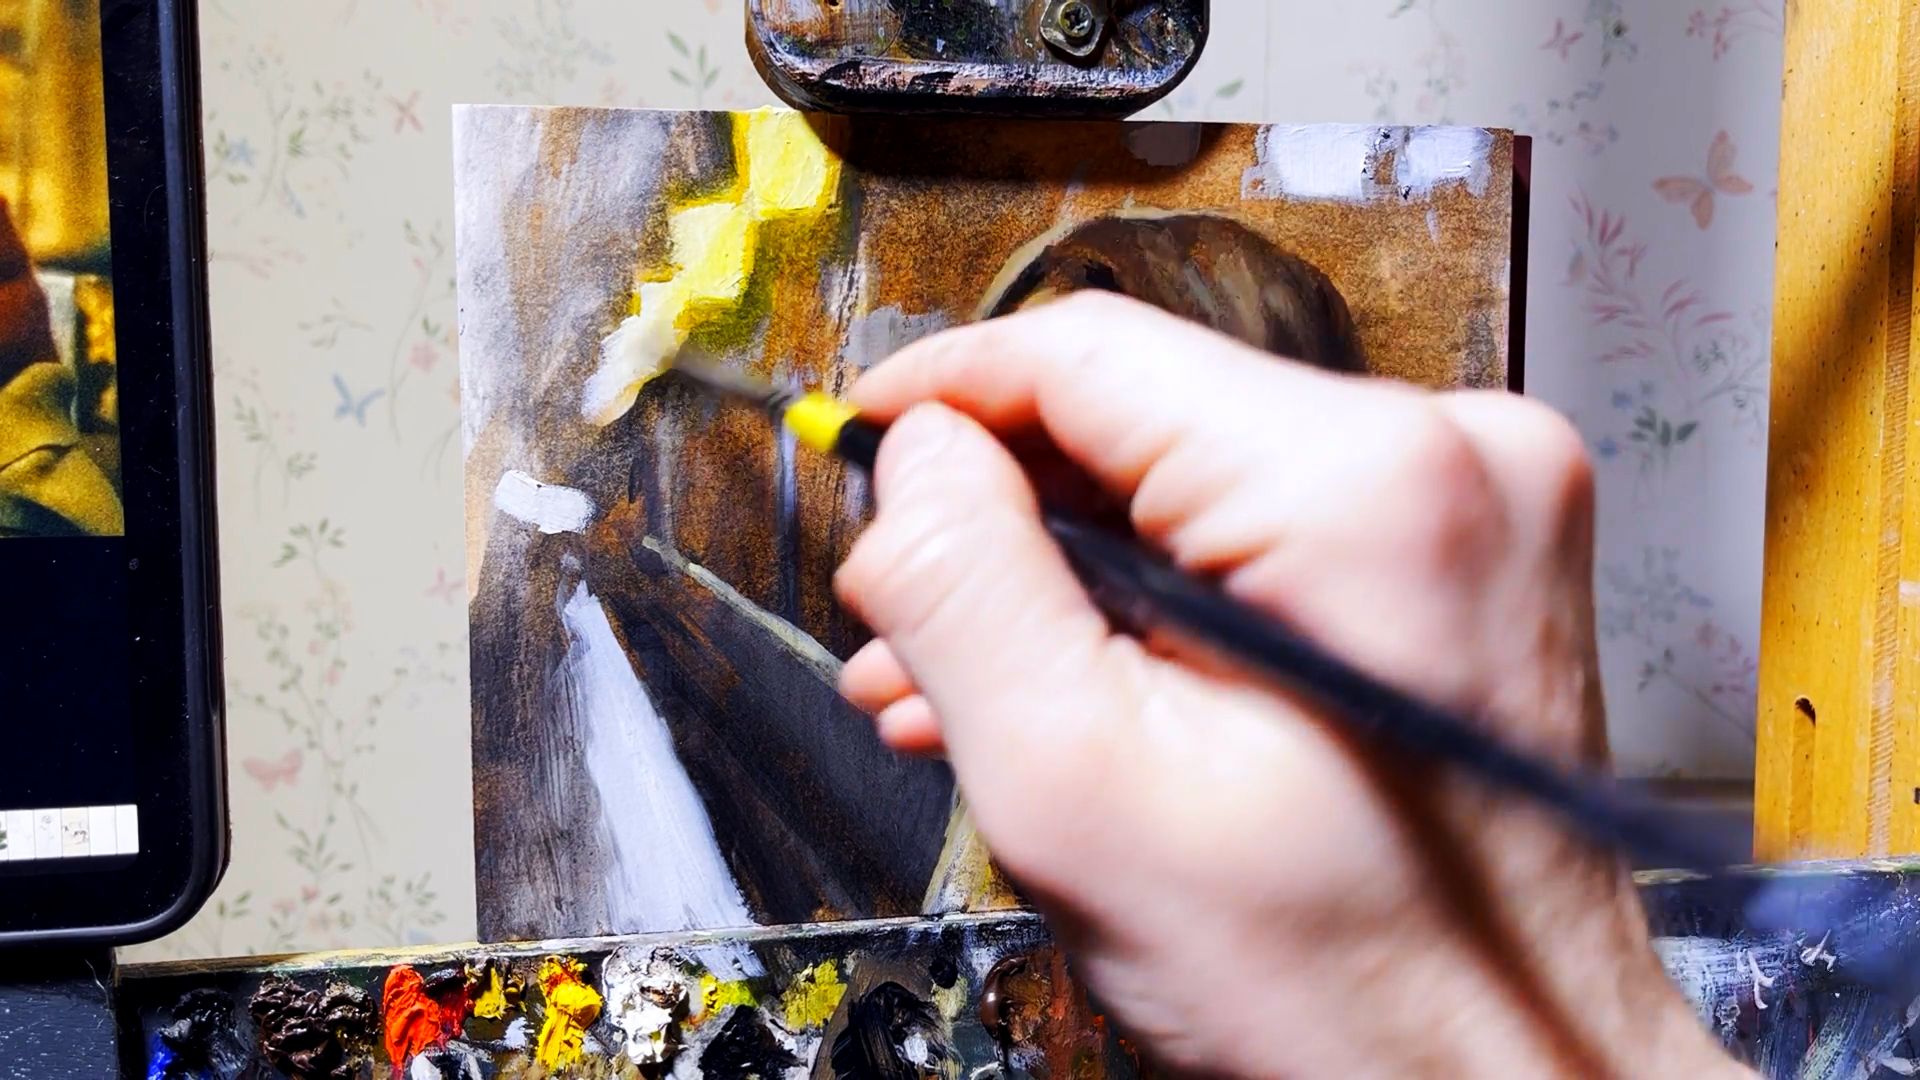
As in the previous section, you should begin by laying in a glaze using just black mixed with your medium. Then you can glaze yellow very thinly over the white lights.

The yellow can spill over the edge of the white as this will reinforce the sense of the warm glow around the light. There are also some blue lights in the scene. With these you do a glaze in exactly the same way but you need to use blue rather than yellow.

Next you can use black to define the background elements more. You can also add some more patches of warm or cool colours into the background to reinforce the sense that lights are illuminating the scene behind the head.

Finally, lay in pure white to describe the edge of the face and hair – especially the finer strands of hair that are being back lit next to the face.