

You are sitting at the kitchen table with a sketchbook, a lamp, and a timer. The shoulder looks too long, the hand is a scribble, and you are not sure any of this belongs in a university folder. It does. A sheet of quick gestures, a charcoal study and a finished mixed-media figure can tell an assessor more about your eye and your judgement than a dozen tidy nature scenes.
A drawing of a model is a record of decisions. You choose where the weight sits, which contour you trust, and which mark you rub out. That is the evidence tutors read, not a costume or a perfect outline.
This roundup moves through eight figure drawing examples and pose ideas. Each one names the technique, how the composition works, the portfolio page it can become, and a short session you can run at home this week. There is no long list of selection rules. Start drawing, then keep the sheets that show you looking harder.
If you are home-educated, changing career, or fitting study around work, you don't need a hired model tonight. A clothed friend, a mirror, or a timed photo reference is enough to start the sequence assessors recognise: gesture, construction, then a resolved study with a note on what changed.
Table of Contents
- 1. What is a figure-drawing portfolio, and why do university admissions tutors look for it?
- 2. Which poses should I include in a figure-drawing portfolio?
- 3. Which drawing media should I use to show range in my figure work?
- 4. Which drawing styles work best for figure studies in a university portfolio?
- 5. What can I learn from famous artists who drew the figure?
- 6. How should I sequence and present figure drawings in my portfolio?
- 7. How can online learners build life-drawing skills without a local studio?
- 8. How do I show progression from Level 2 to Level 3 in a figure-drawing portfolio?
- How the eight model drawing approaches compare
- Turning Each Pose Into a Working Practice Plan
1. What is a figure-drawing portfolio, and why do university admissions tutors look for it?
A figure-drawing portfolio is a curated set of drawings of a clothed or nude model. It shows how you see the body, control proportion and anatomy, and use marks for weight and movement. Admissions tutors on foundation and degree courses read those sheets for observational skill, curiosity, and development over time. Working from life underpins fine art, illustration, fashion, animation and graphic design, so a thin figure section is a gap.
University of Salford guidance for arts, media and creative technology portfolios says submissions can include drawings, concepts, technical drawings, observations and models, and it highlights observational and life drawing. For fine art, your note can be about gesture. For a design course, the same pose can show how measuring a shoulder led to a character or a spatial idea.
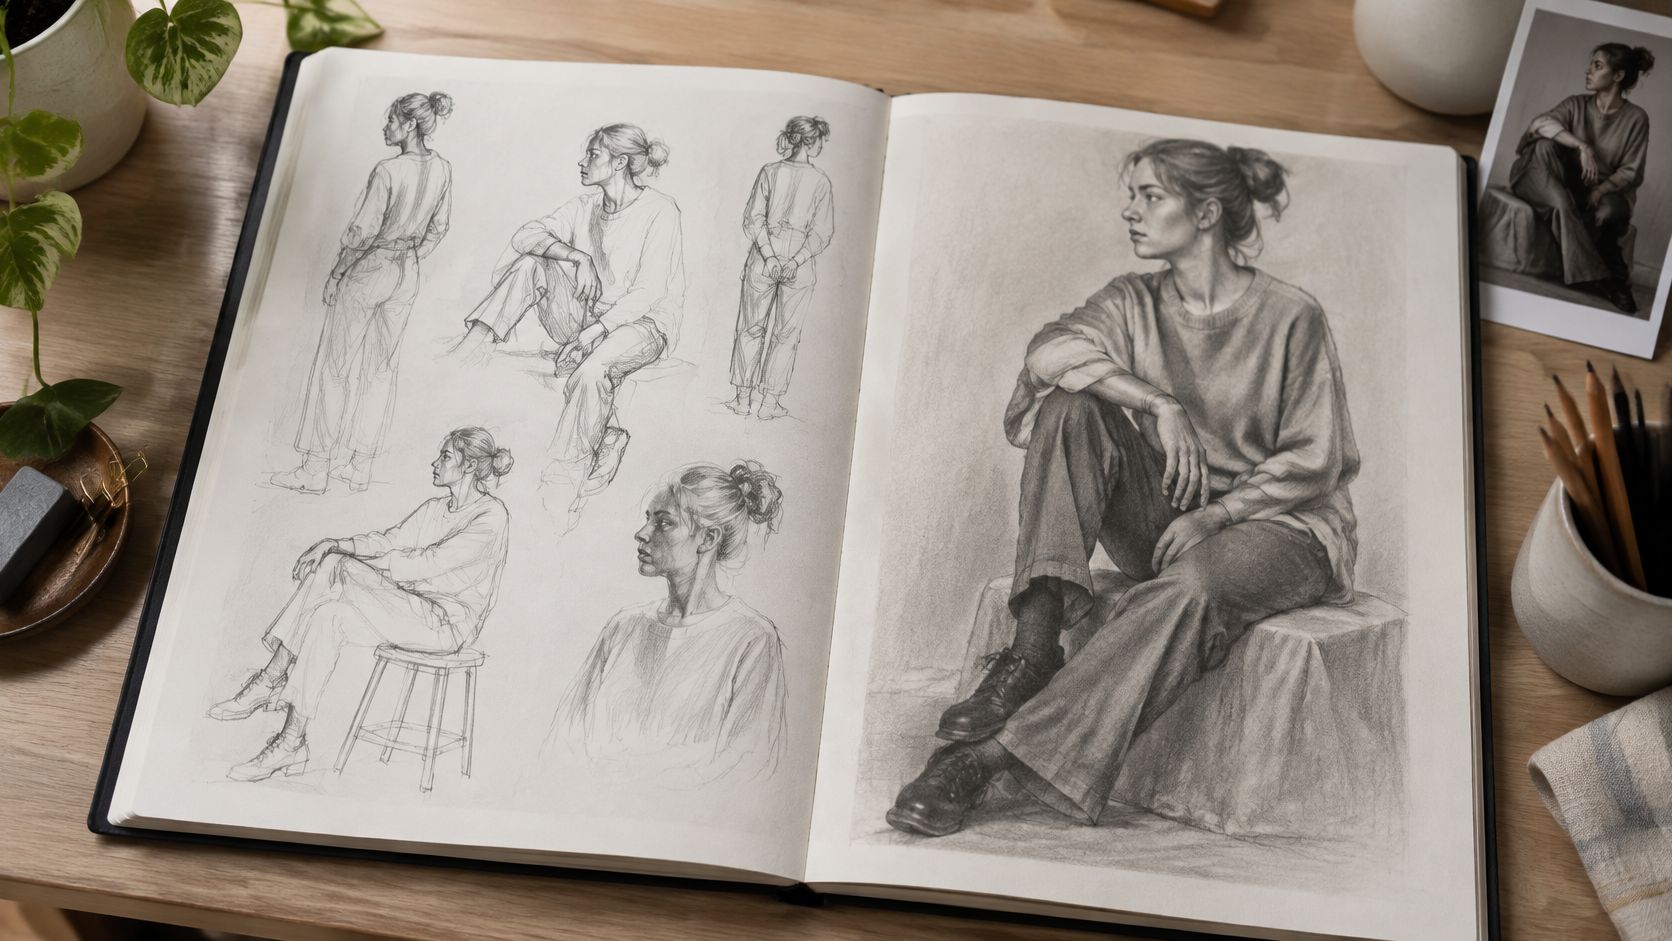
What one sequence proves
Say a Level 2 folder holds pencil studies of one seated friend plus a single mixed-media figure. A Level 3 folder should go further: gestures, a corrected construction, then a finished piece. I would rather see 10 to 15 strong figure sheets than a pile of near-duplicates.
- Keep the route visible: Thumbnails, a rough, and the outcome on one spread.
- Name the job of the drawing: One sentence on what you were testing.
- Redraw after feedback: A corrected proportion is stronger evidence than a clean first try.
This week, draw one 20-minute clothed pose, then three crops. Label which crop you would submit, and why.
2. Which poses should I include in a figure-drawing portfolio?
Tutors aren't hunting a favourite pose. They're checking whether you can change gear. A useful set mixes very short gestures of 30 to 60 seconds, studies of 5 to 20 minutes, and at least one long pose you resolve. Standing, seated, reclining and action poses belong together. Add one foreshortened view, such as a foot coming towards you or a figure seen from a low stool.
A one-minute gesture page followed by a twenty-minute seated study of the same person is a clear narrative. The short drawings prove you saw the action. The longer drawing proves you could hold proportion once the movement settled. A foreshortened reclining figure in charcoal shows spatial depth because the near knee has to be larger, and you can't fake that with a pretty outline.
Set a timer for 1 minute, 5 minutes, 20 minutes, then a long pose. Change the viewpoint so no two sheets share the same eye level. Include one pose you find difficult, and keep the first attempt beside the improved one.
If every pose is a comfortable three-quarter standing view, the folder reads as one drawing repeated.
For the home session, ask someone to sit for twenty minutes, then lie back with one arm towards the camera for ten. On life class drawing, compare how a timed pose is built before you ink a clean copy. Date both sheets. That pair is the portfolio evidence: range, plus proof you can recover when the angle fights you.
3. Which drawing media should I use to show range in my figure work?
Media should answer the pose, not decorate it. Graphite pencil gives precise contour and quiet tone. Charcoal masses the body and lets you push dramatic light. Brush and ink trade control for speed and contrast. Conté and soft pastel carry warm and cool colour without turning the figure into a painting. Digital drawing shows you can repeat that looking on a screen.
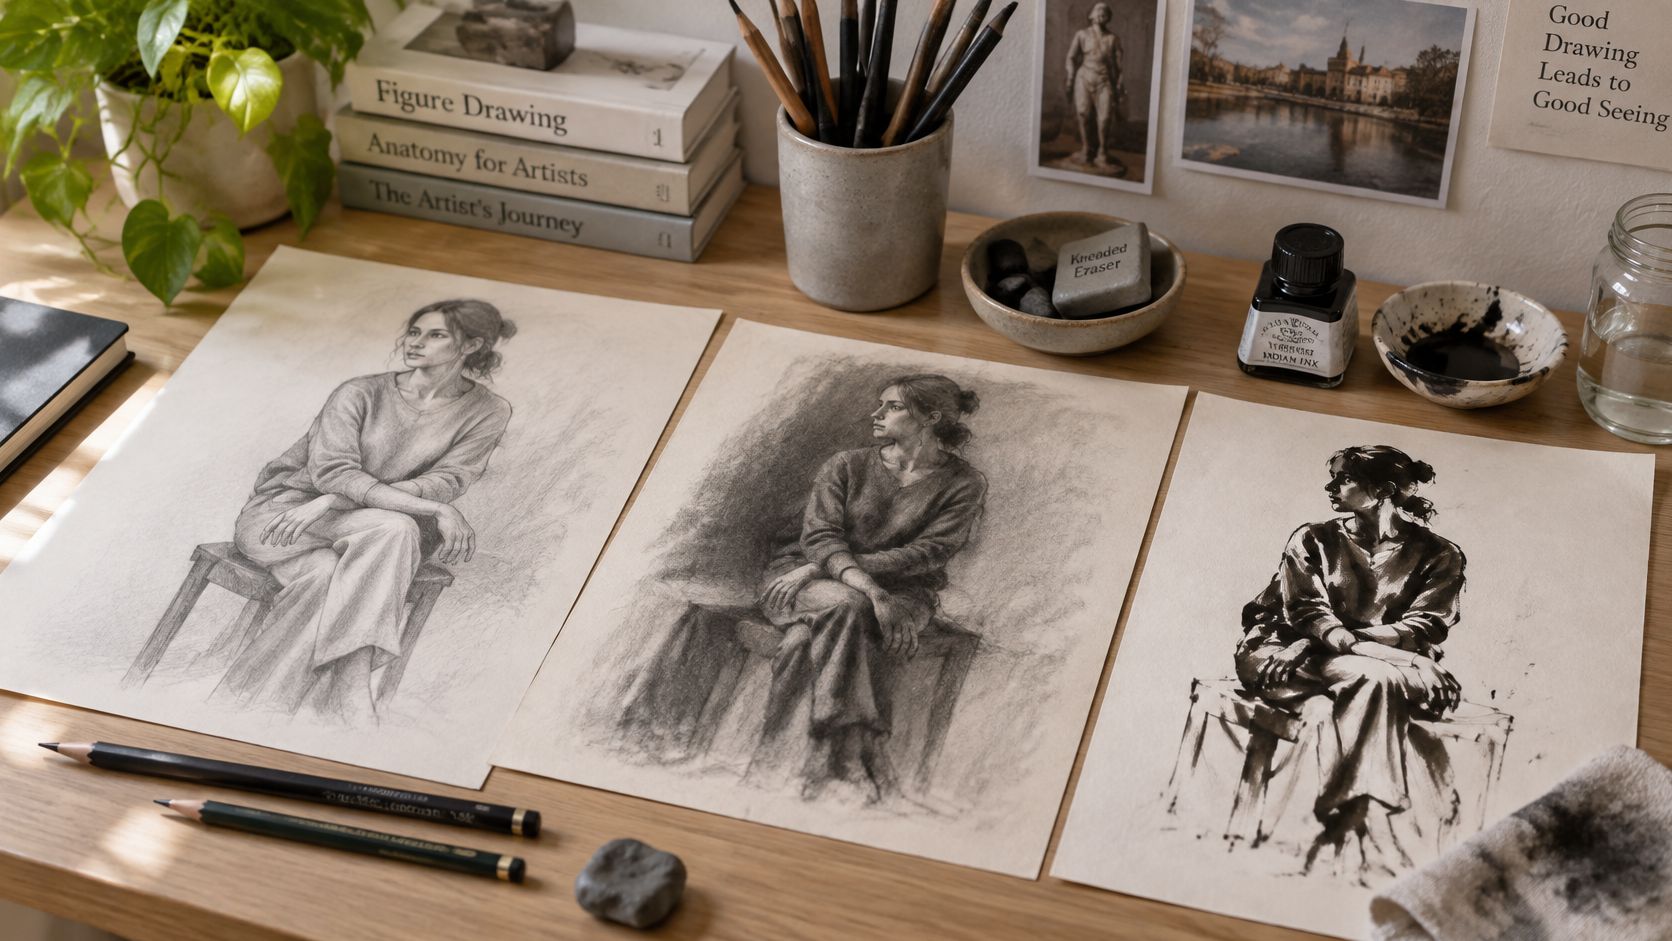
Pair the tool with the problem
A graphite contour beside a charcoal tonal study of the same pose is worth more than six unrelated media samples. The pencil sheet is your measuring evidence. The charcoal sheet is your light evidence. A brush-and-ink sketch next to a pastel portrait of a seated model shows line versus colour, if you write one sentence on why each tool was chosen.
Limit yourself to three or four media and learn them properly. A huge materials list from a shop you can't reach doesn't help an assessor. If you work digitally, find Samsung tablets for digital art only after your paper studies already show proportion. The screen should extend the same observation, not replace it.
- Annotate the choice: Medium plus one reason, such as "charcoal, because the lamp split the torso into two masses."
- Stop swapping tools mid-pose: Finish the timed drawing, then test a second medium on a fresh sheet.
- Keep the kit small: Pencil, charcoal, ink, and one colour medium cover a home week.
Try a 15-minute pencil contour tonight, then the same pose in pastel for 20 minutes. Notes on soft pastel drawing will stop you outlining in colour and forgetting the mass. Submit both, with the sentence that explains the switch.
4. Which drawing styles work best for figure studies in a university portfolio?
Assessors read control before voice. A measured observational study set beside a looser interpretation shows you can choose a style and justify it. Distortion only survives scrutiny when the structure underneath is believable. If the hip sits too high, a stylised line will not hide it.
The strongest pairing is a realistic charcoal study and a simplified ink reading of the same pose. The charcoal sheet is your proportion evidence: head units, shoulder-to-hip angle, weight-bearing leg, tonal mass. The ink sheet is your judgement evidence: what you kept and what you dropped. Give each a short annotation. "Charcoal: checked the rib cage against the pelvis." "Ink: kept the lean, dropped the costume folds." For a home session, spend 25 minutes on a constructed charcoal block-in, then 10 minutes on the ink reduction. Keep both on the same page so an assessor sees the decision.
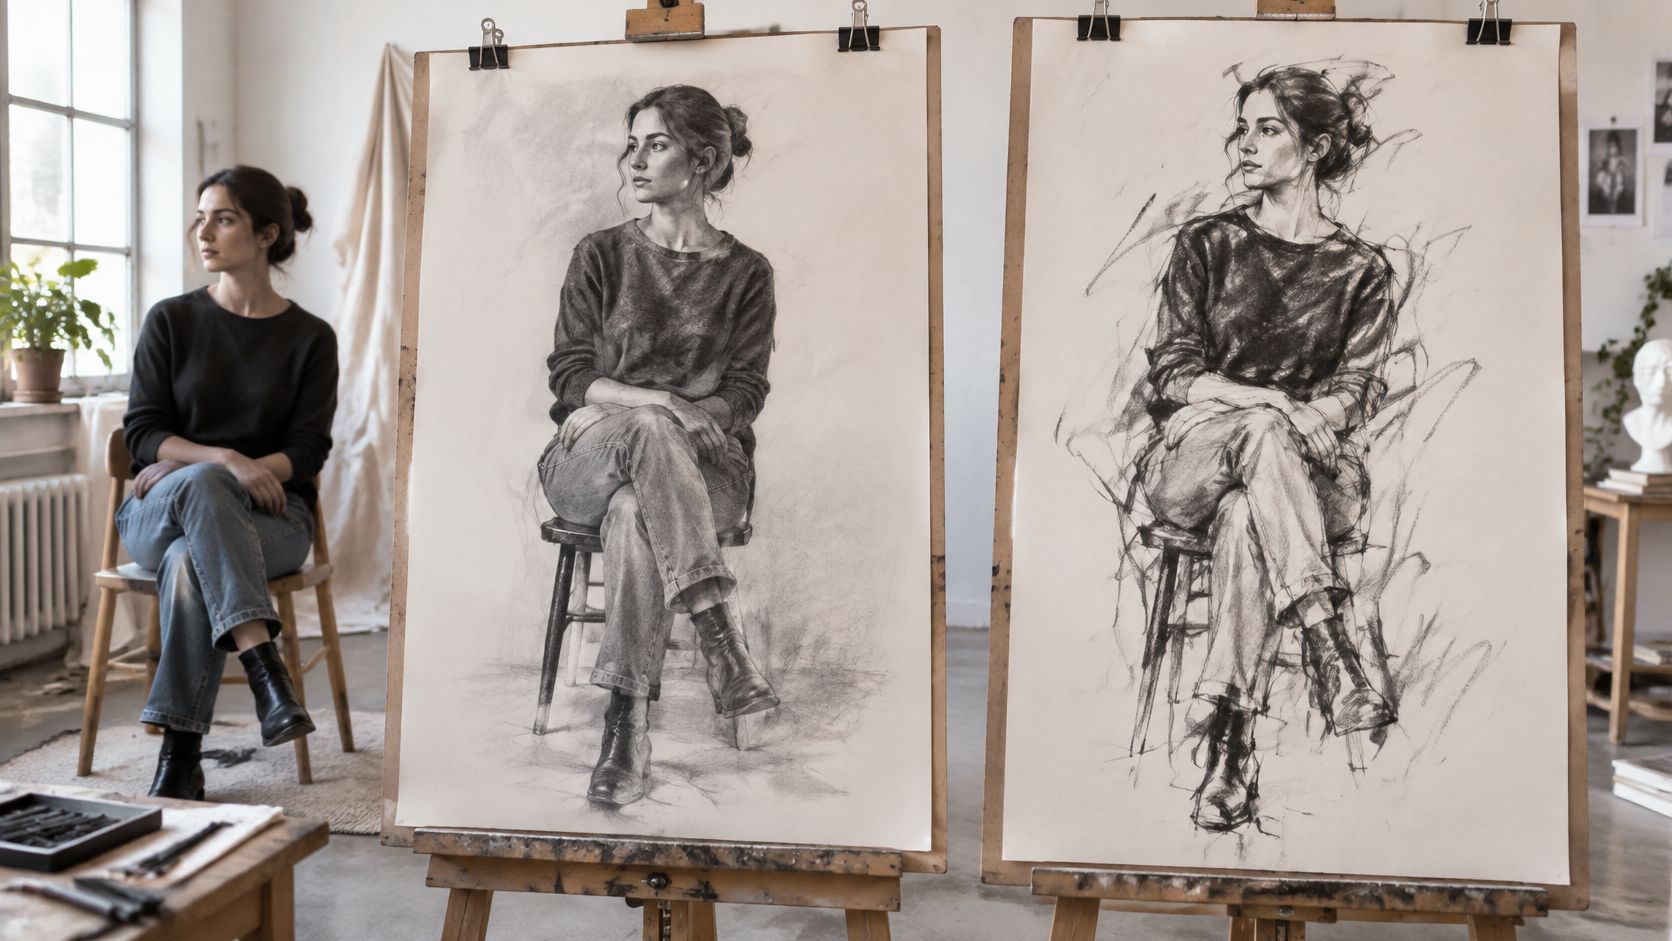
Continuous line is the third style worth including. One unbroken mark records decision-making in public because you cannot erase a wrong turn. It also exposes whether you understand the pose or are copying edges. You lose finish, but gain a visible record of decisions. Use a blind contour drawing for 10 minutes on the same sitter, then repeat it as a slower continuous line while glancing at the page. The first sheet is diagnosis; the second is evidence of control. Annotate where the line lost the form, usually at the waist or the far shoulder.
A workshop study recorded in Middlesex University's research repository used three workshop days of still life, the human skeleton, and a clothed life model with dyslexic and dyspraxic students and a non-dyslexic control group. Questionnaire responses showed more positive attitudes to accurate drawing, and the work improved in geometric accuracy, scale, proportion and depth, with similar shifts in both groups. The teaching order is the useful part: check angles, measure proportions, control scale, place skeletal landmarks, then judge depth. Build a before-and-after rubric for landmark placement, head-to-body proportion, contour, depth and correction. That rubric is fairer than hoping a loose style covers a missed measurement.
Master accurate observation before you distort, and write the intention in one line. This week, do a 25-minute constructed study, then the blind contour of the same sitter. Keep both. The gap between them is your evidence of judgement.
5. What can I learn from famous artists who drew the figure?
You don't need a survey of every figure artist. Two or three, studied properly, give you a reason for your marks. Rembrandt's figure studies use chiaroscuro so light builds the form instead of an even outline. Edgar Degas cropped the body and shifted the viewpoint, working in pastel and charcoal to catch movement rather than a formal full-length. Käthe Kollwitz loaded charcoal and print with tonal weight so emotion sits in the posture. Lucian Freud stayed with the model for a long time, letting sustained looking replace a quick likeness.
In Britain this was never only a hobby. Tate's account of J. M. W. Turner at the Royal Academy Schools notes that the Schools, founded in 1768, moved students from antique casts to the figure. Turner entered in December 1789, worked first from casts and écorché figures, and from 1793 drew nude models in the Life Academy, then male, with female models appearing only occasionally by the end of that decade. The sequence still maps onto a student week: structure first, then the living pose.
Borrow one decision, not a whole manner
A charcoal study that borrows Kollwitz's heavy tone is evidence if you say what you took: weight in the back, not a copied face. A pastel figure with a Degas-like crop is evidence if the crop was a choice, not an accident of the page running out.
- Pick two artists: One for light, one for cropping or emotion.
- Write one sentence each: What you used, and what you refused to imitate.
- Look at real work: A gallery visit or a museum's online collection beats a social-media crop.
This week, draw a 30-minute seated pose, then crop it three ways in pencil thumbnails. Keep the thumbnail that makes the weight clearer, and name the artist decision you were testing.
6. How should I sequence and present figure drawings in my portfolio?
A pile of good drawings still fails if the reader can't see a route. Open with short gestures that show energy, move into longer resolved studies, and close on the piece with the clearest personal decision. Group related sheets. A process page of thumbnails, a revision and a short reflection does more than another finished nude.
For GCSE Art and Design, Ofqual's subject conditions split assessment equally across four objectives, each 25%: developing ideas, refining through media and process, recording observations as work progresses, and presenting a personal response. Drawing must support development, but technical mastery is required only when it matters to your specialism. So the sequence should show what you saw, what you changed, and why, not only the polished last sheet.
Page limits change that story. Duncan of Jordanstone College of Art and Design asks Fine Art applicants for one PDF of up to 15 pages, judged on research, development, creativity, skill, selection and engagement. Leeds Beckett likewise wants a single PDF of up to 15 pages and a maximum file size of 10 MB, with sketches beside finished work. You may have forty life sheets. The submission needs a short narrative inside those limits.
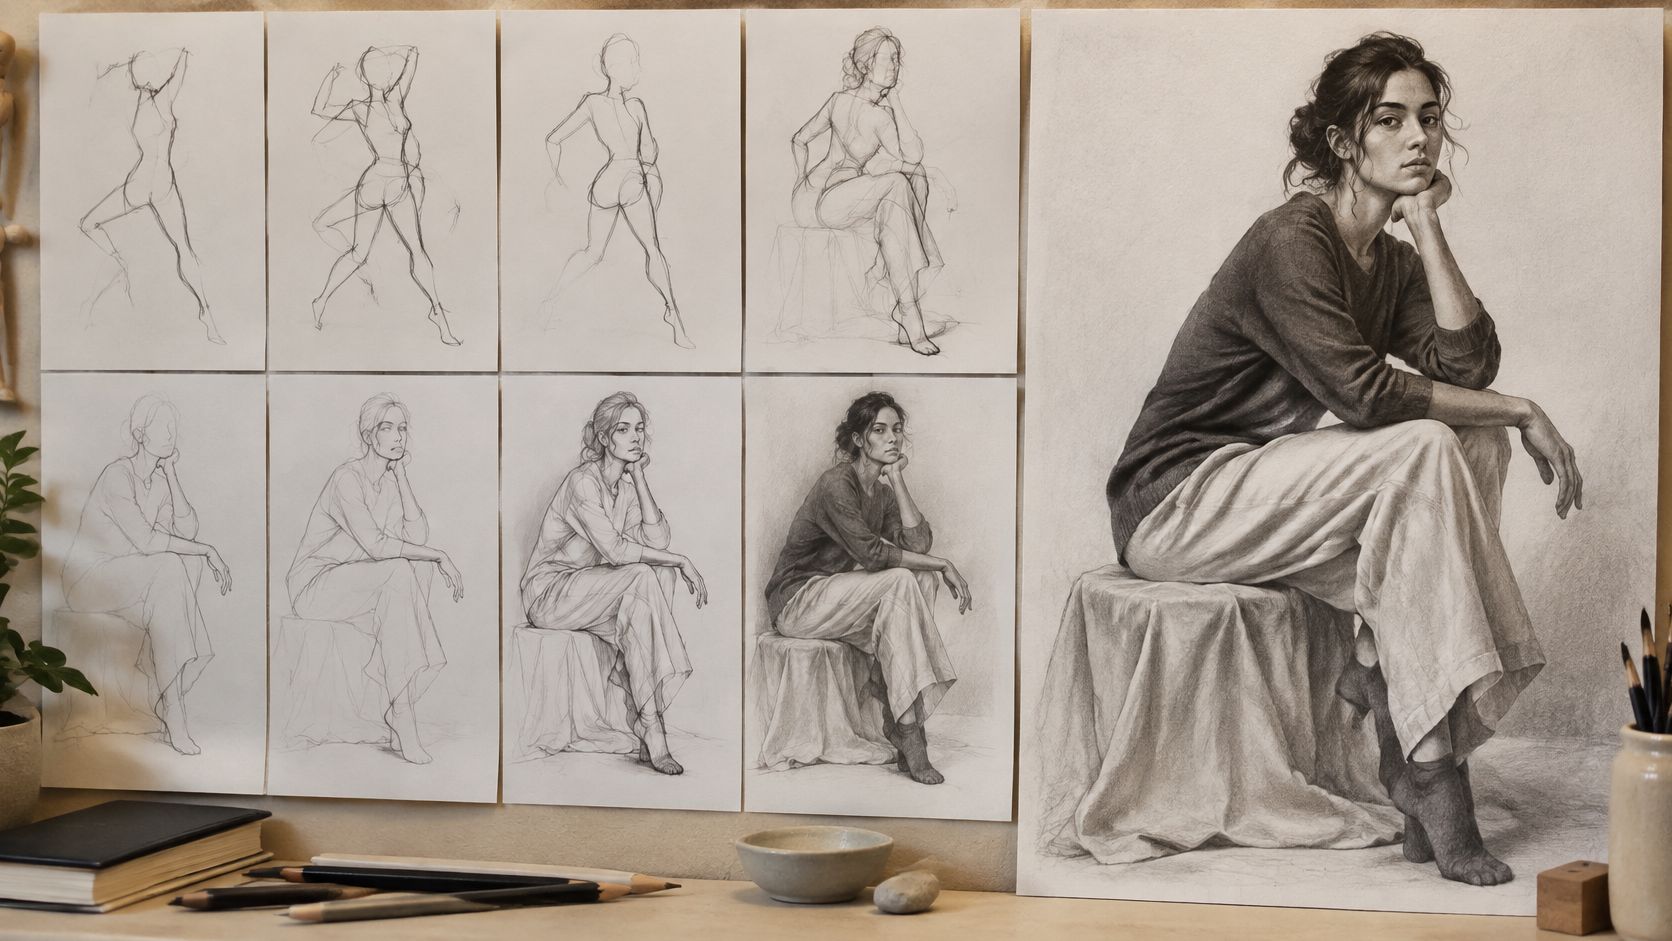
Photograph in even daylight on a neutral ground, label clearly, and export one consistent file type. If a later page turns the figure into space or a character, you can build a professional 3D portfolio from that observation, but only after the 2D sequence is readable. This week, order six sheets from fastest to most resolved and write a one-line caption under each.
7. How can online learners build life-drawing skills without a local studio?
No local life room doesn't cancel the skill. You need a clear lamp, a timer, a dated sketchbook, and a person or a professional pose reference you have permission to use. Clothed alternatives, breaks, and still-life substitutes keep the session safe and usable at home. Don't put a live nude on a video call. Observation isn't the same as photographing someone, and privacy still applies to reference images you save.
A small UK study is a useful warning against treating the session as only a skills drill. AccessArt's report on life drawing with 14 British adolescents used three two-hour sessions across seven weeks and validated measures before and after. Participants reported higher body appreciation, body-image flexibility and body pride, and lower dysfunctional appearance investment and self-evaluative salience. The sample was small and self-selecting, so treat it as a prompt to notice how learners feel, not as proof for every group.
A week you can actually keep
- Three gestures: One minute each, same sitter, different angle.
- Two studies: Five minutes, checking head size against the torso.
- One long pose: Twenty to forty minutes, one lamp, photographed once so next week matches.
- One upload: Send the long pose for feedback before you "finish" the folder.
A one-to-one review of a charcoal series works on a video call if the photos are sharp and dated. Reuse the lamp setup. Share work while it is still correctable. That habit builds the same core as a studio: timed looking, proportion, and a record of change. This week, run the six-drawing set above and note one proportion you fixed.
8. How do I show progression from Level 2 to Level 3 in a figure-drawing portfolio?
Universities want growth, not a stack of finished pictures with no earlier state. Early Level 2 work can sit with accurate proportion and simple tone. Later Level 3 work should show a harder composition, more confident media, and a direction you can explain. Place a Level 2 pencil figure beside a Level 3 mixed-media figure only if the later sheet solves something the first one couldn't, such as overlap, cropping, or a clearer light source.
The pressure on that evidence is real. The Art Newspaper reported that in 2026 arts subjects represented about 10% of all A-level entries, down from roughly one in six-and-a-half entries in 2010, while art and design alone fell from 5.4% to 4.7%, and arts subjects accounted for 7% of GCSE entries compared with 13.4% in 2010. A careful figure sequence won't reverse those figures. It can still show research, testing, annotation and refinement when arts entries are a smaller slice of the exam cohort. Don't claim a life drawing proves contextual research or a resolved project on its own. It proves looking, if the development is visible.
Make the change readable
A progression board of five figure studies across three months beats a single "best" drawing. Date every sheet. After each major project, write what changed in proportion, media or idea. Ask a tutor to mark the clearest jump, then put that pair near the front.
This week, find your oldest figure study and redraw the pose for 30 minutes with one new decision, such as a lower viewpoint or a limited charcoal palette. Caption the pair: what Level 2 got right, and what the later sheet can now hold.
How the eight model drawing approaches compare
The eight approaches answer different portfolio questions, and the time column is where most students misjudge the work. A 20-minute tonal study is not a lesser sheet than a four-hour resolved drawing. It produces different evidence, and assessors read that evidence differently.
| Item | Core Focus | Typical Time Commitment | Main Portfolio Benefit |
|---|---|---|---|
| Figure-drawing portfolio and admissions value | Observational skill, anatomy, and development | Weekly practice, plus 1 to 2 hours of curation per project | Shows foundational skills and creative growth |
| Choosing figure poses | Pose variety, gesture, and viewpoints | 30 seconds to 2 minutes for gesture; 20 to 45 minutes for a long pose | Demonstrates adaptability and spatial understanding |
| Choosing drawing media | Material range and purposeful media choices | 10 to 20 minutes for a timed tone study; 2 to 4 hours for a resolved medium study | Shows technical versatility and material understanding |
| Drawing styles for figure studies | Realism, expressive marks, and personal interpretation | 30 minutes to 2 hours per study | Balances technical skill with personal voice |
| Learning from famous figure artists | Studying artists' approaches to light, movement, and expression | 1 to 2 hours per artist study, plus 30 minutes of annotated copying | Shows contextual awareness and informed influences |
| Sequencing and presenting figure drawings | Organising work into a clear visual narrative | 1 to 2 hours per portfolio review, repeated each project | Makes development and professionalism visible |
| Building life-drawing skills online | Structured home practice and tutor feedback | Three 20 to 30 minute sessions a week, plus one 2-hour resolved drawing | Shows consistent practice and progress without studio access |
| Showing Level 2 to Level 3 progression | Documenting growth in skill and visual direction | One comparison sheet every 4 to 6 weeks across both levels | Demonstrates development and readiness for degree study |
Use the time ranges as session limits, not targets to beat. A 10 to 20 minute tone study gives you a value map and a clear light source. A 2 to 4 hour medium study gives you surface, edge and colour decisions that a quick sheet cannot carry. I would cap a style experiment at two hours, because past that point most students start resolving instead of testing, and the sheet loses the looseness that made the mark language worth trying. The portfolio benefit column is the sentence to write on the back of the sheet when you file it: what this drawing now proves that the previous one did not.
Turning Each Pose Into a Working Practice Plan
Set the week around three sheets rather than one finished drawing. Choose two or three of the approaches above, then give each one a separate timed session: a short gesture set on the same model or mirror, a single-medium study of one pose, and a written note on what the composition achieved. The drawing of a model becomes portfolio evidence when the date, the correction and the next decision still sit beside the sheet. Without that record, an assessor sees a result but not the thinking that produced it.
Keep the record in one sketchbook, not loose photos on a phone. Review it for a repeated error, such as a head that always runs too small, and set the next timer to fix that error only. Gesture without a longer study looks unfinished; a long study without gestures looks stiff. I would submit the pair, because the loose sheet proves observation and the resolved figure proves control.
Students on a Level 2 Certificate or a Level 3 foundation route can turn those sessions into assessed pages if feedback arrives before the work is mounted. The Online College of Art & Design (OCAD) offers online art courses covering drawing, tonal and light studies, and perspective drawing. Assignments are set and marked at OCAD, and students receive constructive feedback as they upload photographs of completed work throughout the course. A dated gesture page, a corrected construction and a resolved figure give that feedback something specific to address.
If you also keep a visual journal beside the portfolio, creative journaling with Life Calendar can hold the one-line reflections that assessment objectives reward. Don't let the journal replace the drawings. Use it to say what changed between Monday's pose and Friday's redraw, then sequence the strongest sheets so a tutor, and later an admissions reader, can see the growth without hunting for it.
The Online College of Art & Design (OCAD) offers flexible, tutor-led online courses in art and design, including Level 2 Certificates and Level 3 foundation pathways, with feedback on the completed figure studies you upload. If you want those poses turned into assessed portfolio pages, visit The Online College of Art & Design (OCAD) and see how the coursework is structured.