

UK government participation tables show 19% of adults took part in painting, drawing, printmaking, calligraphy or colouring during the latest reported April to June period, with no statistically significant year-on-year change, according to the Participation Survey 2025-26 Quarter 1 data tables. That stability matters. Drawing as a hobby isn't a short-lived trend or a race to technical skill, it's a steady leisure habit for a large minority of adults, and you're free to keep it that way.
Table of Contents
- What Drawing as a Hobby Gives You
- Starter Materials and When to Add Them
- Your First Month of Drawing
- Beginner Projects to Try in Order
- Practice Routines That Fit a Busy Week
- From Hobby to Qualification
- Questions Level 2 and Level 3 Students Ask About University Art Courses
What Drawing as a Hobby Gives You
Drawing gives you a low-cost, flexible, screen-free way to make something by hand, and most of its rewards come from the process rather than the finished picture. You don't need an audience, a deadline or a plan to improve. You need paper, a pencil and a few minutes when you feel like looking closely at something.
The scale is larger than many beginners expect. Arts Council England's national visual-arts profile reported that 46.6% of adults engaged in at least one visual-arts activity during 2016/17, including painting, drawing, printmaking, sculpture, textiles or other visual practices. Within that, participation in "painting, drawing, printmaking or sculpture" rose from 12.3% in 2010/11 to 13.8% in 2016/17. Drawing, in other words, sits inside an established national habit, not on its margins.

What you notice in the first few weeks
Relaxation is the reason many adults reach for a sketchbook. A 2025 survey of 2,000 UK adults who did not shop with the surveying retailer, reported by Jackson's Art Supplies, found 59% identified drawing, sketching, or doodling as the art activity they used to unwind, while only 15% were taking advantage of the broader wellbeing benefits they believed art could provide. Treat that retailer-commissioned survey as indicative rather than a neutral national measure, but it points to a familiar gap between interest and regular practice.
Three gains tend to show up quickly, without any talent test:
- A deliberate screen break: Your eyes and hands work together on one object, which feels different from scrolling while half watching something else.
- Visible progress on paper: A month of dated pages shows change even when a single drawing disappoints you.
- A private creative outlet: Nobody has to see the page, approve it or set you a deadline for finishing it.
Think of drawing as a walk for the eye. The pleasure lies in the looking and the route you take around an object, not in arriving at a perfect destination. Readers who value that slower attention sometimes pair sketching with other quiet routines, such as beginner meditation guidance for home altar practitioners, because both ask you to settle your attention on one thing at a time.
What follows covers starter materials, a first month of practice, beginner projects in order, routines that fit a busy week, and the route from hobby to qualification if you later want one. Improvement stays optional throughout.
Starter Materials and When to Add Them
You can start well with HB and 2B graphite pencils, a kneaded eraser and one A5 sketchbook. That small kit supports most beginner projects, costs little and fits in a bag. Buying more on day one usually creates decisions, not drawings.
| Item | What it is for | When to add it |
|---|---|---|
| HB and 2B graphite pencils | Outlines, construction lines and light sketching | First week |
| 4B or 6B graphite pencil | Darker tones and shadows | Once shading looks flat |
| Kneaded eraser | Lifting highlights and softening edges | Day one |
| A5 sketchbook | Carrying on the go and daily practice | Day one |
| A4 cartridge paper pad | Studies at a table and larger still lifes | After the first month |
| Vine or compressed charcoal | Expressive marks and gesture drawing | Once basic shapes feel comfortable |
Why this order works
Graphite comes first because it teaches value and pressure control without demanding much clean-up. An HB keeps construction lines light, while a 2B gives you slightly darker, softer marks for the forms you're more sure about. If you'd like a step-by-step introduction to handling those first pencils, our guide to how to pencil drawing walks through grip, line and shading in order.
Add a 4B or 6B pencil only when your shading looks uniformly grey. Softer grades give you the darks that make a mug or shoe look solid, but they also smudge easily and can hide fine line work. Using them too early often turns a whole page muddy, which beginners then mistake for a lack of ability.
Charcoal waits for a different reason. Vine or compressed charcoal makes loose, broad marks that reward confidence rather than precision, so it feels freeing once basic shapes are comfortable and frustrating before that. An A4 cartridge pad also waits, until you're doing longer studies at a table and the A5 page starts to cramp your arm.
Buying without waste
Choose an A5 sketchbook you will keep with you, with paper that tolerates repeated erasing without pilling. Avoid full sets of paints or pastels until you know which medium you enjoy, because an untouched set creates guilt rather than practice. The same principle applies if you later turn drawings into printed gifts on fabric, where following a specific process such as the Raccoon Transfers heat press guide matters more than owning every accessory first.
Practical rule: Buy the next material only when it solves a problem you have already noticed in your own work.
Two slips are worth avoiding. Buying several pencil grades at once leaves you swapping tools instead of learning pressure, and using one hard pencil for everything makes shading look flat because you can't reach a true dark. If you can draw a simple still life of three objects with this kit, you have enough equipment to continue.
Your First Month of Drawing
Your first month has one job, making drawing easy to restart. You're not building a portfolio or proving anything. You're finding out whether short, repeatable sessions fit your week.
A session you can repeat
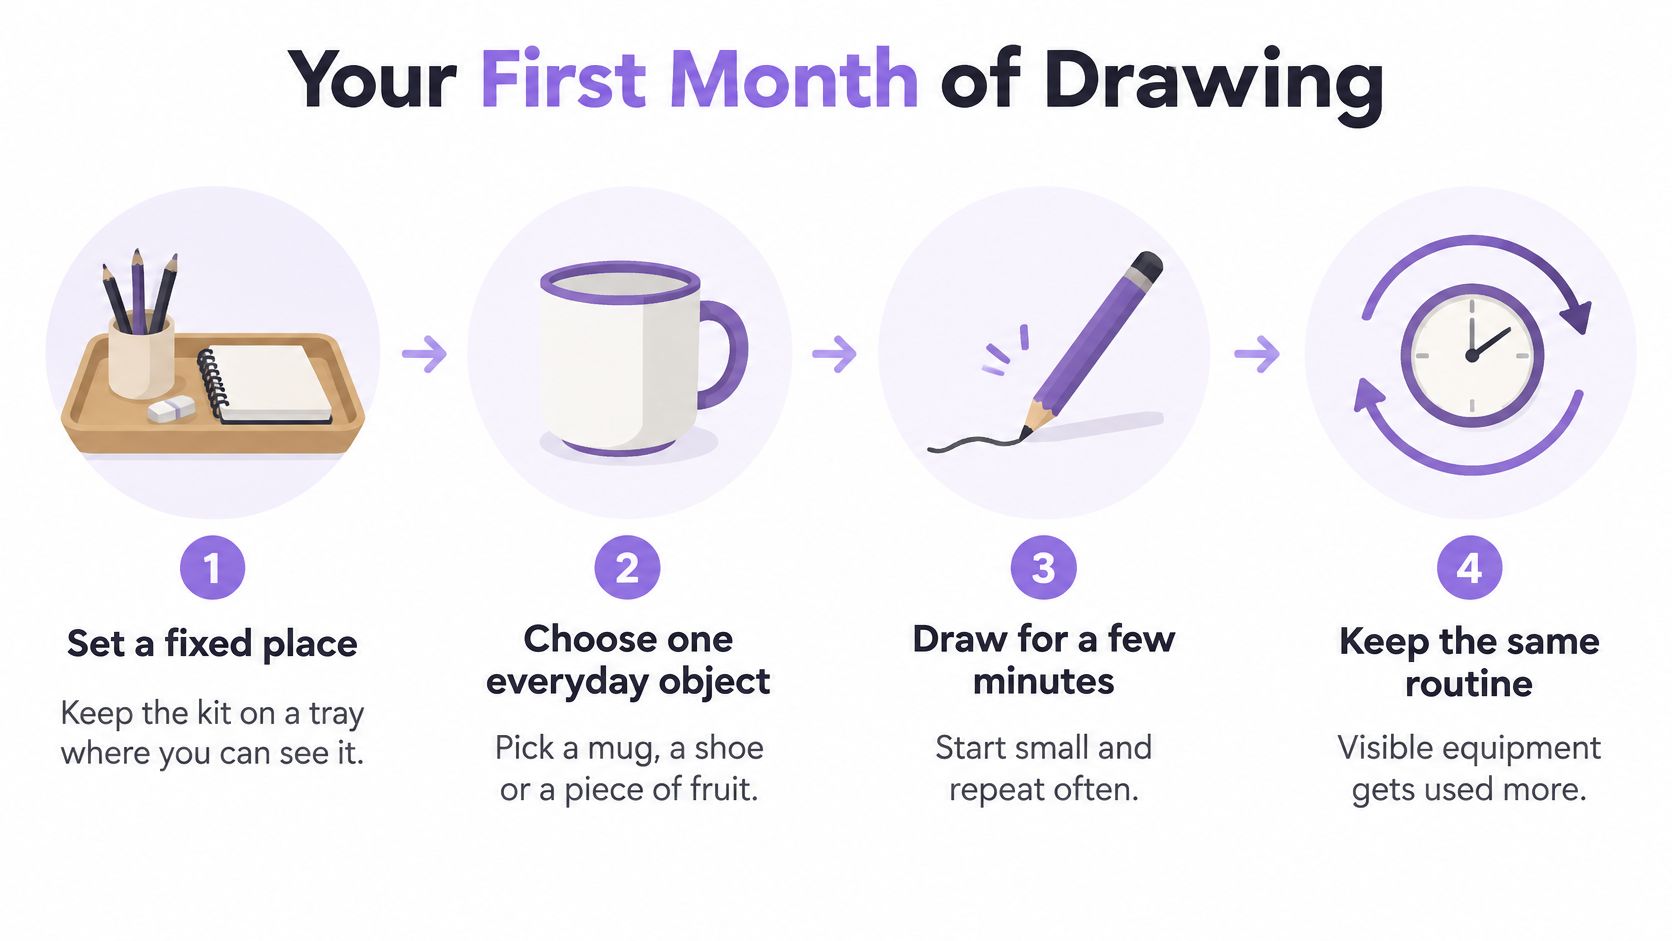
- Set a fixed place: Keep pencils, eraser and sketchbook on a tray where you can see them, because visible equipment gets used. Hunting through drawers is a quiet reason sessions never start.
- Choose one everyday object: Pick a mug, shoe or piece of fruit and keep it in the same light each time. Changing the object and the light every session gives you too many new problems at once.
- Draw a two-minute gesture: Scribble the overall shape without lifting the pencil. This loosens your wrist and stops perfectionism before it takes hold of the page.
- Block in main shapes: Use light lines for the big forms before any detail. Outlining too early produces stiff work, because you commit to edges before you know where they belong.
- Check proportions: Hold a pencil at arm's length to compare heights and widths. This simple measuring habit is the most common fix for a drawing that looks wrong for no obvious reason.
- Add tone last: Shade the shadow side with the HB, then deepen the darkest areas with a 4B or 6B. Adding detail and tone before shapes are right makes a drawing hard to correct.
- Date and note: Write the date and one sentence about what worked. That sentence turns a loose page into evidence you can learn from later.
Aim for three sessions of 15 to 20 minutes in week one, then choose a new object each week while keeping the same place and rough time. Short sessions repeated often teach your eye more than one long, tiring sitting, because you return to the same looking problems while they're still fresh. If you miss a session, you haven't broken anything; just start the next one.
Date every page, even the ones you dislike. A dated sequence shows progress that memory tends to erase.
That low-pressure structure suits complete beginners, students, practising artists and people returning after years away from creative practice, because nobody has to perform at a set level. OCAD has helped over 30,000 students start their creative journey since 2002, and many begin exactly here, with small studies at home.
At day thirty, lay your dated pages in a row and answer one question. Do you want to keep drawing for pleasure, or do you want feedback, deadlines and a qualification? Either answer is a good outcome, and it decides your next step far better than judging your best drawing.
Beginner Projects to Try in Order
These seven projects build in sequence, so each one gives you a skill the next project depends on. Work through them slowly and repeat any stage that feels shaky. There's no prize for finishing the list quickly.
- Single object, one light source: Draw a mug or shoe lit from one side to learn form and cast shadow.
- Plant with several leaves: Follow each leaf edge to train observation and line variety, since no two leaves curve the same way.
- Simple interior: Draw a chair beside a window to introduce basic perspective with one vanishing point.
- Row of identical objects: Line up spoons or cups to practise spacing, repetition and small differences between similar forms.
- Ten-minute self-portrait: Sketch quickly in a mirror to build proportion with low stakes, accepting that likeness comes later.
- Tonal value scale: Fill six squares from white to black to control pencil pressure step by step.
- Doodled page: Fill a box with patterns and marks, because it has no right answer and suits the relaxing side of the hobby.
Why the sequence is arranged this way
Form comes before detailed observation because you need to see an object as a solid shape before its surface details make sense. The plant then asks for closer looking, and the interior adds perspective once you can already handle single forms. Repetition and the self-portrait build on those skills, while expressive doodling sits at the end as a release rather than a test.
Beginners often reverse this order, starting with a face or a complicated room and concluding they can't draw. The subject was asking for three skills at once. Say you draw the chair by the window and the legs look wrong, that's usually a perspective and proportion problem, not a hand problem, and the earlier projects help you separate the two.
When you're stuck: If a project frustrates you after three attempts, switch to the tonal value scale. It's technical, bounded and produces visible results quickly, which restores confidence without pretending the harder project didn't matter.
Choose one project for this weekend, note how long it takes, and stop when the time you planned runs out. Finishing on time protects the hobby better than pushing on until you're irritated with the page.
Practice Routines That Fit a Busy Week
A drawing habit can be small enough to fit an ordinary week. Choose a session length you can repeat, then keep the routine steady for two weeks before adjusting it.
| Routine | Time | Focus | What to record |
|---|---|---|---|
| Five-minute warm-up | 5 minutes | Quick gesture lines | Mood before and after |
| Fifteen-minute study | 15 minutes | One object with light and shadow | One thing you noticed |
| Thirty-minute session | 30 minutes | A prompt-led drawing | Attention and satisfaction, rated 1 to 5 |
| Weekend doodle block | 20 to 30 minutes | Patterns and free marks with no finished piece | Stress level before and after |
A cue can make a routine easier to remember: draw after breakfast or before checking your phone. How to make art a daily habit even when you're busy offers more ideas for attaching drawing to an existing part of your day.
What the wellbeing evidence actually shows
Drawing does not automatically improve mental health. UK parliamentary evidence on visual arts and wellbeing summarises research linking visual-arts participation with wellbeing benefits for people with mental-health conditions. It also identifies drawing as potentially beneficial for people living with post-traumatic stress disorder, while noting that outcomes vary by demographic group and activity.
This supports drawing as a possible complement to care, not a substitute for clinical treatment. If you are receiving care, a sketchbook routine can sit alongside it. No particular result is guaranteed.
Design sessions around process, not performance
Keep the session simple: choose a prompt, draw for 20 to 30 minutes, and decide whether to keep the work private. Afterward, reflect on the experience rather than judging the picture:
- Attention: How settled was your focus during the session?
- Stress: How did you feel before and after?
- Satisfaction: Rate the session from 1 to 5, based on the experience rather than the drawing.
Choose a routine that fits a busy day, then repeat it unchanged for two weeks. A short session you can return to is enough; improving your technical skill is optional.
From Hobby to Qualification
A hobby becomes a qualification route when you start wanting feedback, deadlines and a recognised award, rather than more time with a pencil. That shift is about appetite for structure, not about reaching a set standard first. Plenty of confident hobbyists never want assessment, and that's a legitimate endpoint.
| Stage | Qualification | Typically suits |
|---|---|---|
| Key Stage 3 | Key Stage 3 Art | Younger learners building early skills |
| Level 1 | Level 1 course in art, design, photography or music | Learners beginning formal study |
| GCSE equivalent | Level 2 Certificate in Art and Design | Adults and school leavers seeking a Level 2 credential |
| GCSE equivalent | iGCSE Art and Design | Learners wanting an iGCSE-level award |
| A Level | A Level Art, Design or Music | Learners aiming for university study |
| Level 3 | Foundation Diploma in Art, Design and Media | Learners preparing for degree-level art and design |
Entry isn't always a straight staircase. At OCAD, students can study A Level art or design without a GCSE in art if they have an equivalent formal qualification such as a Level 2 Certificate, BTEC, High school art, or Arts Award. If you're comparing structured routes, our overview of foundation courses in art explains where foundation study sits before degree applications.
Portfolio work is the real progression test
Qualifications in art are judged largely through a body of work, so how you develop and present projects matters as much as final pieces. On tutor-led courses, students upload photographs of completed work and assignments throughout the course to receive feedback and build an art portfolio. That steady record is exactly what later applications ask for.
A concrete university benchmark helps you plan. University of the Arts London's BA (Hons) Graphic Communication Design guidance sets a maximum of 25 pages and recommends presenting 4 to 8 projects or items of work, including work-in-progress such as sketches, visual and material experimentation, and evidence of refinement. Applicants should explain the intention of each project, identify the skills and media used, and include at least one project connected to a personal theme or social and cultural context.
A strong portfolio is edited rather than simply enlarged. A small number of coherent projects, shown from first idea to final piece with brief captions, reads better than a large pile of finished outcomes.
You can prepare now, while still a hobbyist, by finishing four to eight projects with dated development sheets and short notes on your decisions. Remember that the 25-page limit comes from one BA course, so check the rules for each target course rather than treating it as universal. Where you want tutor-led structure, compare providers such as The Online College of Art & Design with local colleges on entry requirements and feedback arrangements, and confirm current entry requirements before enrolling because they change by course and level.
Questions Level 2 and Level 3 Students Ask About University Art Courses
How many pages should my portfolio be
Start with the target course's own rules, because limits differ. One published benchmark sets a maximum of 25 pages with 4 to 8 projects, including work-in-progress, sketches and captions explaining intention, skills and media. Include development, not just polished outcomes, and check each university's guidance before you assemble your final version.
Can Level 3 study lead to a degree and will I get student finance
Yes, Level 3 study can prepare you for degree applications, but finance is assessed for the later higher-education course itself. GOV.UK student finance guidance states eligible courses can include a first degree such as a BA, BSc or BEd, an HNC, an HND, an integrated master's degree, and certain approved Level 4 or Level 5 Higher Technical Qualifications. Eligibility also depends on the course, provider, previous higher-education study, age, and nationality or residency status, and a part-time course must normally have an intensity of at least 25% to qualify.
What support can a disabled student request
Universities must consider reasonable adjustments under equality law, assessed case by case against cost, practicality and the effect on the learner, as Royal Borough of Kensington and Chelsea guidance on university support explains. Examples include accessible versions of teaching materials, extra time for coursework or examinations, specialist equipment, study-skills assistance, and support from a worker who helps organise study. Don't assume school or college support carries over automatically, since an Education, Health and Care Plan no longer applies in the same way at university, so contact the disability adviser early and ask about evidence and Disabled Students' Allowances.
If your dated sketchbook pages have left you wanting feedback, structure and a recognised qualification, from Level 2 and iGCSE through A Level to Level 3 foundation study, explore tutor-led online courses at The Online College of Art & Design (OCAD). You'll upload photographs of your work for tutor feedback as you build a portfolio, and you can study from home around work, family and the drawing routine you've already made your own.